Introduction
Use this guide to replace your bumper on your Razer Kishi.
Both controller sides of the Razer Kishi are almost identical in construction. The bumper replacement is similar on both sides, therefore we will only show the right side in this guide.
What you need
-
-
For the right side, remove the five Y0 screws securing the right side of the controller.
-
Four 9.2 mm screws
-
One 7.2 mm screw
-
If you wish to open the left side, remove the five Y0 screws securing the left side of the controller.
-
Four 9.2 mm screws
-
One 7.2 mm screw
-
-
-
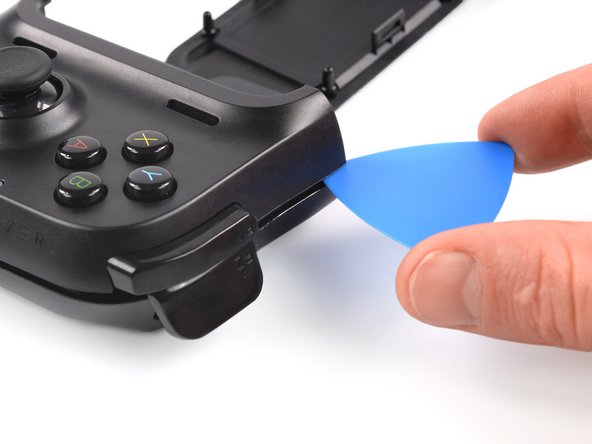
Insert an opening pick in the seam between the top and bottom case, at the bottom left corner of the controller.
-
With the pick still in the seam, slide it along the bottom edge to the bottom right corner to loosen the plastic clips.
-
-
-
Slide the opening pick along the right edge to loosen the plastic clips.
-
-
-
Slide the opening pick along the top edge to loosen the remaining plastic clips.
-
-
-
-
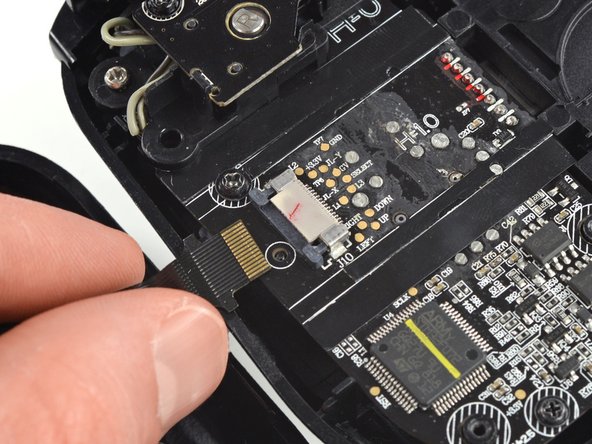
Using the pointed end of a spudger, push the grey tabs on the interconnect socket away from the socket, parallel to the interconnect cable, to release the cable.
-
Pull the cable out of the socket.
-
-
-
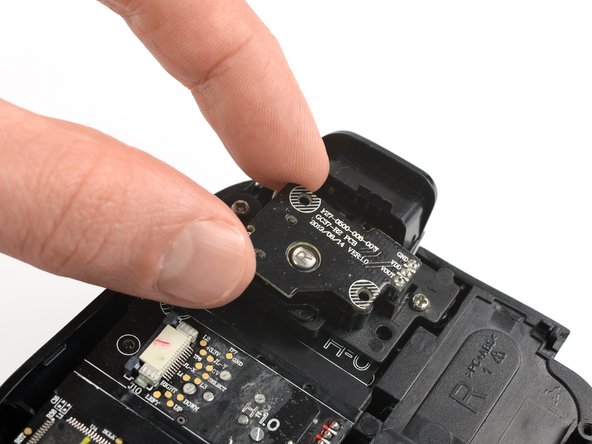
Use a Phillips #0 screwdriver to remove the two 4.4 mm-long screws securing the trigger board.
-
-
-
Remove the breakout board by lifting it straight up, away from the controller.
-
-
-
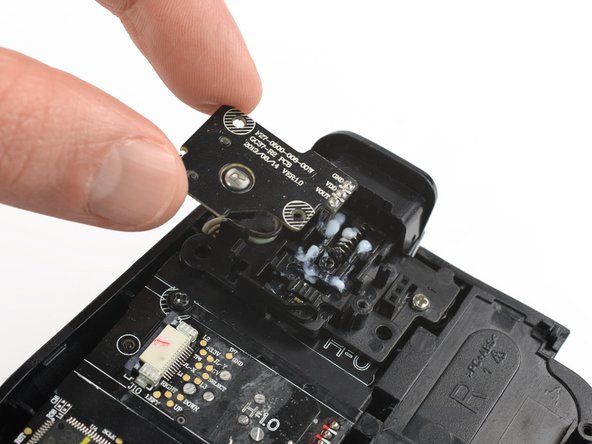
Use a Phillips #0 screwdriver to remove the two 7.0 mm-long screws securing the trigger.
-
-
-
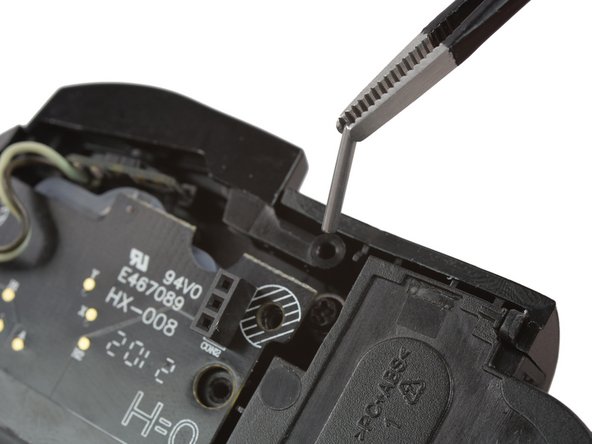
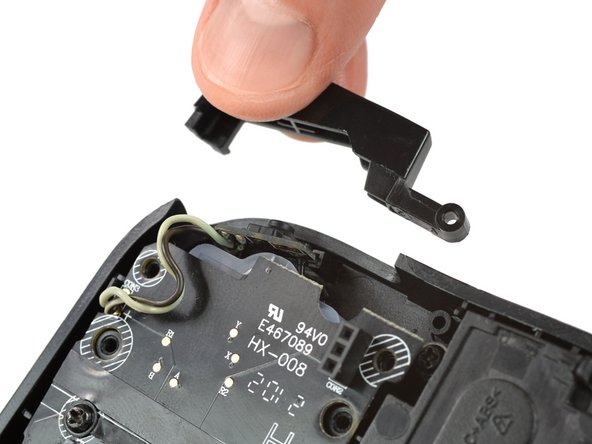
Use a pair of tweezers to remove the metal pin which holds the bumper in its place.
-


To reassemble your device, follow these instructions in reverse order.
Take your e-waste to an R2 or e-Stewards certified recycler.
Repair didn’t go as planned? Try some basic troubleshooting, or ask our Answers community for help.
To reassemble your device, follow these instructions in reverse order.
Take your e-waste to an R2 or e-Stewards certified recycler.
Repair didn’t go as planned? Try some basic troubleshooting, or ask our Answers community for help.
Cancel: I did not complete this guide.
2 other people completed this guide.


One Comment
I can't remove the left shell of the controller. It seems to be either glued down or won't snap off. I'm worried that I would break the shell or even worse, the motherboard inside. Please help because this has been broken since December of last year and I have the tools to fix it and don't want to spend money to buy a new one.