Introduction
Sometimes the issues with the phone may deal with an internal malfunction. This guide demonstrates how to take apart the base of the speakerphone as a prerequisite for internal technical repair. The base must be removed before accessing the internal parts.
What you need
-
-
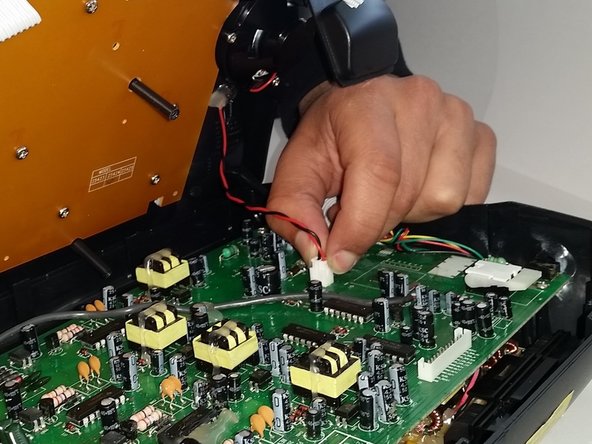
Remove the eight 11mm screws found on the bottom side of the base with a Phillips #00 screwdriver.
-
-


Almost done!
To reassemble your device, follow these instructions in reverse order.
Conclusion
To reassemble your device, follow these instructions in reverse order.
Team

Penn State, Team 1-17, Kaschak Winter 2015 Member of Penn State, Team 1-17, Kaschak Winter 2015
PSU-KASCHAK-W15S1G17
4 Members
6 Guides authored