
Polaroid PMID701i 10 Battery Replacement

What you need

  1. Polaroid PMID701i 10 Battery Replacement, Panel: step 1, image 1 of 2 Polaroid PMID701i 10 Battery Replacement, Panel: step 1, image 2 of 2
    • Turn off and unplug the device before starting replacement.

    • Flip the device so that the screen faces down, with the back facing up.

    • The back panel attaches to the device with four 4.0mm long screws, one at each corner, indicated by the red circles in the picture.

    • Unscrew the four screws with a PH000 screwdriver.

  2. Polaroid PMID701i 10 Battery Replacement: step 2, image 1 of 2 Polaroid PMID701i 10 Battery Replacement: step 2, image 2 of 2
    • Flip the device over so that the screen faces up, and the back faces down.

    • Separate the front panel using the Opening Tool on a corner to create an opening.

    • Removing the frame for the first time may take a significant amount of force.

    • Run the tool along the seams of the device to open up all the sides.

  3. Polaroid PMID701i 10 Battery Replacement: step 3, image 1 of 1
    • Removing the panel too quickly may damage the cable that attaches parts between the two panels.

    • Gently lift the top panel from the bottom panel.

  4. Polaroid PMID701i 10 Battery Replacement: step 4, image 1 of 2 Polaroid PMID701i 10 Battery Replacement: step 4, image 2 of 2
    • The flexible flat cables (FFC) attach to parts in the bottom panel with zero insertion force (ZIF) connectors.

    • Use the Opening tool to flip up the black retaining flap on the smaller connector.

    • Gently lift the cable, parallel to the panel, to detach it.

  5. Polaroid PMID701i 10 Battery Replacement: step 5, image 1 of 2 Polaroid PMID701i 10 Battery Replacement: step 5, image 2 of 2
    • Use the Opening tool to flip up the black retaining flap on the larger connector.

    • Gently lift the cable, parallel to the panel, to detach it.

  6. Polaroid PMID701i 10 Battery Replacement, Battery: step 6, image 1 of 1
    • The battery is wrapped with tape. It is attached to the back plastic panel by glue.

    • The battery may bend if detached using a spudger or other small tool.

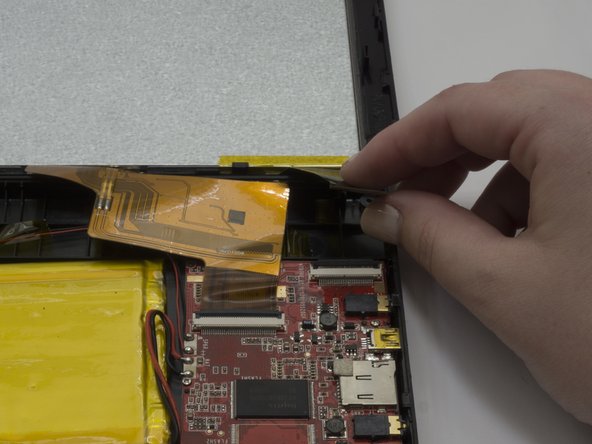
    • Grip the the battery by hand.

    • Due to the glue and shape of the battery it, it may take a significant amount of force to lift it.

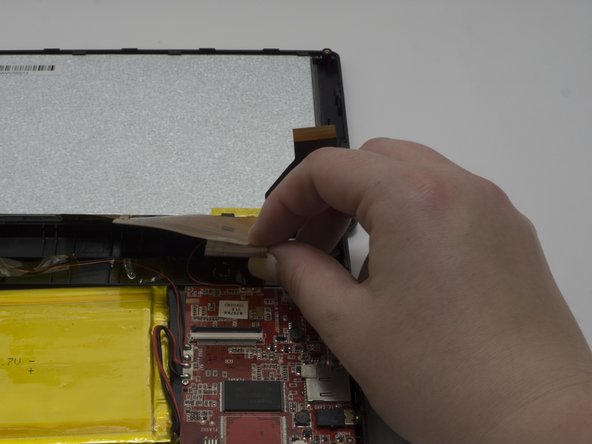
    • Lift the battery, by hand, to remove it from the glue and panel.

  7. Polaroid PMID701i 10 Battery Replacement: step 7, image 1 of 1
    • The battery attaches to the motherboard with two wires, one red and one black.

    • Desolder the wires from the motherboard. For detailed information, refer to the Solder and Desolder guide.

  8. Polaroid PMID701i 10 Battery Replacement: step 8, image 1 of 1
    • Gently remove the battery, with the wires, from the panel and motherboard completely.

Conclusion

To reassemble your device, follow these instructions in reverse order.

One other person completed this guide.

Amy Li

Member since: 01/31/17

627 Reputation

5 Guides authored

Team

Baylor, Team 3-4, Whitney Spring 2017 Member of Baylor, Team 3-4, Whitney Spring 2017

BU-WHITNEY-S17S3G4

3 Members

10 Guides authored

0 Comments

Add Comment

View Statistics:

Past 24 Hours: 0

Past 7 Days: 0

Past 30 Days: 1

All Time: 257