Playstation 3 Power Supply Replacement

Archived Guide
This guide is retained solely for historical purposes. Use the updated version of the guide to perform your repair.

What you need

  1. Playstation 3 Power Supply Replacement, Top Cover: step 1, image 1 of 2 Playstation 3 Power Supply Replacement, Top Cover: step 1, image 2 of 2
    • Remove the rubber screw cover near the hard drive cover with a spudger.

  2. Playstation 3 Power Supply Replacement: step 2, image 1 of 1
    • Remove the screw holding the top cover in place with a Torx T10 screwdriver.

  3. Playstation 3 Power Supply Replacement: step 3, image 1 of 2 Playstation 3 Power Supply Replacement: step 3, image 2 of 2
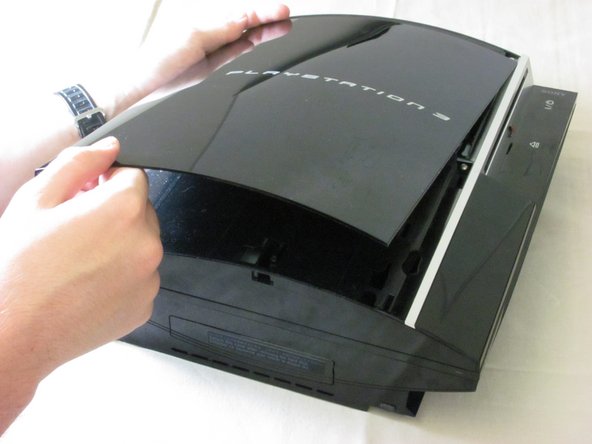
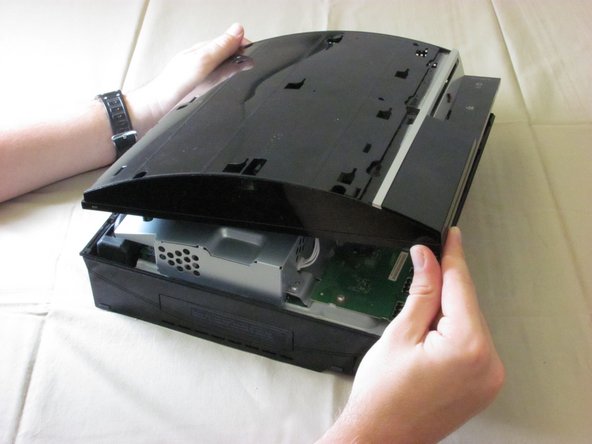
    • Slide the top cover down about half an inch.

    • Lift the cover off of the PS3.

  4. Playstation 3 Power Supply Replacement: step 4, image 1 of 2 Playstation 3 Power Supply Replacement: step 4, image 2 of 2
    • Remove the seven screws in the top cover with a Phillips #2 screwdriver.

    • One of the screws is shorter than the others. The short screw is marked in yellow.

  5. Playstation 3 Power Supply Replacement: step 5, image 1 of 3 Playstation 3 Power Supply Replacement: step 5, image 2 of 3 Playstation 3 Power Supply Replacement: step 5, image 3 of 3
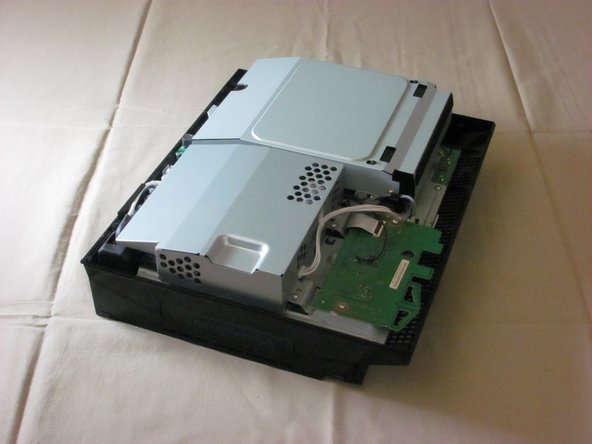
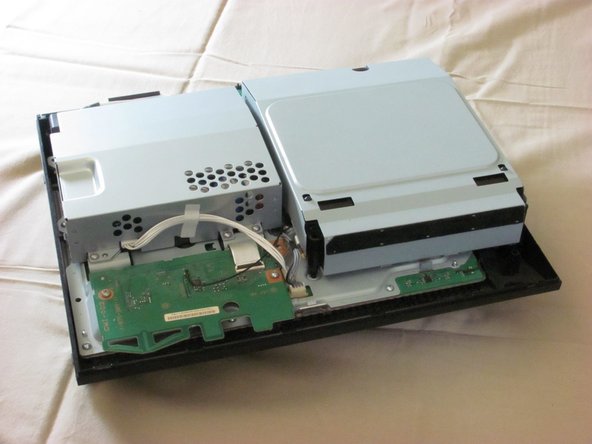
    • You can now lift off the top cover.

  6. Playstation 3 Power Supply Replacement, Power Supply: step 6, image 1 of 2 Playstation 3 Power Supply Replacement, Power Supply: step 6, image 2 of 2
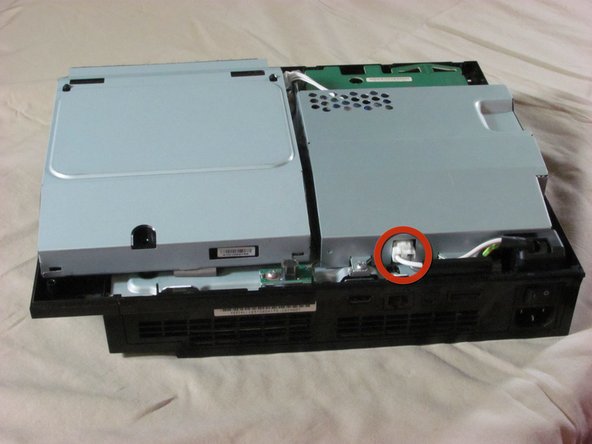
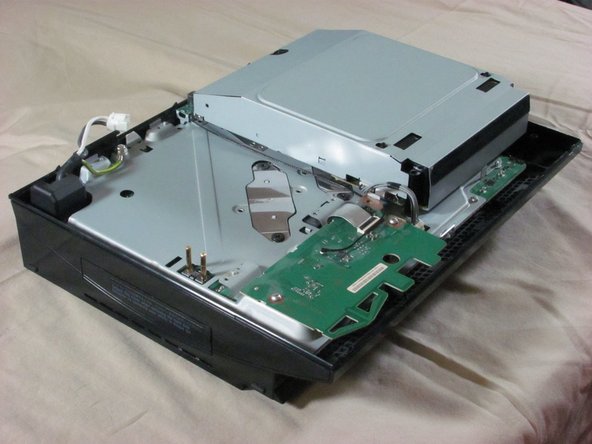
    • Unplug the white wires connected to the wireless board. There are two sets of wires: one set in the front, one in the back.

    • Push down the tab on the connector to disconnect the wires.

    • Remove the two screws on the front of the power supply.

  7. Playstation 3 Power Supply Replacement: step 7, image 1 of 1
    • Remove the screws on the back of the power supply with a Phillips #2 screwdriver.

  8. Playstation 3 Power Supply Replacement: step 8, image 1 of 2 Playstation 3 Power Supply Replacement: step 8, image 2 of 2
    • Remove the power supply by lifting it straight up.

Conclusion

To reassemble your device, follow these instructions in reverse order.

2 other people completed this guide.

iDeleted

Member since: 07/07/10

2,101 Reputation

39 Guides authored

0 Comments

Add Comment

View Statistics:

Past 24 Hours: 0

Past 7 Days: 0

Past 30 Days: 0

All Time: 1,479