Introduction
Use this guide to replace the laser from your PS3's Blu-Ray drive.
What you need
-
-
Use the tip of a spudger to remove the black rubber screw cover from the side of the PS3.
-
-
-
Remove the following seven screws:
-
Six 52 mm Phillips screws
-
One 30 mm Phillips screw
-
-
-
-
Lift the top cover from its rear edge and rotate it toward the front of the PS3.
-
Remove the top cover.
-
There is a plastic hook located in a hole on the top back right hand side corner. Carefully push the plastic hook a bit from the rear of the machine with a spudger to release the rear right of the casing.
-
-
-
Lift the Blu-ray drive from the edge nearest the power supply and rotate it away from the chassis enough to access its ribbon cable.
-
-
-
Use your fingernail to flip up the retaining flap on the Blu-ray ribbon cable socket.
-
Pull the ribbon cable out of its socket.
-
Remove the Blu-ray drive from the PS3.
-
-
-
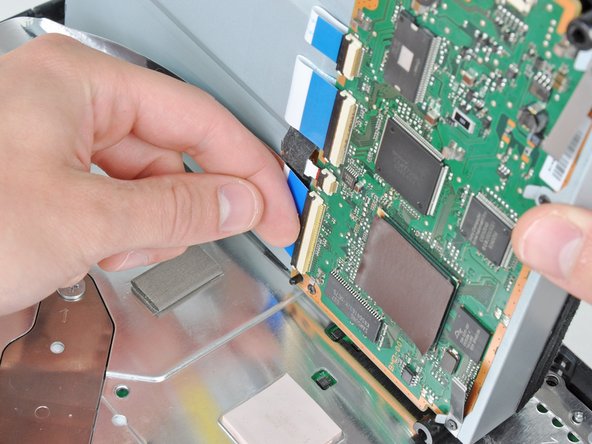
A2 ribbon cable was removed in Step 9 of the previous guide. Now remove ribbon cables A3, A4, A5 and A6 by using your fingernail to flip open the ribbon flaps.
-
With a Ph#00 screwdriver remove screws 9, 10, 11, 12 and 13.
-
Note that screws 11 & 13 are fastening a stabiliser on some models. These are pictured in the third photo in step 9, and you will need to recall their position for reassembly.
-
-
-
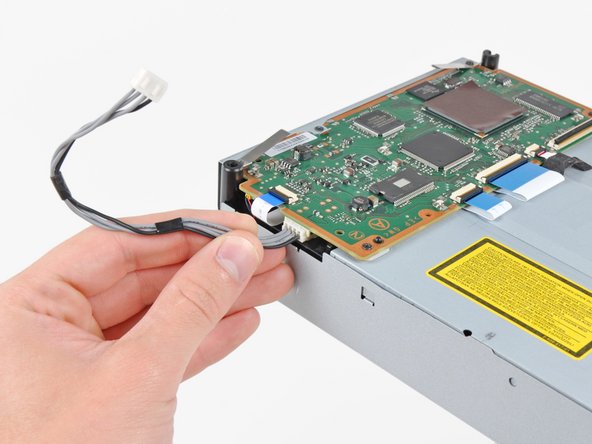
With extreme caution move the BluRay control board in a flipping motion by moving the left side of the controller upwards levering towards the right. Keep the right side of the controller close to the BluRay drive as the red and black A7 cable is delicate.
-
Remove cable A7 which is the cable that links the PS3s disc drive eject detector to the control board.
-
-
-
Remove screws 14 and 15.
-
Part C is a stabilizer and grounding contact to help absorb movement while the Blu-ray drive is in use. This may be located in a different area of your drive as decided by the manufacturer. There may also be additional ones. Make sure when reassembling to put this stabiliser back in the same place as it is originally found even if it is not found in exactly the same location as this article. Failure to do so could result in disc scratching.
-
Remove the silver coloured drive cover.
-
-
-
Remove screws 16, 17, 18, 19 and 20.
-
Remove magnetic spindle D.
-
Remove top of drive being careful again not to damage the red and black cable.
-
-
-
Remove screws 21 and 22 and the brackets they hold in place.
-
Now remove bar E.
-
Unclip ribbon F.
-
Remove and replace Laser Assembly G with new Laser Assembly.
-
Follow this guide in reverse to reassemble.
-
-
-
The KES-4000AAA laser is known to work with the following models: CECHE03, CECHA03, CECHC03, CECHG03, CECHB0 and CECHC03 but more varients accept the KES-400AAA laser assembly. Please contact the seller for more information. Generally older models with 4 usb ports accept the KES-4000AAA while the 2 usb models use the KES-410CA laser assembly.
-


