Introduction
If your Oontz Angle 3 ULTRA speaker is not charging or connecting to external devices, you may need to replace your speaker’s Micro USB port. This replacement guide will walk you through replacing the Micro USB port of your Oontz Angle 3 ULTRA Bluetooth speaker. For this guide, you will need a spudger, a Soldering Iron with Solder Wick or a Solder Sucker, and tweezers. Follow this guide to learn how to solder and de-solder connections. How To Solder and Desolder Connections
What you need
-
-
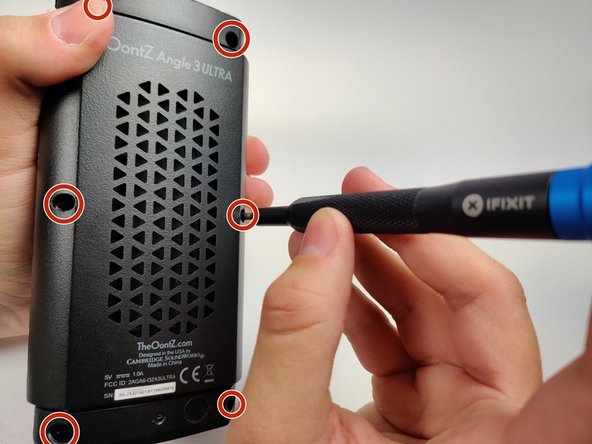
Remove the two black rubber sheaths around the edges of the speaker.
-
Under the symbol-marked sheath there is a white rubber covering for the buttons. Peel this away to reveal the panel underneath.
-
On two corners of its triangular face there is a small divot, which allows you to use your fingernails or a pair of tweezers to grip and peel away the covering.
-
-
-
-
Gently push the ports away from the speaker enclosure with the spudger to free the motherboard.
-


To reassemble your device, follow these instructions in reverse order.
To reassemble your device, follow these instructions in reverse order.
Team

Embry-Riddle Aeronautical University, Team S6-G9, Rauch Spring 2020 Member of Embry-Riddle Aeronautical University, Team S6-G9, Rauch Spring 2020
ERAU-RAUCH-S20S6G9
3 Members
6 Guides authored