
Repairing Onkyo TX-800 Button pins

What you need

  1. Repairing Onkyo TX-800 Button pins, Disassembling Onkyo TX-800 Top case: step 1, image 1 of 3 Repairing Onkyo TX-800 Button pins, Disassembling Onkyo TX-800 Top case: step 1, image 2 of 3 Repairing Onkyo TX-800 Button pins, Disassembling Onkyo TX-800 Top case: step 1, image 3 of 3
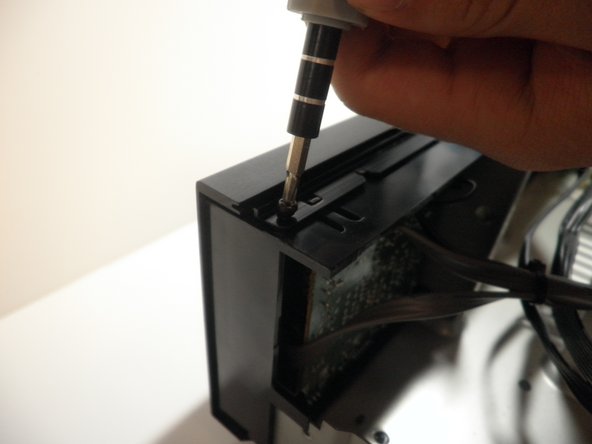
    • Remove the two screws on both sides of the receiver. Keep these and the rest of the screws in a safe place.

  2. Repairing Onkyo TX-800 Button pins: step 2, image 1 of 2 Repairing Onkyo TX-800 Button pins: step 2, image 2 of 2
    • Remove the top screw on the back panel.

  3. Repairing Onkyo TX-800 Button pins: step 3, image 1 of 2 Repairing Onkyo TX-800 Button pins: step 3, image 2 of 2
    • Slide off the case to expose the internal components of the receiver.

  4. Repairing Onkyo TX-800 Button pins, Face plate: step 4, image 1 of 3 Repairing Onkyo TX-800 Button pins, Face plate: step 4, image 2 of 3 Repairing Onkyo TX-800 Button pins, Face plate: step 4, image 3 of 3
    • Unscrew the three screws on top of the face plate.

  5. Repairing Onkyo TX-800 Button pins: step 5, image 1 of 2 Repairing Onkyo TX-800 Button pins: step 5, image 2 of 2
    • Unscrew the one screw on the bottom of the front panel.

  6. Repairing Onkyo TX-800 Button pins: step 6, image 1 of 3 Repairing Onkyo TX-800 Button pins: step 6, image 2 of 3 Repairing Onkyo TX-800 Button pins: step 6, image 3 of 3
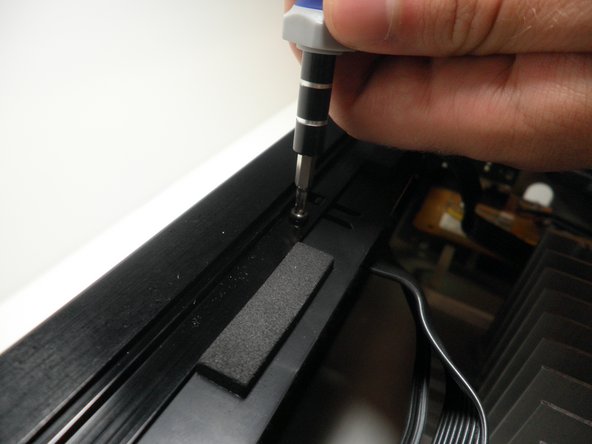
    • Simultaneously push down on the head of the snap on each end of the device with your thumbs and push to seperate the face plate. This may take some force.

  7. Repairing Onkyo TX-800 Button pins, Logic board: step 7, image 1 of 3 Repairing Onkyo TX-800 Button pins, Logic board: step 7, image 2 of 3 Repairing Onkyo TX-800 Button pins, Logic board: step 7, image 3 of 3
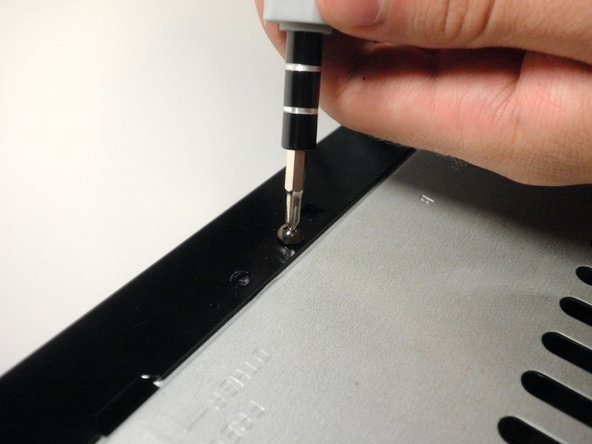
    • On the inside middle of the face plate you will see two screws in the logic board. Unscrew these two screws.

  8. Repairing Onkyo TX-800 Button pins: step 8, image 1 of 2 Repairing Onkyo TX-800 Button pins: step 8, image 2 of 2
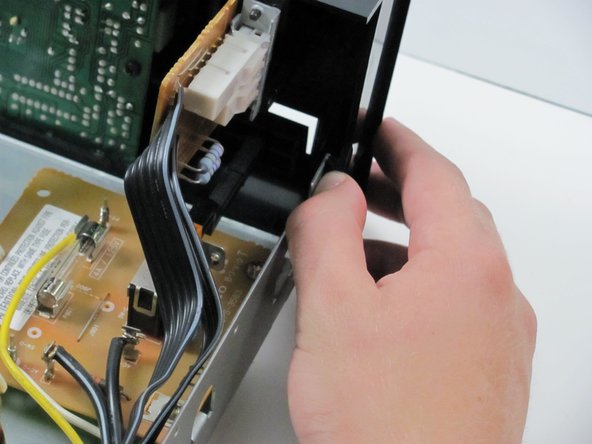
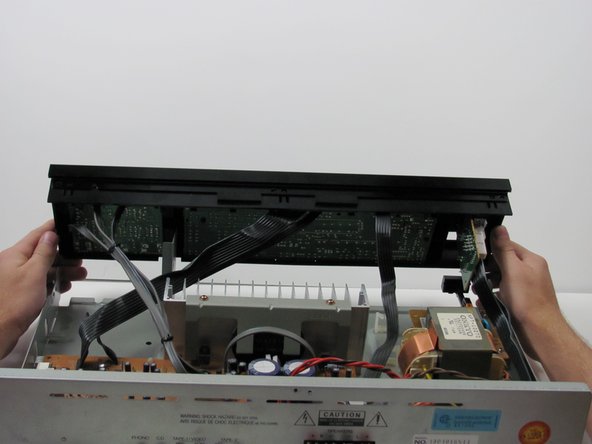
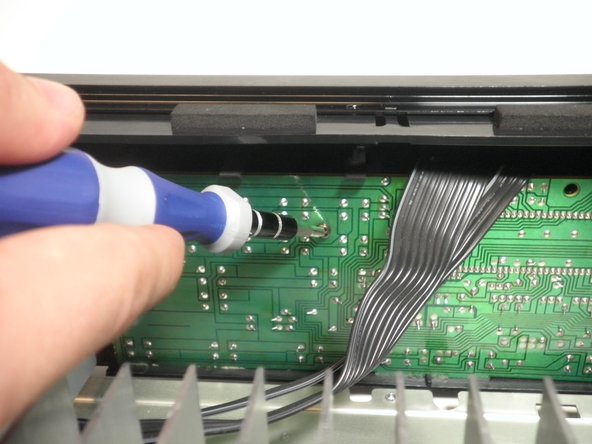
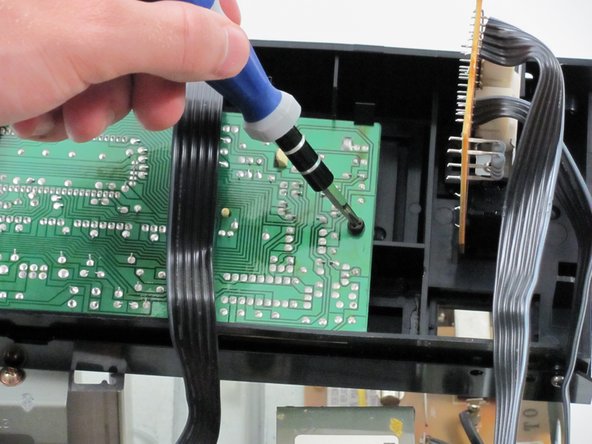
    • You will see the same snaps along the top of the logic board. Press the heads of the snaps down and pull the logic board out and up.

  9. Repairing Onkyo TX-800 Button pins, Button pins: step 9, image 1 of 2 Repairing Onkyo TX-800 Button pins, Button pins: step 9, image 2 of 2
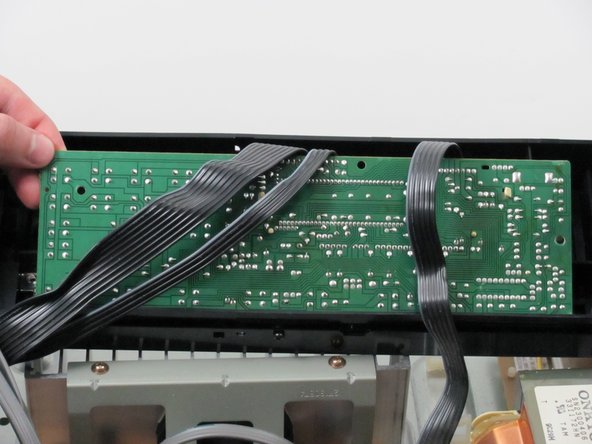
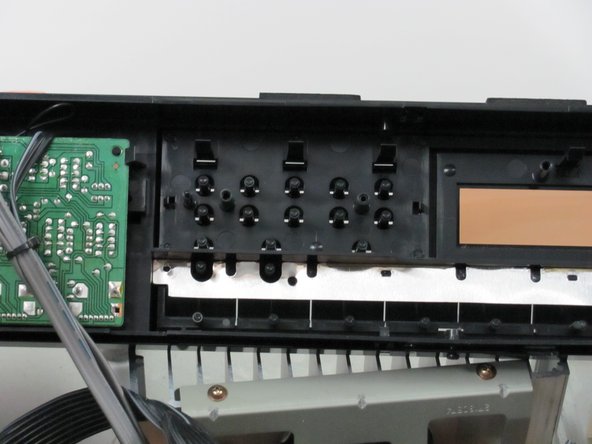
    • You will see that each button on the face plate has a button pin that presses the corresponding button on the logic board. Visually check if any of these pins are bent or broken.

  10. Repairing Onkyo TX-800 Button pins: step 10, image 1 of 1
    • If any of the pins are bent use your pliers to bend the pins back into shape.

    • Take caution that too much force can break the button pins.

Ryan

Member since: 04/13/10

108 Reputation

3 Guides authored

Team

Cal Poly, Team 27-92, Amido Spring 2010 Member of Cal Poly, Team 27-92, Amido Spring 2010

CPSU-AMIDO-S10S27G92

4 Members

7 Guides authored

View Statistics:

Past 24 Hours: 0

Past 7 Days: 1

Past 30 Days: 8

All Time: 5,124