
NuVision 10.1 Atom Speaker Replacement

What you need

  1. NuVision 10.1 Atom Speaker Replacement, Back Cover: step 1, image 1 of 3 NuVision 10.1 Atom Speaker Replacement, Back Cover: step 1, image 2 of 3 NuVision 10.1 Atom Speaker Replacement, Back Cover: step 1, image 3 of 3
    • Turn the device screen side down.

    • Carefully remove the back piece with the iFixit opening tool.
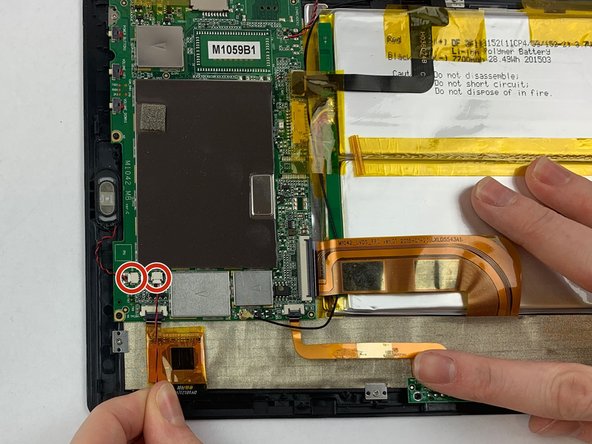
  2. NuVision 10.1 Atom Speaker Replacement: step 2, image 1 of 1
    • Remove the yellow tape covering the motherboard gently with your fingers.

  3. NuVision 10.1 Atom Speaker Replacement, Speaker: step 3, image 1 of 1
    • Carefully remove silver tape with your fingers.

  4. NuVision 10.1 Atom Speaker Replacement: step 4, image 1 of 2 NuVision 10.1 Atom Speaker Replacement: step 4, image 2 of 2
    • Remove speakers gently using your fingers, they pop out easily.

    • Disconnect cords attached to the speaker from white pod.

Conclusion

To reassemble your device, follow these instructions in reverse order.

Carly Daniele

Member since: 02/14/19

567 Reputation

5 Guides authored

Team

USF Tampa, Team S1-G5, Leahy Spring 2019 Member of USF Tampa, Team S1-G5, Leahy Spring 2019

USFT-LEAHY-S19S1G5

5 Members

6 Guides authored

0 Comments

Add Comment

View Statistics:

Past 24 Hours: 0

Past 7 Days: 1

Past 30 Days: 4

All Time: 167