Introduction
Please read the entire guide before beginning! Most components in this phone are not user replaceable, as they are soldered directly to the logic board. The few that are replaceable will be removed, or at least pointed out in this guide. I am not responsible for any damage your device may incur.
What you need
-
-
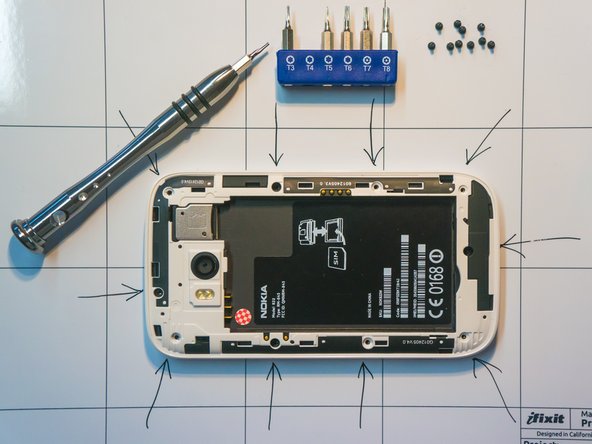
Locate and remove the ten T4 Torx screws around the perimeter of the frame. (indicated by arrows)
-
-
-
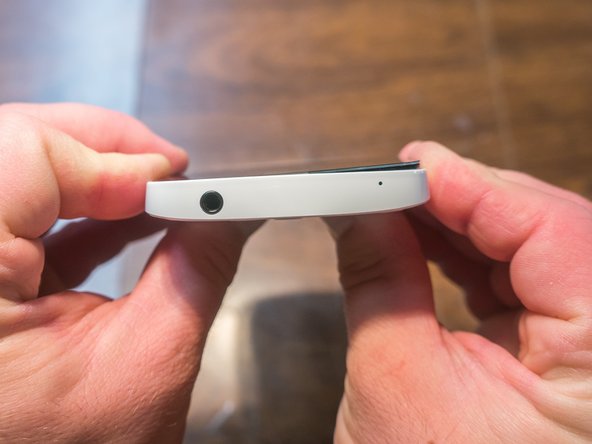
Hold the top of the phone's frame between your fingers, and gently apply pressure on the back of the LCD assembly. Do not use too much force. Move your thumbs around to apply pressure at various points.
-
When viewed from the front, the top left corner of the screen will usually be the first to pop loose.
-
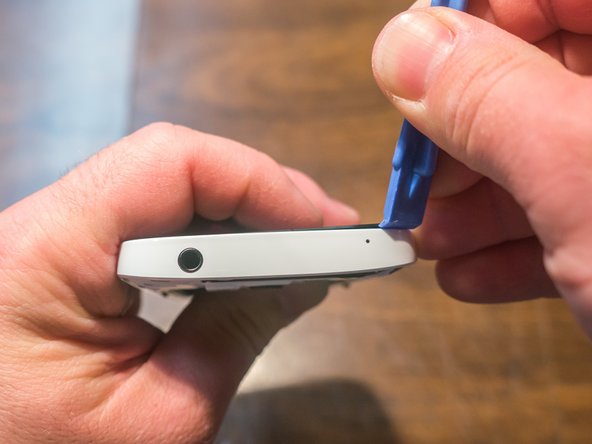
Run a plastic opening tool or a thumbnail along the top of the screen to free it from the frame assembly.
-
-
-
-
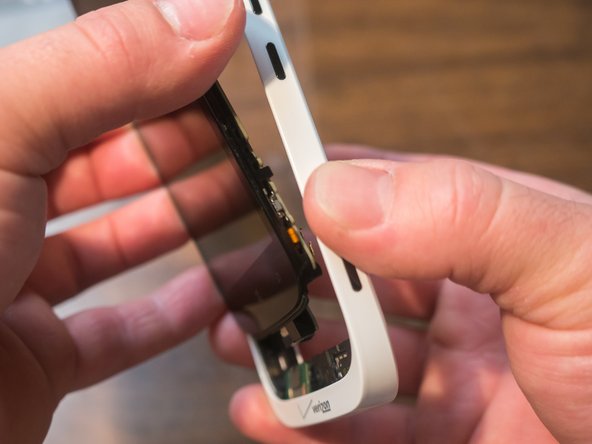
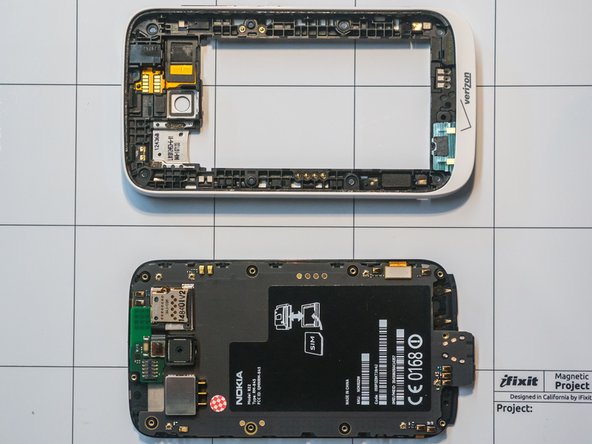
Once the top of the screen assembly is free, pull it out so it clears the edge of the frame.
-
Pull the screen assembly straight up to free the bottom portion from the frame. The frame can now be set aside, as we will concentrate on the screen/logic board assembly.
-
-
-
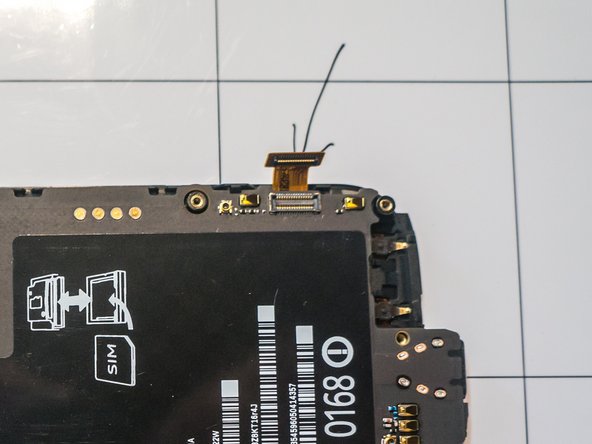
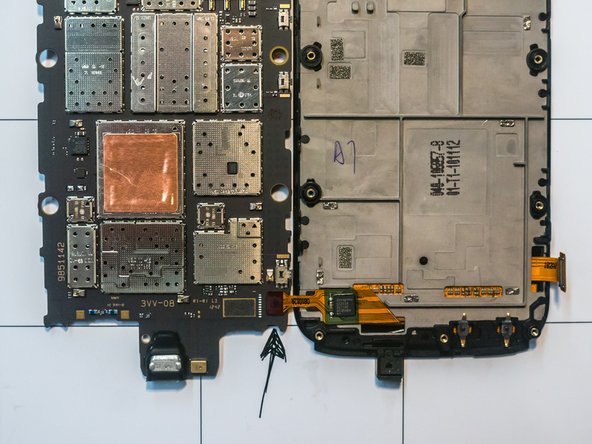
Locate the ribbon cable on the back of the logic board and carefully loosen the connector with a plastic opening tool. Be sure you are prying on the cable's connector, and not on the plug on the logic board.
-
-
-
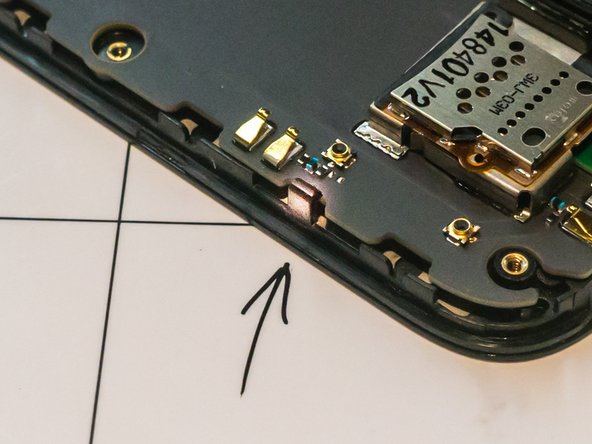
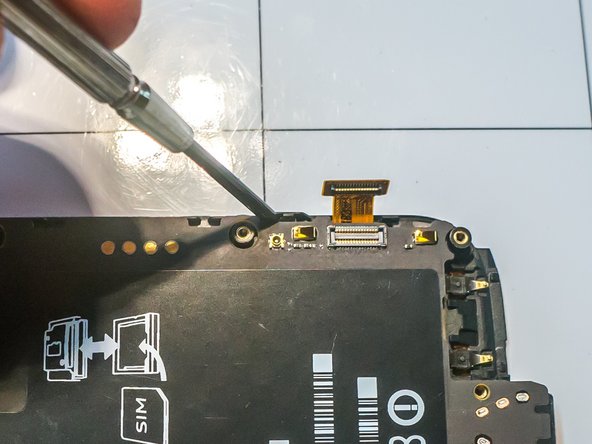
There are four small plastic clips that hold the logic board to the screen assembly. Using a small flat screwdriver, carefully pull back clips # 1 and 2, (see photo) and free the logic board on that side.
-
-
-
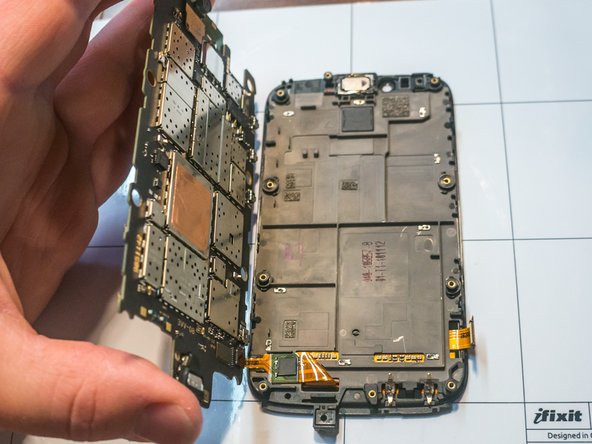
Raise the logic board by the edge freed in the previous step, and slide it from underneath the remaining clips on the other side.
-
Carefully flip the logic board and set it on the workspace next to the screen assembly. Take care to avoid damaging the ribbon cable.
-
-
-
Use a plastic opening tool to free the ribbon cable connector, again making sure to pry only on the cable's connector.
-
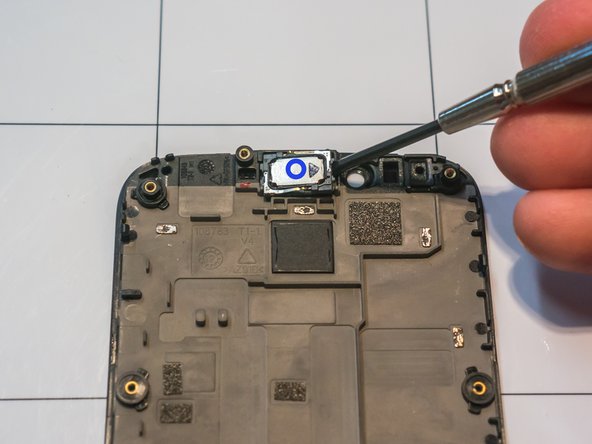
The only replaceable part on the screen assembly is the earpiece speaker, although removing it will ruin the double-sided foam adhesive strip that holds it in place.
-
-
-
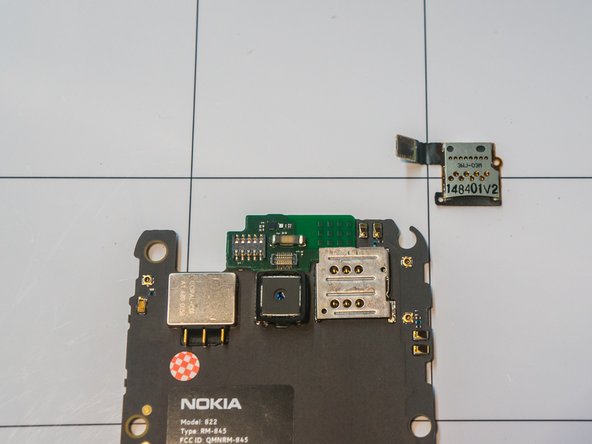
On the logic board, the front facing camera, along with the proximity and light sensors can be removed simply by loosening the connector with a plastic opening tool.
-
-
-
To remove the Micro-SD slot, begin by freeing the connector from the logic board using a plastic opening tool.
-
The Micro-SD slot is adhered to the SIM slot using a medium adhesive. Use a hobby knife to free it, carefully sliding it between the two slots.
-