
Nokia Lumia 635 Display Assembly Replacement

What you need

Video Overview

  1. Nokia Lumia 635 Display Assembly Replacement, BATTERY, SIM AND MEMORY CARDS: step 1, image 1 of 3 Nokia Lumia 635 Display Assembly Replacement, BATTERY, SIM AND MEMORY CARDS: step 1, image 2 of 3 Nokia Lumia 635 Display Assembly Replacement, BATTERY, SIM AND MEMORY CARDS: step 1, image 3 of 3
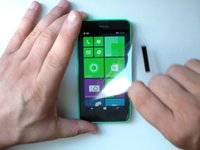
    • Switch off the phone.

    • Remove the battery and any installed SIM and memory cards.

    • Remove the black tape near to the loudspeaker.

  2. Nokia Lumia 635 Display Assembly Replacement, SCREWS: step 2, image 1 of 3 Nokia Lumia 635 Display Assembly Replacement, SCREWS: step 2, image 2 of 3 Nokia Lumia 635 Display Assembly Replacement, SCREWS: step 2, image 3 of 3
    • Remove the 9x Torx T4 screws.

    • Two of them are with the same head size but with a different length.

  3. Nokia Lumia 635 Display Assembly Replacement, REAR COVER / BEZEL: step 3, image 1 of 3 Nokia Lumia 635 Display Assembly Replacement, REAR COVER / BEZEL: step 3, image 2 of 3 Nokia Lumia 635 Display Assembly Replacement, REAR COVER / BEZEL: step 3, image 3 of 3
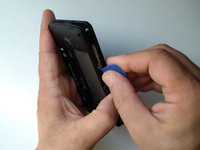
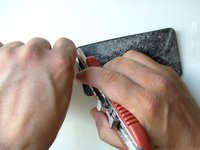
    • Use a plastic opening tool to remove the back cover.

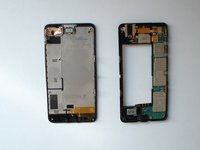
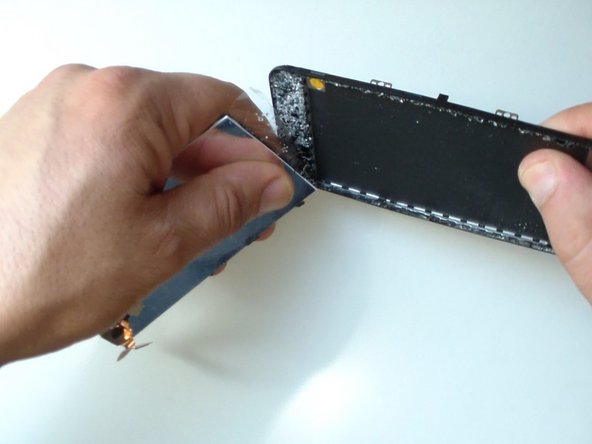
    • Careful unhook the display assembly flex cable.

  4. Nokia Lumia 635 Display Assembly Replacement, TESTING THE NEW SPARE PART: step 4, image 1 of 3 Nokia Lumia 635 Display Assembly Replacement, TESTING THE NEW SPARE PART: step 4, image 2 of 3 Nokia Lumia 635 Display Assembly Replacement, TESTING THE NEW SPARE PART: step 4, image 3 of 3
    • Insert wisdom here.

  5. Nokia Lumia 635 Display Assembly Replacement, DISPLAY ASSEMBLY STEP 1: step 5, image 1 of 2 Nokia Lumia 635 Display Assembly Replacement, DISPLAY ASSEMBLY STEP 1: step 5, image 2 of 2
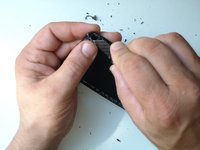
    • Put some scotch tape to prevent the glass from scattering.

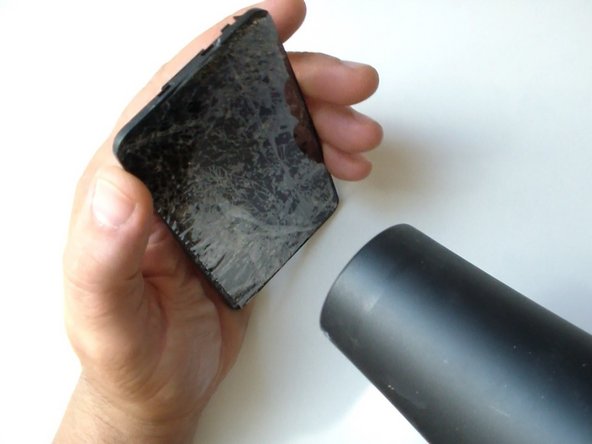
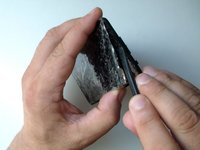
    • Use a hot gun or hair dryer and warm the glass to soften the adhesive.

  6. Nokia Lumia 635 Display Assembly Replacement, DISPLAY ASSEMBLY STEP 2: step 6, image 1 of 3 Nokia Lumia 635 Display Assembly Replacement, DISPLAY ASSEMBLY STEP 2: step 6, image 2 of 3 Nokia Lumia 635 Display Assembly Replacement, DISPLAY ASSEMBLY STEP 2: step 6, image 3 of 3
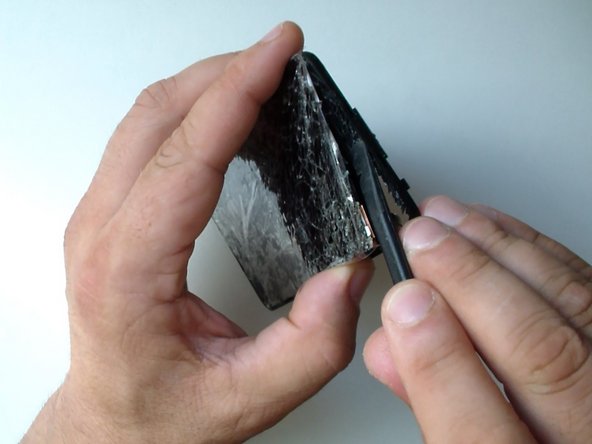
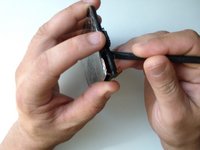
    • Start the separating from the upper right corner, where you have an hole in the middle frame.

    • Use plastic tool to prevent the middle frame from scratches.

    • Work slowly, you can cut your fingers.

  7. Nokia Lumia 635 Display Assembly Replacement, MIDDLE FRAME: step 7, image 1 of 3 Nokia Lumia 635 Display Assembly Replacement, MIDDLE FRAME: step 7, image 2 of 3 Nokia Lumia 635 Display Assembly Replacement, MIDDLE FRAME: step 7, image 3 of 3
    • Clean the middle farme.

    • Put adhesive tape 3MM.

    • Be careful, don't cover the technological openings on the middle frame (for the light sensor, earpiece, etc.).

    • It's easier if you order the spare part together with an adhesive tape.

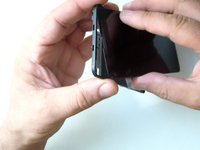
    • Install the display assembly.

  8. Nokia Lumia 635 Display Assembly Replacement: step 8, image 1 of 2 Nokia Lumia 635 Display Assembly Replacement: step 8, image 2 of 2
    • That's all.

    • .

    • .

    • .

    • .

    • .

    • .

    • Did you do it successfully?

Conclusion

To reassemble your device, follow these instructions in reverse order.

5 other people completed this guide.

ZFix

Member since: 12/09/13

191,278 Reputation

330 Guides authored

Team

Master Techs Member of Master Techs

Community

322 Members

2,528 Guides authored

2 Comments

Exactly what I needed! Step by step detailed instructions along with what tools I would need. Heating it up took longer than expected & it took me longer than 30 min, but I actually set aside 2 hours to replace my screen. Woohoo I finally I have a new screen & I did it all on my own...well with the amazing help from ZFix ;D

beatriz_ibre - Reply

how to fix the display

Roneil Mcintosh - Reply

Add Comment

View Statistics:

Past 24 Hours: 1

Past 7 Days: 1

Past 30 Days: 14

All Time: 9,815