Introduction
Here is a Nokia Lumia 520 with a broken front glass. It is possible to purchase just the glass, but I opted against this. Nokia refers to the front assembly (Glass and Digitizer) as the Touch Window, it is around $10 and it is easy to replace. I previously tried unsuccessfully to separate the digitizer from the glass.
This guide is also applicable to the Nokia 521. The Nokia 521 has a 4th M1.5x3 screw in the lower left corner of the battery compartment, as shown in Step 3.
What you need
-
-
The damage to the digitizer is clearly visible. Nokia refers to the glass/digitizer combo as the "touch window"
-
Turn the phone over,
-
and release the back cover by pushing it off the phone from the top
-
-
-
With the back cover removed, the battery becomes visible.
-
Lift up the battery from the bottom and remove it.
-
Unscrew the five Torx+4 screws.
-
-
-
These five screws are 5mm in length
-
Next remove the three Torx+4 screws
-
Those screws are machine screws M1.5x3
-
The Nokia 521 has a 4th screw in the lower left corner of the battery compartment.
-
-
-
-
Release the two clips on the bottom of the phone by using a guitar pick or similar opening tool
-
Simply insert the tool in the gap between the case halves and slightly rotate the tool to free the clips.
-
Continue to work the tool all the way round.
-
-
-
The last clip should be on the top of the phone.
-
Once those are released, the case will simply open up. With the cover (Nokia calls it the D-cover) removed, the logic board will be visible.
-
-
-
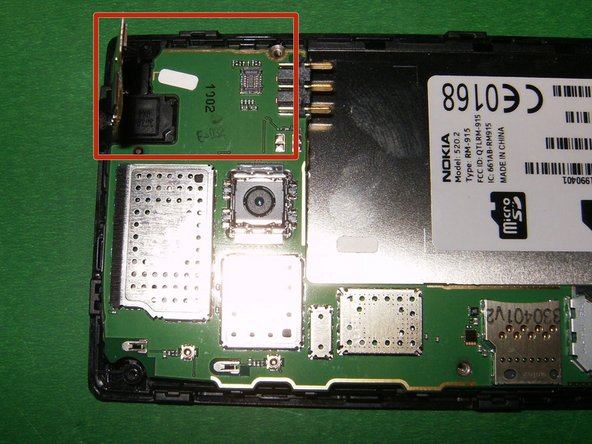
Remove the digitizer flex cable by using an opening tool, or spudger, from the connector
-
Here is the flex cable removed from the connector
-
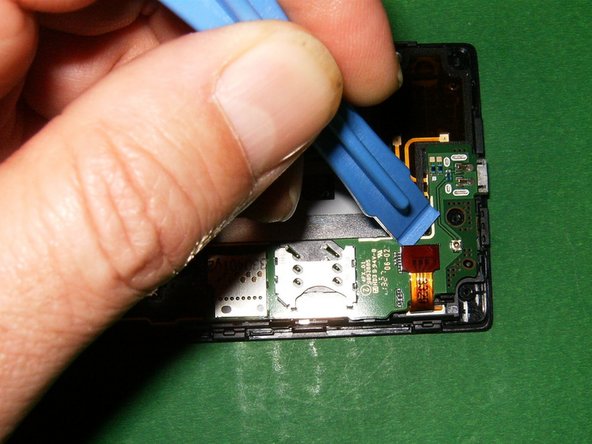
Next remove the display flex with an opening tool, or spudger, from the connector.
-
-
-
Display flex removed from the connector
-
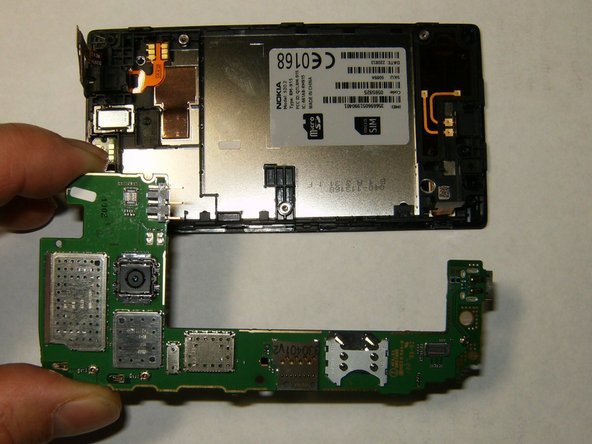
Use an opening tool, or a spudger, to remove the logic board from the case. It is simply held in by two clips.
-
Remove the logic board from the front assembly
-
-
-
Use a guitar pick or similar opening tool to unsnap the touch window assembly from the support frame.
-
This will separate the touch window from the rest of the phone.
-


Team
