Introduction
The Coolpix S9050 was introduced in 2012 and discontinued in 2013
What you need
-
-
Flip the camera upside down.
-
Slide the locking mechanism to the left.
-
Push yellow holding pin upward until battery pops up.
-
Pull out battery.
-
-


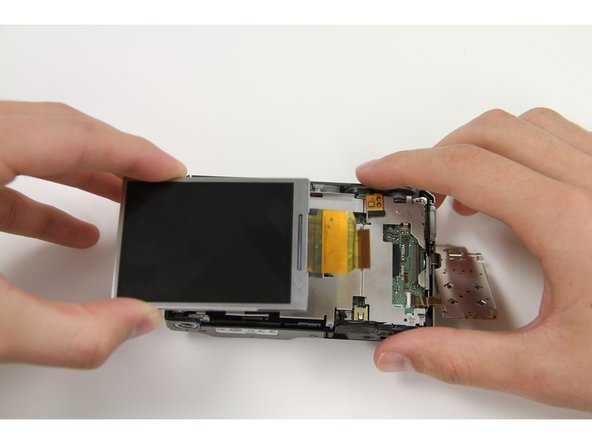

Almost done!
Follow the steps in reverse order to put the camera back together.
Conclusion
Follow the steps in reverse order to put the camera back together.
Team

Texas Tech, Team 22-3, Rauch Fall 2015 Member of Texas Tech, Team 22-3, Rauch Fall 2015
TTU-RAUCH-F15S22G3
3 Members
1 Guide authored