Introduction
Use this guide to replace a broken screen. Sliding the plastic opening tool between the back panel and the front glass can be difficult. This guide is relatively simple, mainly unscrewing and disconnecting a ribbon connector.
What you need
-
-
Using your finger, open the plastic tab to the right of the rear-facing camera.
-
Wedge your fingernail in between the back panel and the plastic tab and pull the plastic tab towards your body.
-
-
-
Using your finger, remove the SD card by pressing down on top of it (toward the bottom of the device) until you hear a clicking sound.
-
Once the card pops out, use your finger to pull the card completely out of the SD card slot.
-
-
-
-
Use the plastic opening tool to separate the back panel by carefully sliding the narrow end of the tool between the front glass and back panel.
-
Use a second plastic opening tool to help pry the front glass from the back panel.
-
-
-
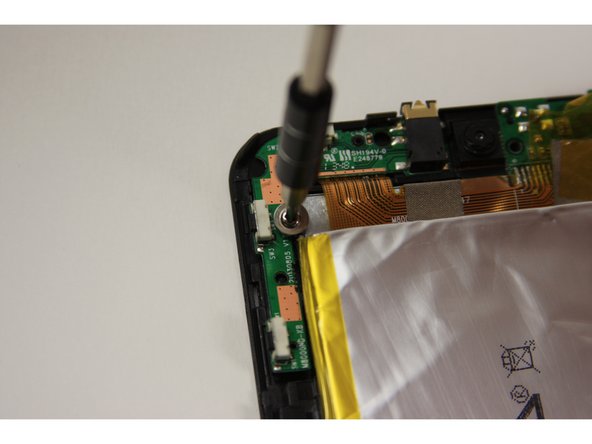
Using the Phillips #0 bit with the iFixit screwdriver, remove the four 5 mm screws with the washers around them connecting the digitizer to the screen.
-
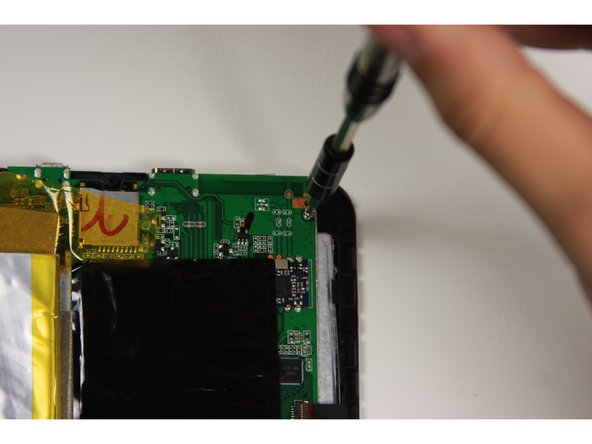
Using the Phillips #0 bit with the iFixit screwdriver, remove the two 5 mm screws connecting the motherboard to the back of the digitizer.
-
-
-
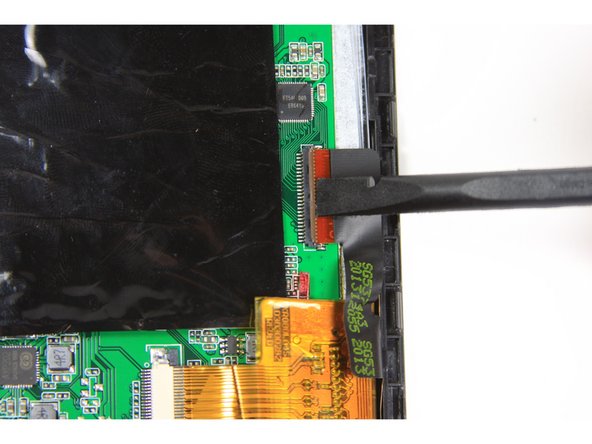
Using the flat end of the plastic spudger, open the black ribbon connector door on the right side of the motherboard.
-
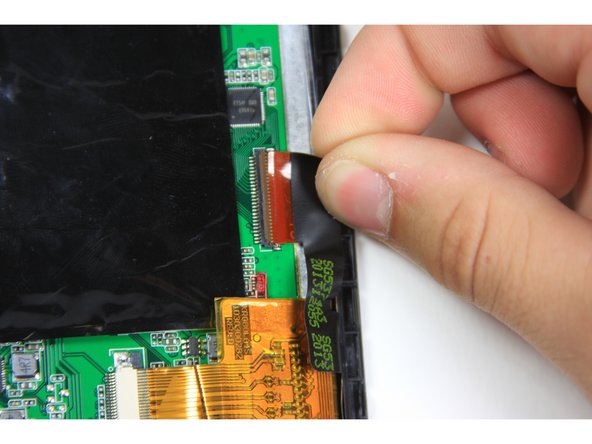
Pull the ribbon out of the ribbon connector using your finger.
-
-
-
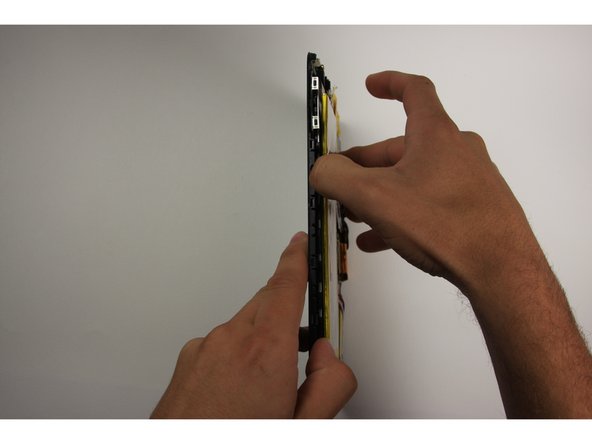
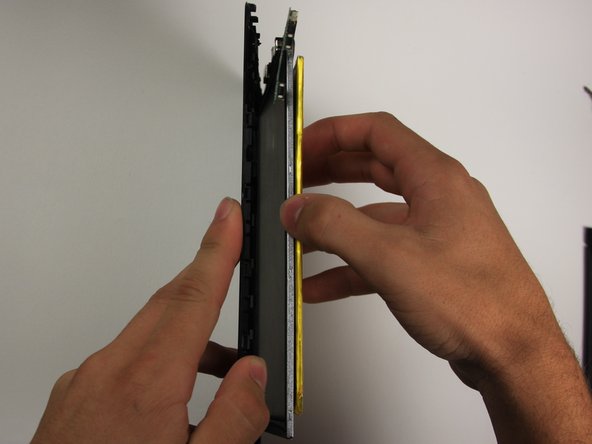
To separate the digitizer from the screen, tilt the device on its right side and use your other hand to pull the battery to the right.
-


Team

Baylor, Team 10-15, Williams Fall 2015 Member of Baylor, Team 10-15, Williams Fall 2015
BU-WILLIAMS-F15S10G15
3 Members
8 Guides authored