Introduction
Step by Step instructions to replace Neato Botvac 65 wheel motors.
What you need
-
-
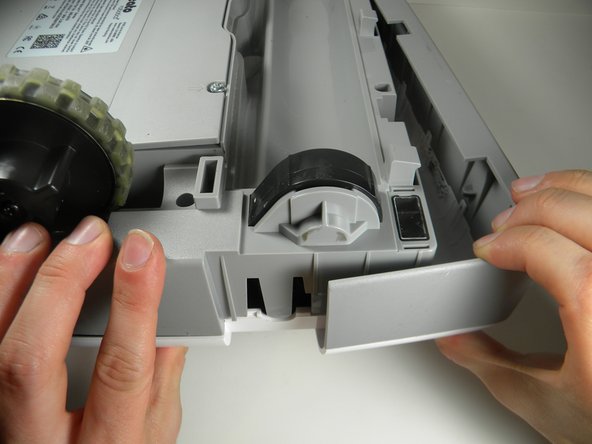
Flip the device upside down.
-
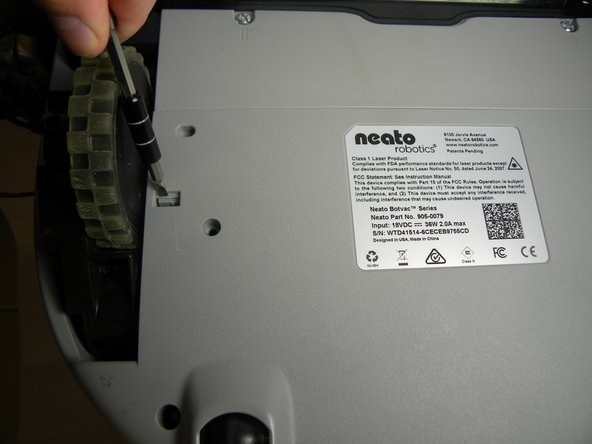
Locate the two (2) 20mm screws on the batttery plate.
-
-
-
-
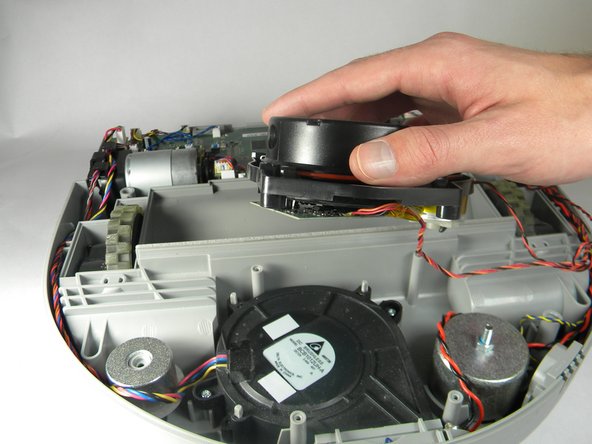
Remove four (4) 10mm 'star' screws using the T10 bit from the base plate where the rotating infrared sensor is located.
-


To reassemble your device, follow these instructions in reverse order.
To reassemble your device, follow these instructions in reverse order.
Cancel: I did not complete this guide.
One other person completed this guide.
Team

USF Tampa, Team S2-G1, Lacy Spring 2017 Member of USF Tampa, Team S2-G1, Lacy Spring 2017
USFT-LACY-S17S2G1
4 Members
10 Guides authored