What you need


If all the steps were followed correctly, the device should be fully closed and ready to go
If all the steps were followed correctly, the device should be fully closed and ready to go
Cancel: I did not complete this guide.
4 other people completed this guide.
Team

UMass Dartmouth, Team 4-3, Vijaybhaskar Spring 2015 Member of UMass Dartmouth, Team 4-3, Vijaybhaskar Spring 2015
UMASSD-VIJAYBHASKAR-S15S4G3
3 Members
12 Guides authored
7 Comments
Thank you for sharing the idea ,but I need that NABI JR battery. So ,where from I can purchase it .
I have seen them on ebay but it's easier to find a Nabi 2 battery on ebay. The Nabi 2 battery is quite a bit larger but with a very minor mod to the Nabi Jr. the Nabi 2 battery will fit and give you a much longer run time from a single charge.
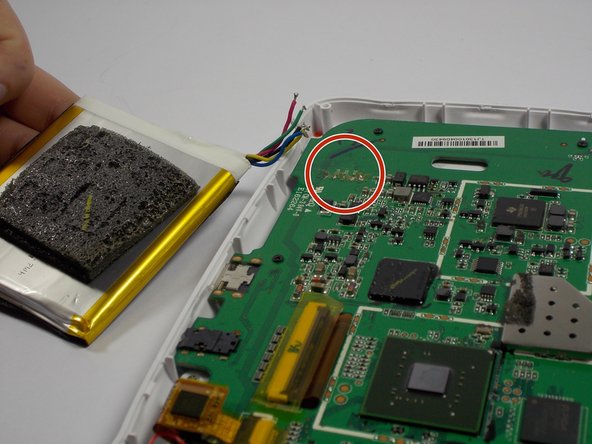
My old Nabi jr battery is a plug in with 2 reds 1 white and 2 black wires. My new Cameron sino battery is blue green red yellow black. What is the order to resolder them.
I have the same problem with the problem of the replacement battery not having the same wiring configuration or plug. Did you ever get this resolved?
My old Nabi jr battery is a plug in with 2 reds 1 white and 2 black wires. My new Cameron sino battery is blue green red yellow black. What is the order to resolder them. I can’t find anywhere to purchase the non solder style battery. Please help