Free Shipping on Domestic Orders $75+

Motorola Moto G5 Motherboard Replacement

What you need

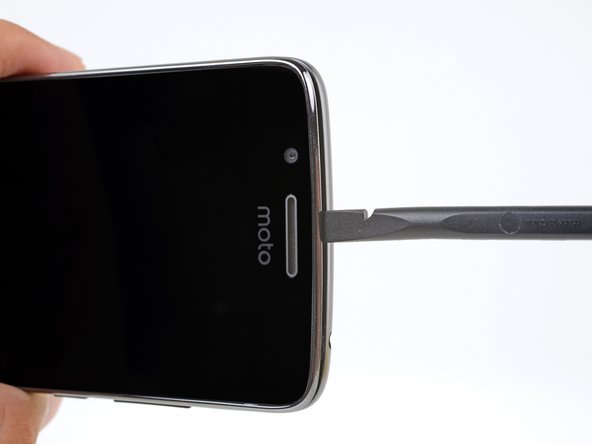
  1. Motorola Moto G5 Motherboard Replacement, Back Cover: step 1, image 1 of 2 Motorola Moto G5 Motherboard Replacement, Back Cover: step 1, image 2 of 2
    • Insert your fingernail or the flat end of a spudger into the notch on the bottom edge of the phone near the charging port.

    • Pry with your fingernail or twist the spudger to release the back cover from the phone.

    Ask FixBot

    Add Comment

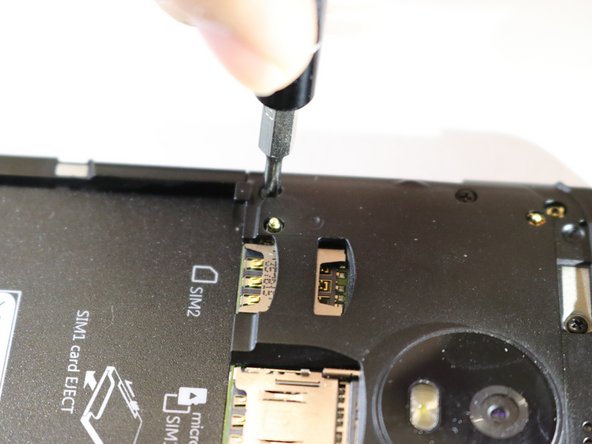
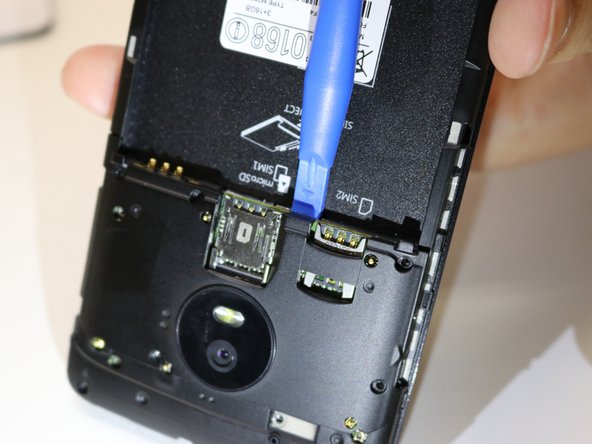
  2. Motorola Moto G5 Motherboard Replacement: step 2, image 1 of 3 Motorola Moto G5 Motherboard Replacement: step 2, image 2 of 3 Motorola Moto G5 Motherboard Replacement: step 2, image 3 of 3
    • Insert the flat end of a spudger into the seam and slide it along the bottom edge to release the clips holding the back cover to the phone.

    Ask FixBot

    Add Comment

  3. Motorola Moto G5 Motherboard Replacement: step 3, image 1 of 3 Motorola Moto G5 Motherboard Replacement: step 3, image 2 of 3 Motorola Moto G5 Motherboard Replacement: step 3, image 3 of 3
    • Continue sliding the flat end of the spudger along the seam for the remaining sides of the phone.

    Ask FixBot

    Add Comment

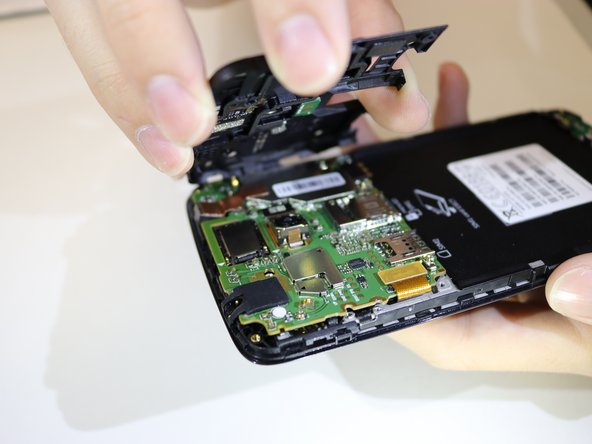
  4. Motorola Moto G5 Motherboard Replacement: step 4, image 1 of 2 Motorola Moto G5 Motherboard Replacement: step 4, image 2 of 2
    • Lift the back cover and remove it from the phone.

    • To reinstall the back cover, align the cover with the phone and squeeze along the edges to snap the clips back into place.

    Ask FixBot

    Add Comment

  5. Motorola Moto G5 Motherboard Replacement, Battery: step 5, image 1 of 2 Motorola Moto G5 Motherboard Replacement, Battery: step 5, image 2 of 2
    • Insert your fingernail or the flat end of the spudger into the notch below the battery.

    • Pry with your fingernail or spudger until you free the battery from its recess.

    Ask FixBot

    Add Comment

  6. Motorola Moto G5 Motherboard Replacement: step 6, image 1 of 1
    • Remove the battery.

    • When installing the battery, make sure the battery's contacts line up with the three gold pins on the top right.

    Ask FixBot

    Add Comment

  7. Motorola Moto G5 Motherboard Replacement, Rear Facing Camera: step 7, image 1 of 2 Motorola Moto G5 Motherboard Replacement, Rear Facing Camera: step 7, image 2 of 2
    • Remove the eight (8) 4mm screws with a Phillips screwdriver.

    Ask FixBot

    Add Comment

  8. Motorola Moto G5 Motherboard Replacement: step 8, image 1 of 3 Motorola Moto G5 Motherboard Replacement: step 8, image 2 of 3 Motorola Moto G5 Motherboard Replacement: step 8, image 3 of 3
    • Pry the top motherboard cover off using a plastic opening tool.

    • When prying it open, make sure to pry it around evenly so that the cover will not snap. This will require some force.

    Ask FixBot

    Add Comment

  9. Motorola Moto G5 Motherboard Replacement: step 9, image 1 of 3 Motorola Moto G5 Motherboard Replacement: step 9, image 2 of 3 Motorola Moto G5 Motherboard Replacement: step 9, image 3 of 3
    Tool used on this step:
    Tweezers
    $4.99
    Buy
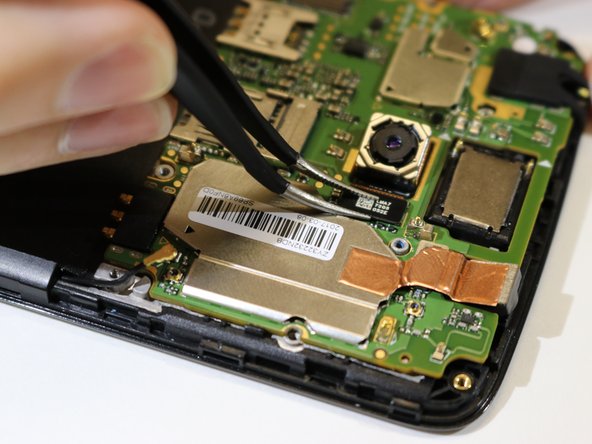
    • Disconnect the marked connector with a pair of tweezers and remove the camera piece.

    Ask FixBot

    Add Comment

  10. Motorola Moto G5 Motherboard Replacement, Motherboard: step 10, image 1 of 1
    • Remove the two 4mm screws shown in the picture using a Phillips #00 screwdriver.

    Ask FixBot

    Add Comment

  11. Motorola Moto G5 Motherboard Replacement: step 11, image 1 of 1
    • Lift the motherboard up from the top of the phone.

    Ask FixBot

    Add Comment

  12. Motorola Moto G5 Motherboard Replacement: step 12, image 1 of 1
    Tool used on this step:
    Tweezers
    $4.99
    Buy
    • Unplug the back connector from the motherboard using tweezers.

    Ask FixBot

    Add Comment

Conclusion

To reassemble your device, follow these instructions in reverse order.

Cancel: I did not complete this guide.

11 other people completed this guide.

Luis Garcia

Member since: 01/24/18

307 Reputation

1 Guide authored

Team

Cal Poly, Team S2-G3, Livingston Winter 2018 Member of Cal Poly, Team S2-G3, Livingston Winter 2018

CPSU-LIVINGSTON-W18S2G3

4 Members

21 Guides authored

2 Guide Comments

is a xt1670 logic board compatible with a xt1671 phone?

Jaime Oziel Moreno - Reply Share

While disassembling I accidentally broke off one of the antenna "pins" (the one under the audio jack). I'll try to solder it on again, but in case I cannot, you think it will affect its proper operation too much? I cannot test it right now as I am waiting a replacement side buttons board.

karajay - Reply Share

Add Comment

View Statistics:

Past 24 Hours: 1

Past 7 Days: 15

Past 30 Days: 72

All Time: 7,557