Motorola Moto G4 Plus LCD Screen and Digitizer Assembly Replacement
Introduction
This guide will walk you through the process of replacing a faulty LCD screen and digitizer assembly in a Motorola Moto G4 Plus phone.
Before you begin, download the Software Fix app to backup your device and diagnose whether your problem is software or hardware related.
This guide is for replacing a complete display assembly, which includes the display frame. Your replacement part should look like this. If you purchased a bare display, you must complete additional disassembly steps, which are not covered by this guide.
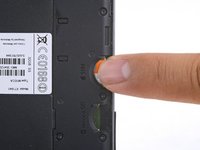
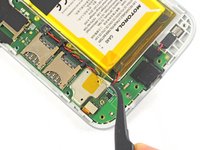
For your safety, discharge your battery below 25% before disassembling your phone. This reduces the risk of a dangerous thermal event if the battery is accidentally damaged during the repair.
To install a battery, orient the new battery such that the wires exit near the bottom of the phone, and the battery connector is on the motherboard side.
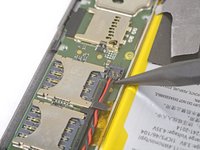
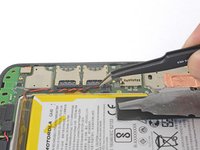
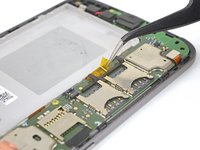
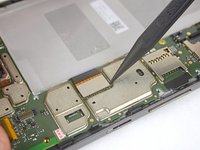
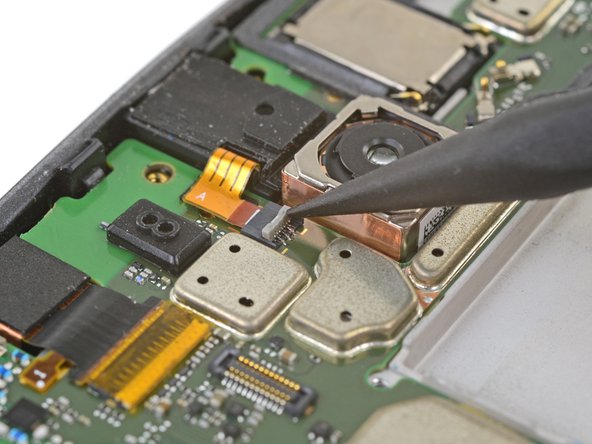
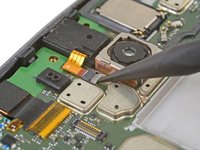
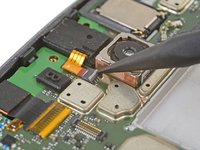
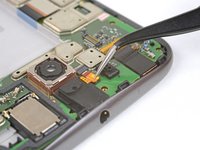
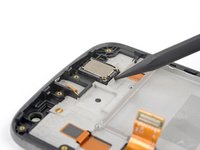
Use tweezers or the point of a spudger to carefully walk the ribbon out of the ZIF connector.
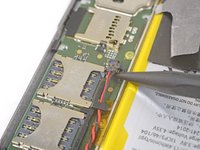
For reinstallation, align and reinsert the cable into the ZIF connector so that the white line on the cable barely shows. Flip the ZIF connector lock back down.
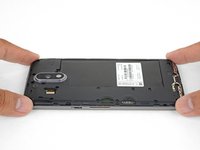
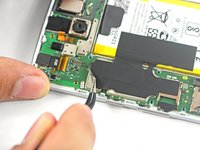
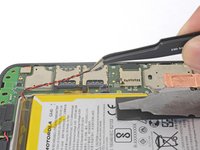
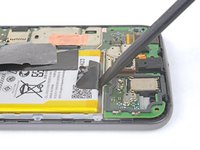
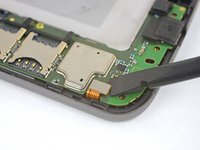
Insert the point of a spudger into a groove at the bottom of the motherboard.
Gently pry up to loosen the motherboard from the frame and from the edge clips.
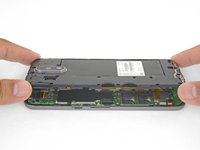
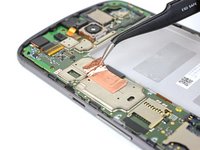
Use a spudger to move any flex cables out of the way, as well as making sure that any modules attached to the motherboard (such as the front-facing camera) are loose from the frame.
If you feel any resistance, stop. Make sure there are no components still holding the frame to the motherboard.
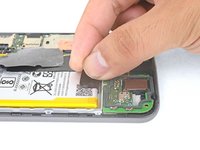
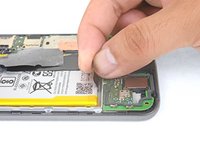
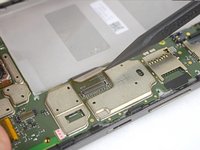
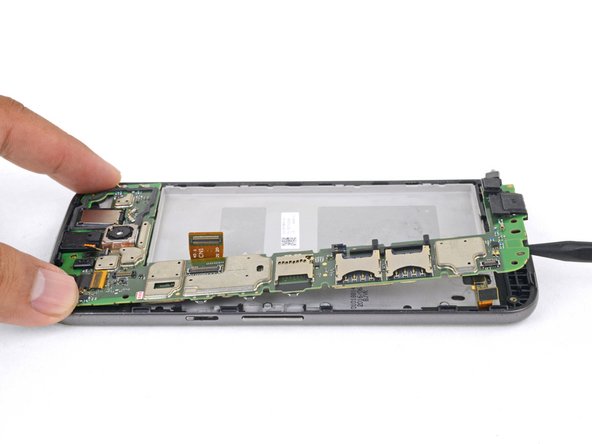
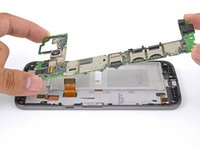
Lift the motherboard up from the frame and remove it.
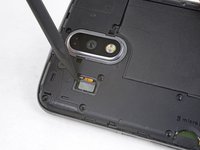
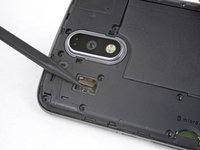
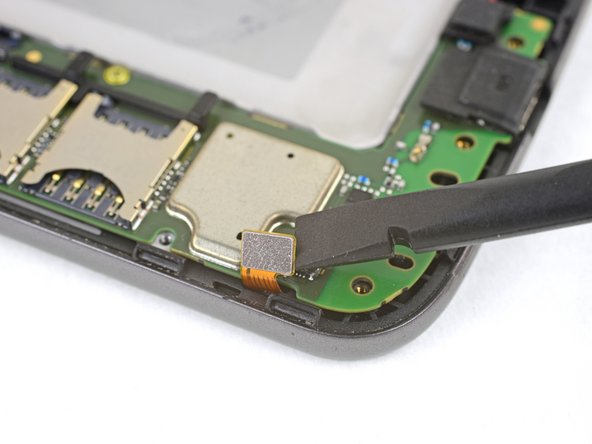
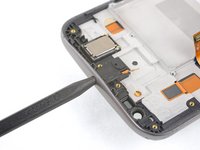
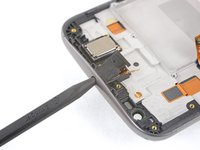
To remove the headphone jack to transfer it to the new frame, insert the point of a spudger into the headphone port, and twist downwards to pop the jack out of the frame.
Remove the headphone jack.
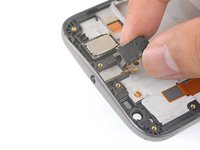
To install the headphone jack onto the new frame, align it over where it should be and press downwards.
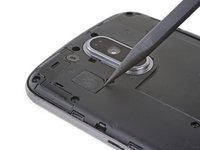
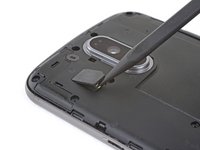
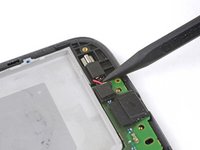
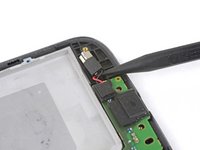
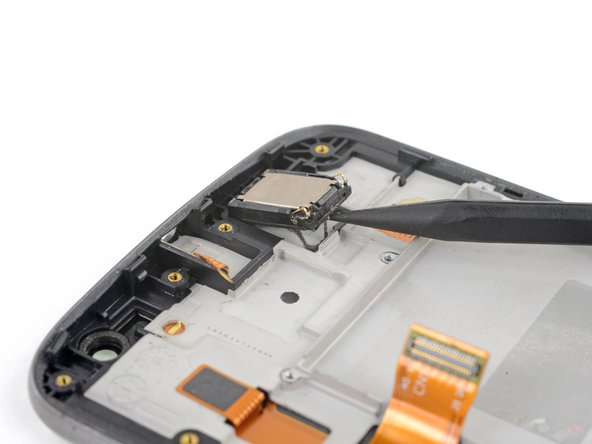
To remove the earpiece speaker to transfer it onto the new frame, insert the point of a spudger at the bottom of the speaker.
Pry upwards to separate the earpiece speaker from the frame.
To install the earpiece speaker onto the new frame, check and replace the adhesive if necessary. Align the speaker such that the two spring contacts are oriented as shown in the picture.
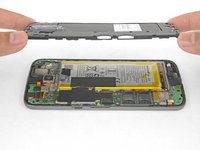
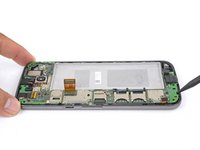
Only the LCD screen and digitizer assembly (with frame) remains.
Compare your new replacement part to the original part. You may need to transfer remaining components or remove adhesive backings from the new part before installing.