Introduction
Click here for an updated version of this guide. The version you are viewing is retained for historical purposes.
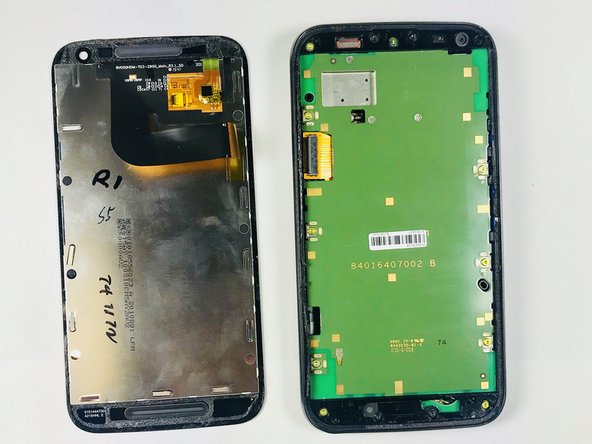
In this guide we will be removing and replacing the motherboard, which is the main source for all the other guides.
What you need
-
-
Use the plastic opening tool to open the back cover as shown in the photo.
-
-
-
-
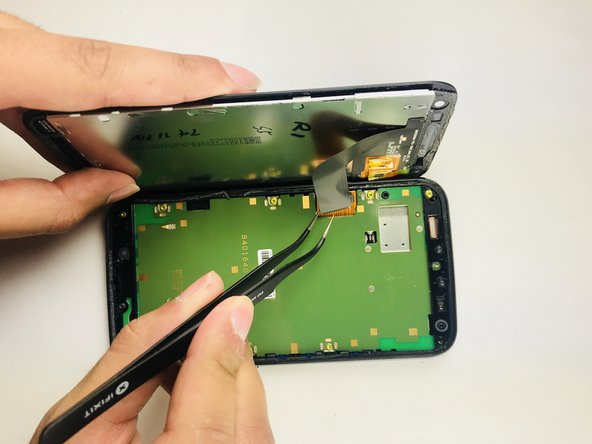
Apply the plastic opening tool on the edge of the screen near the front camera.
-
After creating enough space, allow the opening tool to be inserted on the side of the phone.
-
Create another space on the other side of the screen.
-
Leave the opening tool inserted.
-
Carefully apply the larger plastic opening tool by sliding it through the longer edge of the screen.
-
-
-
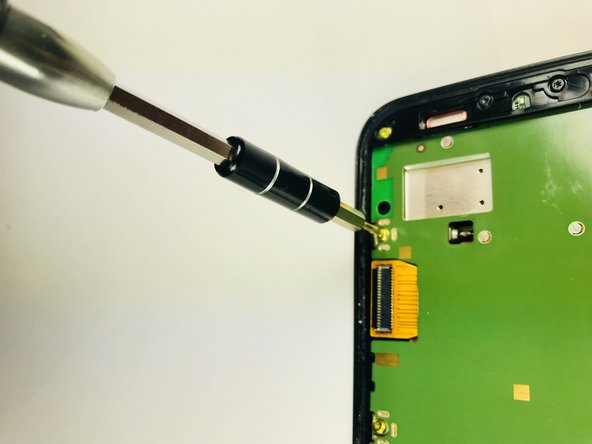
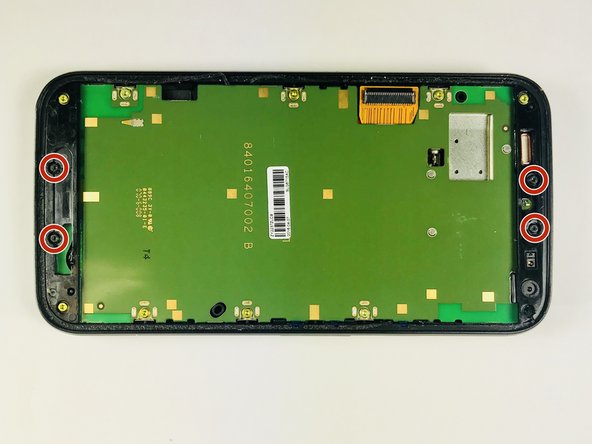
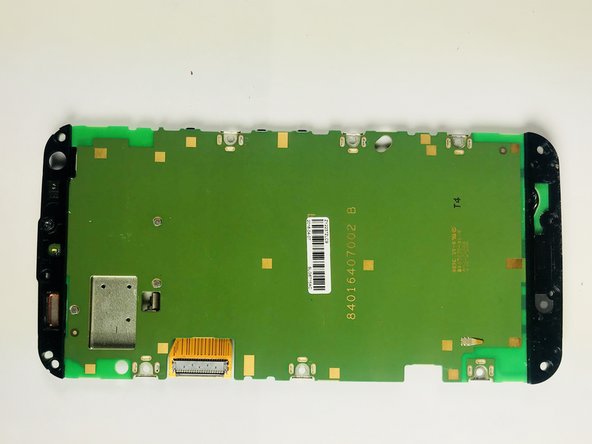
With a T4 screwdriver, remove the10 "yellow" 2mm screws and 4 "black" 2mm screws.
-


To reassemble your device, follow these instructions in reverse order.
To reassemble your device, follow these instructions in reverse order.
Cancel: I did not complete this guide.
3 other people completed this guide.

Team

Baylor, Team S5-G3, Williams Spring 2018 Member of Baylor, Team S5-G3, Williams Spring 2018
BU-WILLIAMS-S18S5G3
3 Members
9 Guides authored
One Comment
i broke my battery connectig port where we plug in the battery. What should i do?
PLZ answer