What you need
-
-
Turn off your phone before disassembling it.
-
You will need to pry the battery out to repair this phone. It is recommended that you discharge the phone before beginning.
-
After turning the phone off, remove the stylus and SIM card tray from the phone.
-
-
-
Using a heated bed (or the iOpener), heat up the device's adhesive for 2 to 3 minutes.
-
If using a heated bed, set the bed temperature to 80-85 degrees Celsius.
-
I don't own a heated bed for device repair, however my 3D printer's heated bed worked just fine. - Editor
-
I used a wet towel in a bag, microwaved open and then closed, set on the device. - Editor
-
-
-
Slide your opening pick or Halberd spudger around the edge of the device to release the adhesive.
-
When closing the device back up, an adhesive pack can be used to replace damaged adhesive. Be sure to scrape old residue away to ensure a good seal.
-
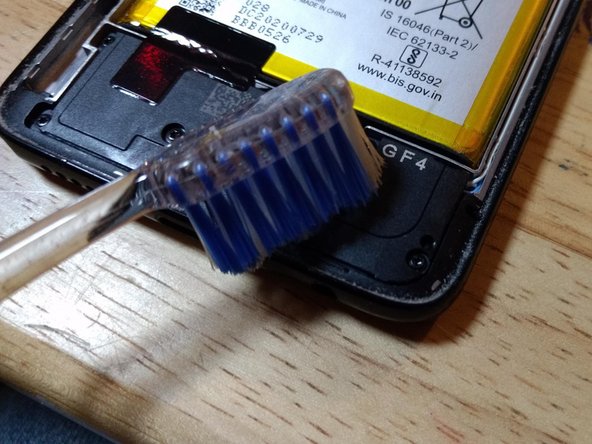
Now is a good time to brush away the detritus that collects in the gap during normal use, before any thing is unplugged. This will prevent it from clogging contacts.
-
If you remove all the adhesive, remove and store the stylus catch, it will otherwise fall out.
-
-
-
After releasing the back cover's adhesive, hold down the fingerprint sensor while lifting the back cover up.
-
Careful. Don't rip the back cover off without holding down the fingerprint sensor. You will damage the ribbon cable that attaches the fingerprint sensor to the back cover. Holding down the sensor while opening the device separates the sensor and back cover.
-
-
-
-
To avoid damaging the cameras during disassembly, remove them now.
-
Carefully disconnect the outer cameras' connectors from the board using a spudger, then remove the cameras from the phone.
-
To remove the front facing camera, very carefully cut the copper tape, then remove the ribbon cable from the board.
-
Be sure that you're cutting the copper tape, and not the ribbon cable or any other component on the board.
-
-
-
Carefully pry under the glass using a Halberd spudger, and remove the display assembly.
-
Depending on how badly your screen has been broken, you may need to remove broken glass from the screen adhesive. Removing all the adhesive for replacement may not be necessary. The process may require tweezers and a spudger. Use eye protection!
-


To reassemble your device, follow these instructions in reverse order.
To reassemble your device, follow these instructions in reverse order.
Cancel: I did not complete this guide.
5 other people completed this guide.
2 Comments
Never shows how to put the new screen on. Product does not come with instructions.
Hey Andrew! Thanks for the repair guide. I'm looking to do a battery replacement for my Motorola but can't seem to find the specific battery adhesive in stock, so I'm thinking of just buying generic adhesive that matches the thickness of the original. Do you happen to know what the thickness is for the genuine Moto battery adhesive?