Introduction
This guide will show how to remove and replace this device's back cover. No additional experience is required.
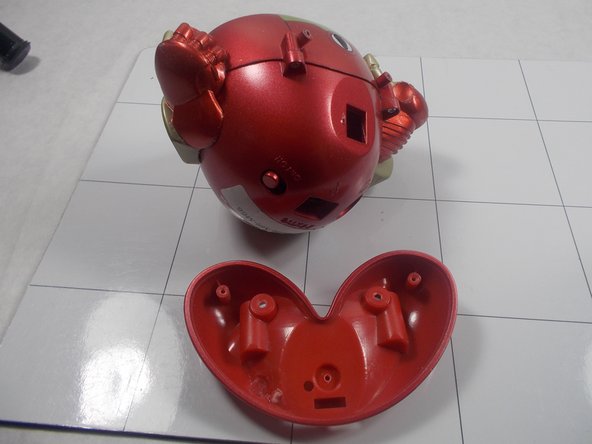
What you need
-
-
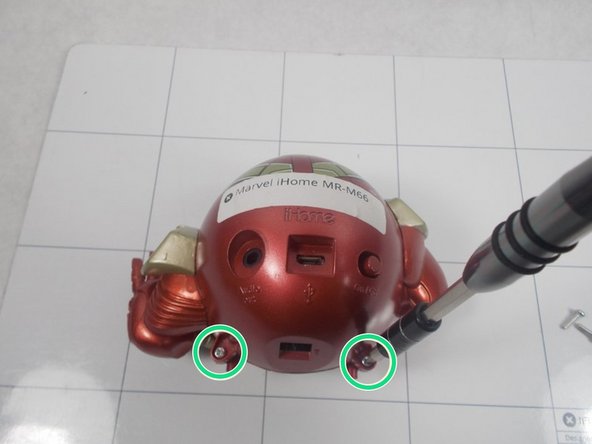
Remove two of the three screws shown on the bottom of the device.
-
Begin removing the last screw, but leave it partially in the socket to remove the bottom cover easier.
-


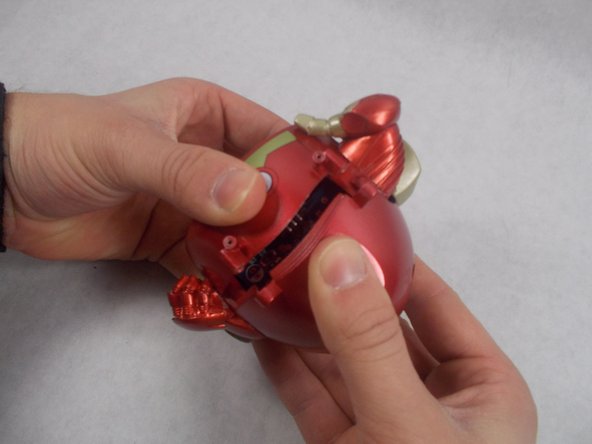

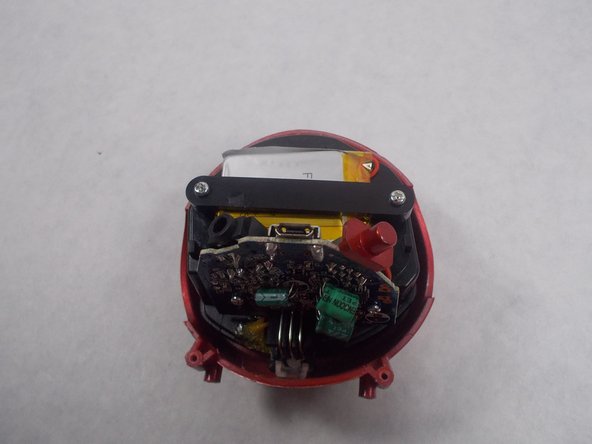
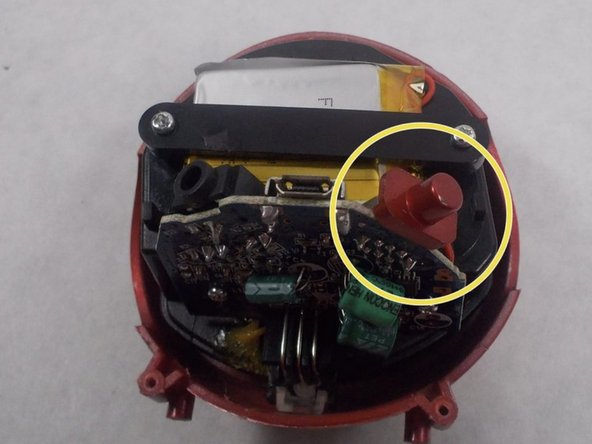
Almost done!
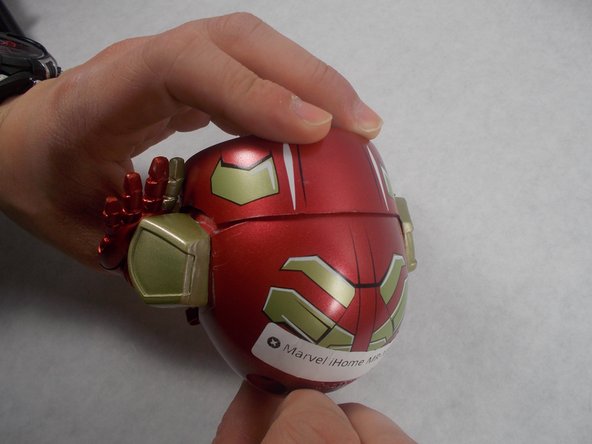
To reassemble your device, follow these instructions in reverse order.
Conclusion
To reassemble your device, follow these instructions in reverse order.
Team

UMass Dartmouth, Team S5-G3, Botvin Spring 2017 Member of UMass Dartmouth, Team S5-G3, Botvin Spring 2017
UMASSD-BOTVIN-S17S5G3
3 Members
6 Guides authored