Introduction
This guide will walk through the steps of replacing the internal battery for a Magellan RoadMate 2120T-LM. Before starting, ensure that the new battery is supported by the device.
What you need


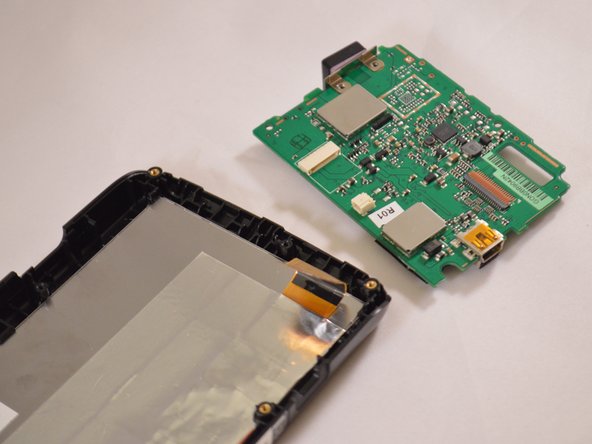
Almost done!
To reassemble your device, follow these instructions in reverse order.
Conclusion
To reassemble your device, follow these instructions in reverse order.
Team

Eastern Washington University, Team 1-5, Rowley Winter 2016 Member of Eastern Washington University, Team 1-5, Rowley Winter 2016
EWU-ROWLEY-W16S1G5
2 Members
4 Guides authored