
Installing MacBook Pro 13" Retina Display Late 2012 I/O Board Data Cable

Prerequisite Only
This guide is only intended to be used as a prerequisite for other guides. It's incomplete by itself.

What you need

  1. Installing MacBook Pro 13" Retina Display Late 2012 I/O Board Data Cable, I/O Board Data Cable: step 1, image 1 of 2 Installing MacBook Pro 13" Retina Display Late 2012 I/O Board Data Cable, I/O Board Data Cable: step 1, image 2 of 2
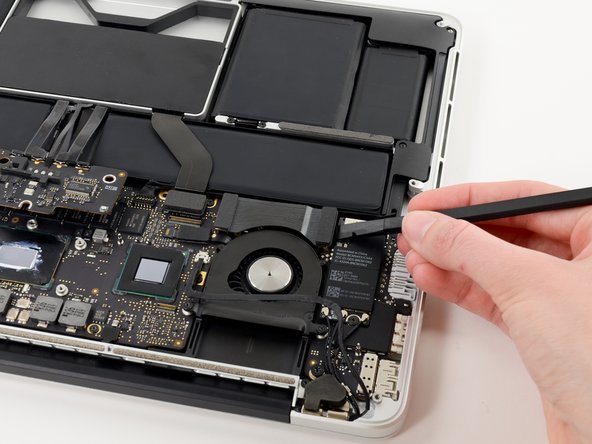
    • Use the flat end of a spudger to pry the right side of the I/O board data cable connector up off its socket on the I/O board.

    • When prying the I/O board data cable connector from its socket, make sure to pry the connector itself and not the socket. Prying the socket may cause irreversible damage to the I/O board.

  2. Installing MacBook Pro 13" Retina Display Late 2012 I/O Board Data Cable: step 2, image 1 of 2 Installing MacBook Pro 13" Retina Display Late 2012 I/O Board Data Cable: step 2, image 2 of 2
    • Wedge the flat end of a spudger beneath the left side of the I/O board data cable connector.

    • Gently twist the spudger to disconnect the I/O board data cable connector from its socket on the logic board.

  3. Installing MacBook Pro 13" Retina Display Late 2012 I/O Board Data Cable: step 3, image 1 of 1
    • Lift and remove the I/O board data cable from the MacBook Pro.

View Statistics:

Past 24 Hours: 0

Past 7 Days: 0

Past 30 Days: 0

All Time: 47