Introduction
If the buttons on the keypad are not responsive, use this guide to replace the keypad.
What you need
-
-
Use the Opening Tool to open the port cover at the bottom of the remote control.
-
Bend the cover back to gain easy access to the screws.
-
-
-
-
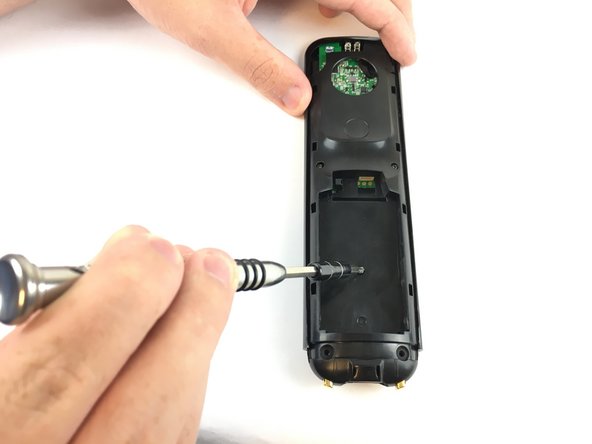
Use the J0 Philips Head Screwdriver to remove the three 6mm screws.
-
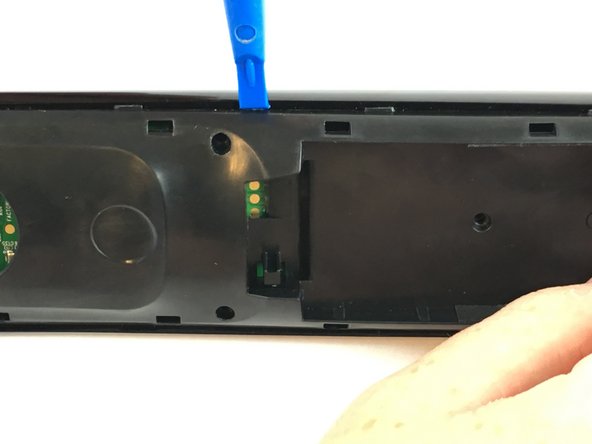
Push the opening tool into the gap along the side of the remote, then slide it across until you hear clicking sounds.
-
-
-
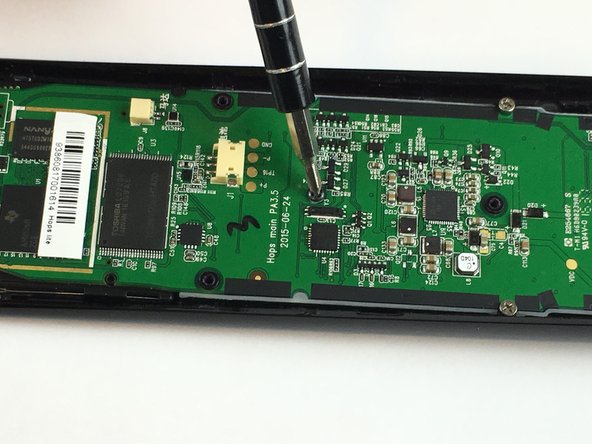
Use the J0 Philips Head Screwdriver to remove the 5 6mm screws.
Note that the first image here has 5 marked circles, which seem to show the positions of the 5 screws mentioned in this step—but they do not. There is no screw in the middle-left circle. Instead, the fifth screw is in line with that circle, but approximately 3 cm farther up the remote (to the left in the photo).
The second image, showing a screwdriver, is unscrewing that fifth screw. There is no sixth screw, as the photos might suggest.
-


To reassemble your device, follow these instructions in reverse order.
To reassemble your device, follow these instructions in reverse order.
Cancel: I did not complete this guide.
4 other people completed this guide.
Team

USF Tampa, Team S2-G2, Passmore Fall 2017 Member of USF Tampa, Team S2-G2, Passmore Fall 2017
USFT-PASSMORE-F17S2G2
4 Members
4 Guides authored
3 Comments
And the replacements parts are purchased from where?
Fruit juice or something sticky was on the keys so had to dismantle, as the keys were hard to press. it seemed just taking it apart fixed it, no cleaning needed. But still took almost an hour to completely dismantle and reassemble.
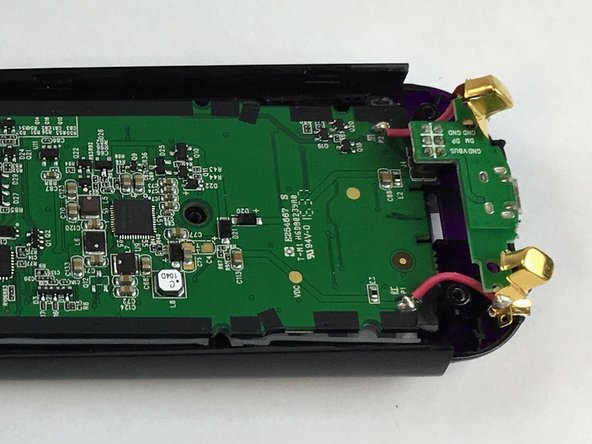
Some feedback on the guide. Once you access the PCB, and you need to remove the gold charging conductors at the bottom. Mine didn't come out, they both seem hooked in. So in the end I left them in and wiggled the PCB out instead. I think you might need to break the small plastic pits that hold in the charging conductors .