Introduction
We have to open the back panel to be able to loosen the hinges, and then remove the display to completely remove them.
What you need
-
-
With a T5 Torx screwdriver, remove eleven 6.35 mm screws from the back of the laptop.
-
-
-
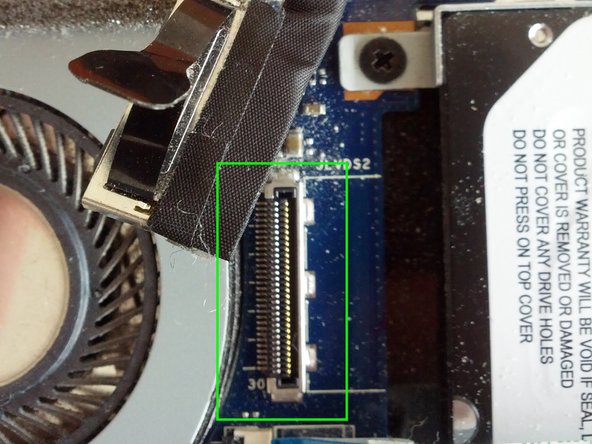
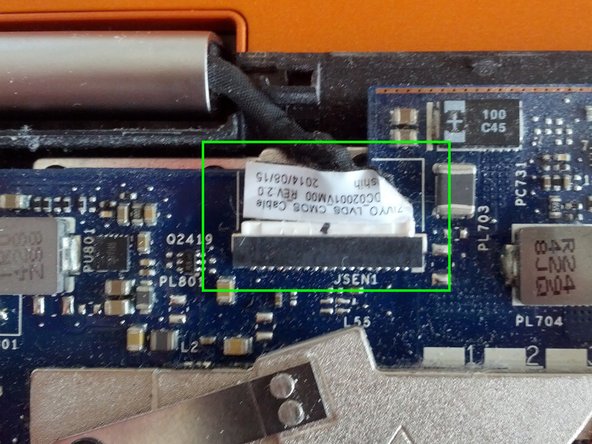
The video connector can be pulled out with the attached noose. Pull gently possibly supported by lifting the connector with a screwdriver.
-
The other connector can be pushed out on the sides with the help of a screwdriver.
-
-
-
-
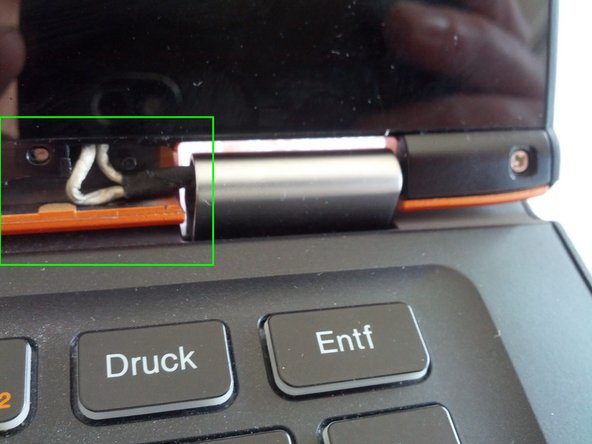
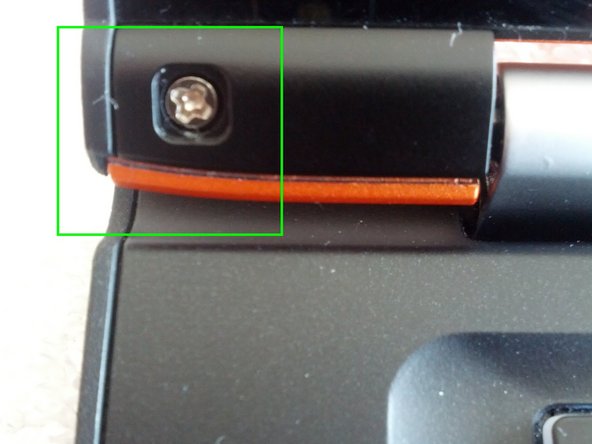
Peel out a small plastic cover, pull out center cover and unscrew left and right cover below the display.
-
-
-
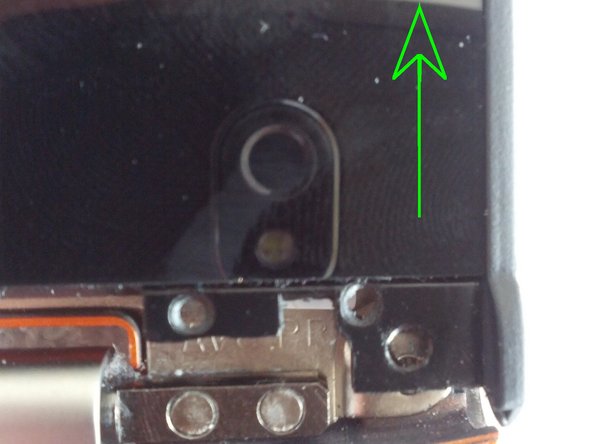
Once the two screws are loosened, the whole display can be shifted up - don't just pull it away.
-
On reassembly, put the display and cover together slightly shifted, and then gently slide the display back into position.
-
-
-
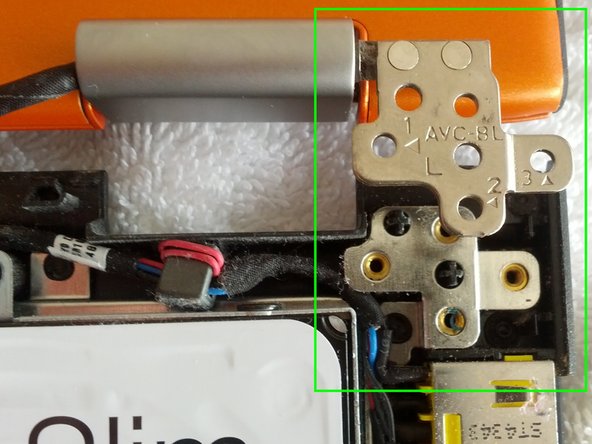
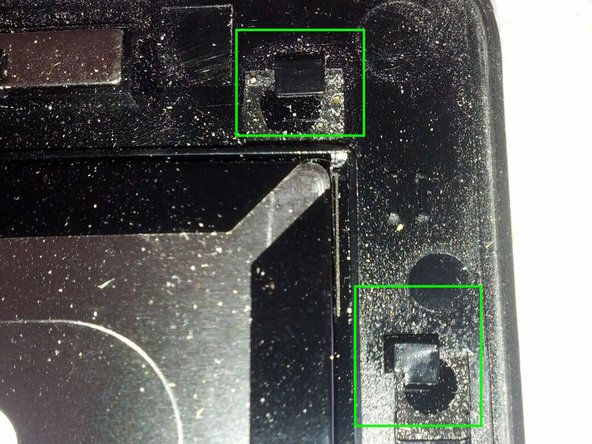
The hinge is attached to the lid with four screws.
-
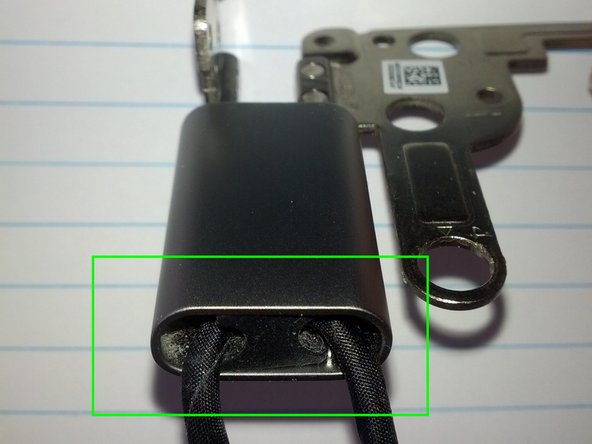
A cable runs through each hinge, you can just pull out the small rubbery holder.
-
Loosen the screw below it to open the hinge.
-
-
-
The stiffness of the hinge can be adjusted by loosening the small nuts. One eighth of a turn might be enough - you will have to repeat adjusting them until the hinge has the right stiffness.
-


To reassemble your device, follow these instructions in reverse order.
To reassemble your device, follow these instructions in reverse order.
Cancel: I did not complete this guide.
9 other people completed this guide.

16 Comments
Hi,
Thanks you for your guide. It is amazing but i worry that remove Display guide is not too clear and user may broken the LCD before he stiffness the hinges.
Kim Son
Can you post the fix for how to tighten hinges for Lenovo IdeaPad Yoga 13 ?
what type of nuts are showing in last step? those are hexagonal nuts but with what size?
Just followed this howto on my Yoga 2 13: the size of the bolts is 4.5. I know because I only have 4 and 5 sized tools, and they didn't fit. I used pliers too, it works.