Introduction
The screen on the Lenovo Tab 2 A10-70 is a pain in the tush to remove but if you can get past the adhesive it's not to hard!!!! Don't Give up. (Please excuse the pictures in this guide, the preggo body looks even bigger in them!!!!)
What you need
-
-
It is extremely easy to remove the plastic casing. Just slide your spudger (or fingernail if they are strong) around the edge to remove
-
-
-
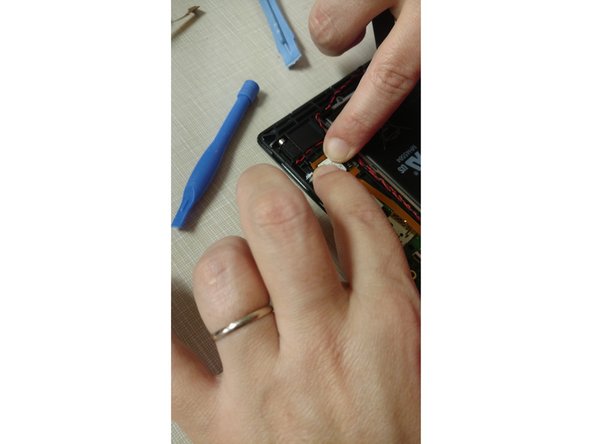
Using your fingernail or tweezers lift the holding flap and disconnect the digitizer cable for the old screen
-
-
-
Please be very careful!, This glass shatters easily and shards will go flying if you are rough
-
The glass is connected to the frame and LCD by the world's strongest adhesive, .... took me well over an hour to remove the old screen
-
Using a heat gun (high powered blow dryer) or those of you lucky enough to have an iopener kit slowly heat your way around the glass, start in a corner and work your spudger in.
-
Make sure you slide your spudger straight in to avoid the lcd There is a nice gap but the adhesive is two part!
-
-
-
-
Clean your Edges
-
Using your spudger or a razor knife clean off any left behind adhesive
-
-
-
Carefully Slide the digitizer cable through the opening in the case
-
Flip over case and reconnect the new digitizer cable
-
I then tested to make sure the screen and digitizer worked before adhesive :)
-
-
-
The Screen I ordered came with adhesive already on it, but I added some 3M tape too
-
Press the Screen firmly into place
-
Then replace the back cover!
-