What you need
-
-
Unscrew all 10 T5 screws. The screws are all the same length.
-
Remove the bottom cover carefully. Maybe it is necessary to use a pick or spudger.
-
-
-
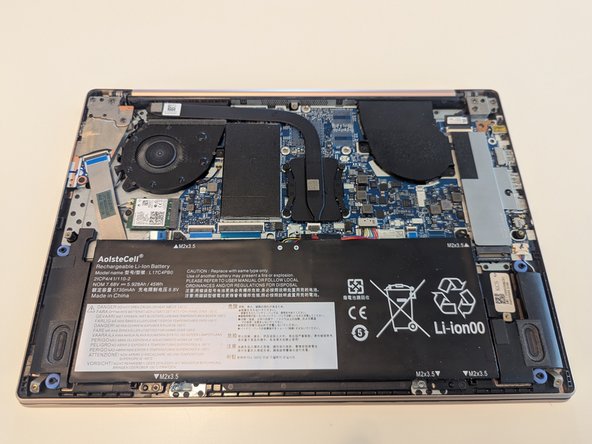
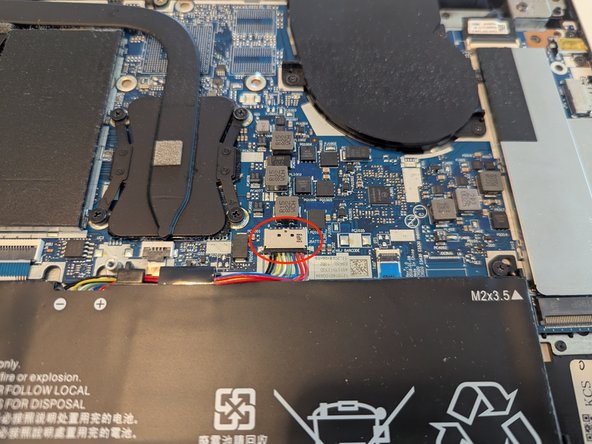
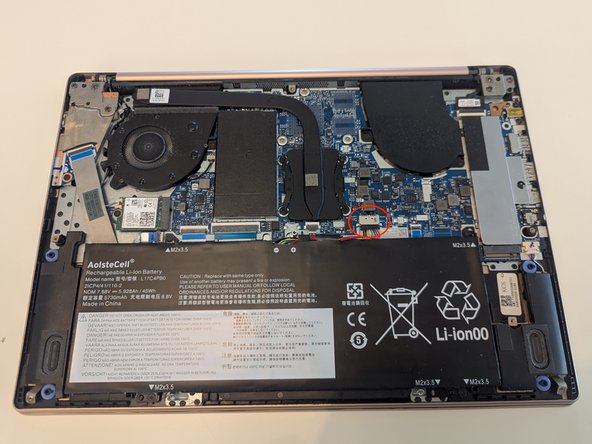
Remove the 4 screws holding the battery an disconnect it.
-
-
-
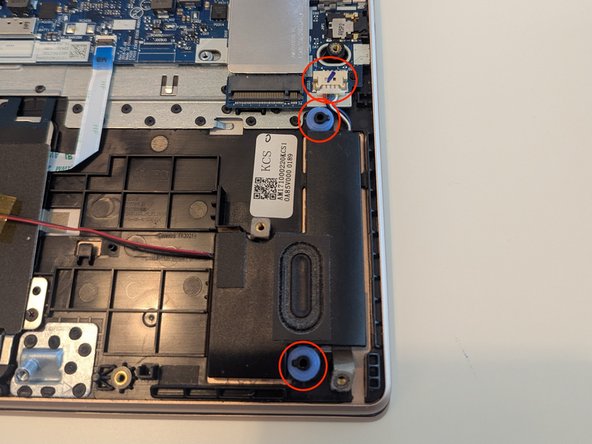
Pull up on the left speaker.
-
Untangle the cable connecting the left and right speakers (the pass under the protector covering the touchpad).
-
Disconnect the right speaker from the mainboard and pull it up to remove the two speakers.
-
-
-
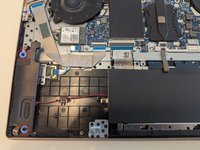
Disconnect the antenna cables by pulling them upwards. You might find this easier using tweezers.
-
Remove the screw holding the WiFi module and remove the module.
-
-
-
-
Flip up the plastic tabs holding the ribbon cables.
-
Pull out the ribbon cables horizontally. Do not pull on the ribbon cables vertically or with any significant force.
-
-
-
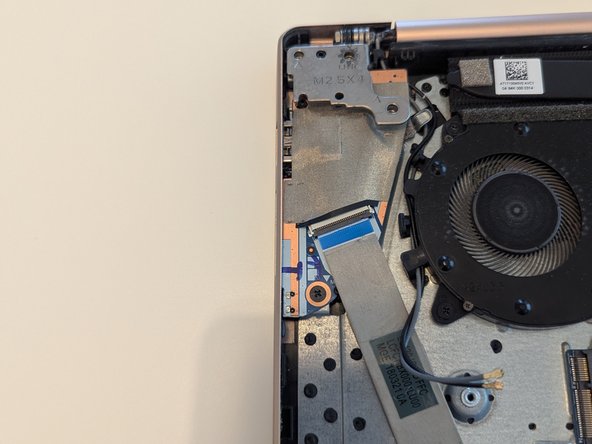
Flip the plastic tab holding the display cable up.
-
Pull the display cable out horizontally. Do not pull on the cable vertically or with great force!
-
-
-
Remove the 4 PH0 screws (all the same length) holding the display assembly to the keyboard assembly.
-
-
-
Remove the one screw holding the daughterboard on the right side.
-
-
-
Remove the 3 screws on the right side of the motherboard.
-
-
-
Remove the 3 screws holding the plastic placeholder in place.
-
Remove the placeholder.
-
-
-
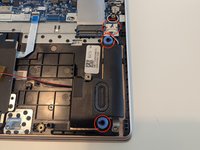
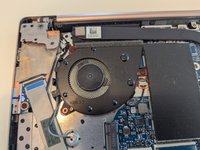
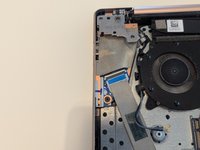
Remove the 3 screws holding the fan.
-
Disconnect the fan from the mainboard.
-
Untangle the antenna cables from the fan and remove the fan.
-
-
-
Open the laptop hinges to a 45-60 degree angle. This can be done the easiest by carefully opening and then closing the laptop.
-
Untangle the network antenna (on the left) and the display cable (on the right) from the keyboard assembly.
-
Remove the keyboard assembly and put in the replacement one.
-


To reassemble your device, follow these instructions in reverse order.
Cancel: I did not complete this guide.
2 other people completed this guide.
2 Guide Comments
Thanks to the author for the time spent putting this guide together.
However, a quick heads-up: the guide is incomplete. It only covers roughly 25% of the full process required to replace the keyboard, and there are many additional steps missing after the final one shown.
In case it helps anyone, I was able to finish the keyboard replacement by following these instructions:
https://youtu.be/Z-Vuf41YJDc?si=SWVD6yp2...
The order of the steps isn’t exactly the same in both guides, but they complement each other perfectly. All in all, it took me about two hours to complete the entire process.
@miks34552 , thanks for the heads up on this guide!
Please feel free to make the edit to the guide. We're a wiki and we encourage all Community members to make edits to guides and wikis to help improve them for future fixers. We appreciate you taking the time to comment, but if you're able to, please add the necessary steps directly on the guide so that others can complete their repair.