
Le Pavé Parisien: Replacement of the Concrete Shell

What you need

  1. Le Pavé Parisien: Replacement of the Concrete Shell, Remove the grid: step 1, image 1 of 2 Le Pavé Parisien: Replacement of the Concrete Shell, Remove the grid: step 1, image 2 of 2
    • Remove the speaker protective grille by first lifting one of the 4 corners.

  2. Le Pavé Parisien: Replacement of the Concrete Shell, Unscrew the speaker: step 2, image 1 of 2 Le Pavé Parisien: Replacement of the Concrete Shell, Unscrew the speaker: step 2, image 2 of 2
    • Remove the 4 screws of the speaker using a torque screwdriver for M4 screws.

  3. Le Pavé Parisien: Replacement of the Concrete Shell, Disconnect the speaker: step 3, image 1 of 2 Le Pavé Parisien: Replacement of the Concrete Shell, Disconnect the speaker: step 3, image 2 of 2
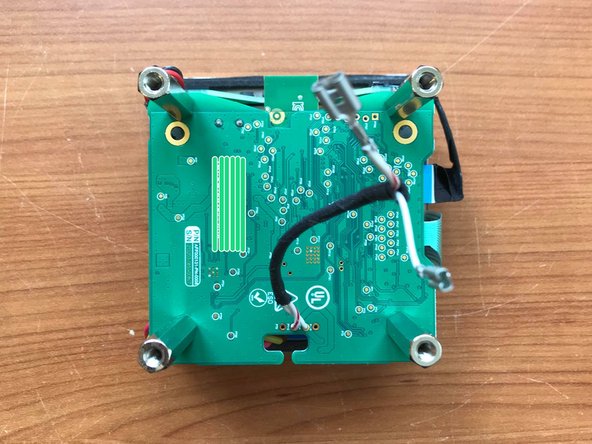
    • Pull the speaker out of the concrete casing to make the connections accessible.

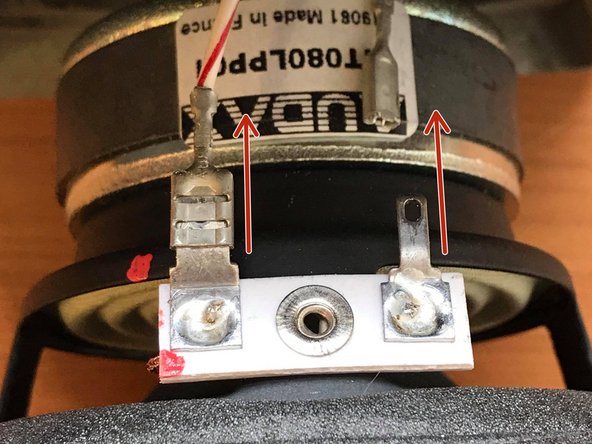
    • To disconnect the speaker, pull each of the 2 cables down by their connector, making small left-to-right movements.

  4. Le Pavé Parisien: Replacement of the Concrete Shell, Remove the concrete shell: step 4, image 1 of 2 Le Pavé Parisien: Replacement of the Concrete Shell, Remove the concrete shell: step 4, image 2 of 2
    • Remove the speaker from the concrete casing.

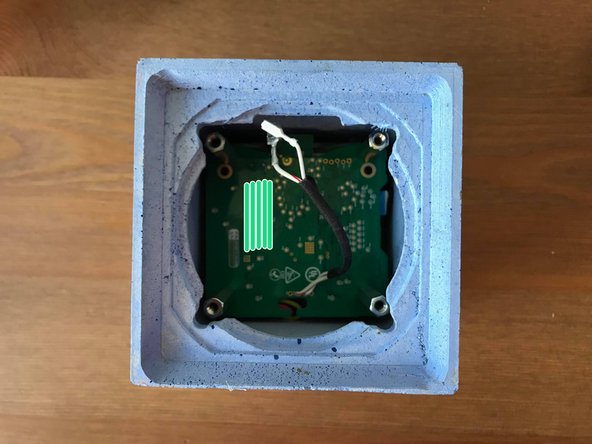
    • As the concrete casing and the electronic basket are separated, lift the concrete casing to separate it from the basket.

  5. Le Pavé Parisien: Replacement of the Concrete Shell, Place the new concrete shell: step 5, image 1 of 3 Le Pavé Parisien: Replacement of the Concrete Shell, Place the new concrete shell: step 5, image 2 of 3 Le Pavé Parisien: Replacement of the Concrete Shell, Place the new concrete shell: step 5, image 3 of 3
    • The underside of the concrete shell has a different texture from the others, so be careful to position it correctly.

  6. Le Pavé Parisien: Replacement of the Concrete Shell, Place the speaker in the concrete shell: step 6, image 1 of 2 Le Pavé Parisien: Replacement of the Concrete Shell, Place the speaker in the concrete shell: step 6, image 2 of 2
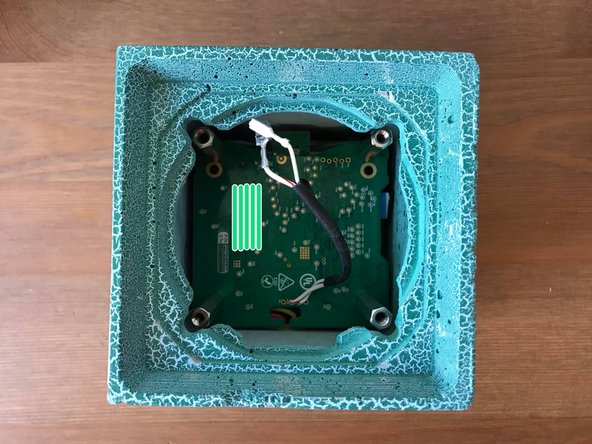
    • Connect the speaker as in step 3. Be careful to place the speaker connectors on the side of the concrete shell that includes a notch.

  7. Le Pavé Parisien: Replacement of the Concrete Shell, End: step 7, image 1 of 1
    • All you have to do is screw it back on and place the protective grid: your Pavé Parisien is assembled!

Conclusion

To reassemble your device, follow the instructions in reverse order.

Special thanks to these translators:

fr en

100%

These translators are helping us fix the world! Want to contribute?
Start translating ›

Le Pavé Parisien

Member since: 04/03/19

529 Reputation

4 Guides authored

0 Comments

Add Comment

View Statistics:

Past 24 Hours: 0

Past 7 Days: 0

Past 30 Days: 1

All Time: 94