Introduction
It is critical that an ACLI power plug is fully functional and free of error. A damaged ACLI plug won’t provide power to your space heater.
Please refer to this Troubleshooting guide before beginning to make sure replacing the ACLI plug is the correct action to fix your device.
For this Lasko CD08200 replacement guide, you will need:
- Torx Security 15 (TR15 bit)
- Phillips 2 (PH2 bit)
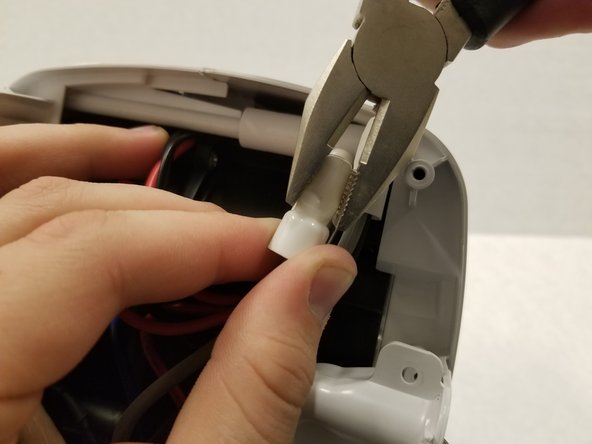
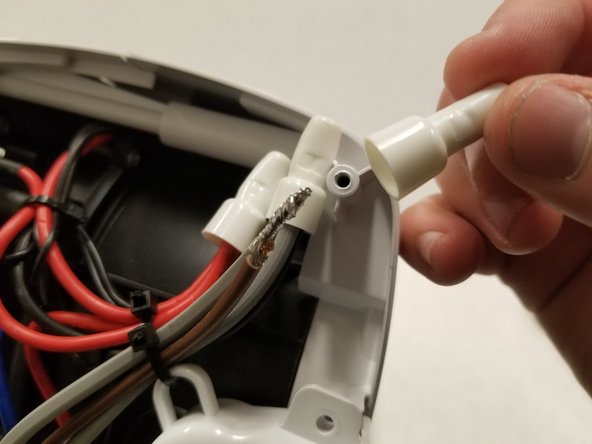
- Solder Iron
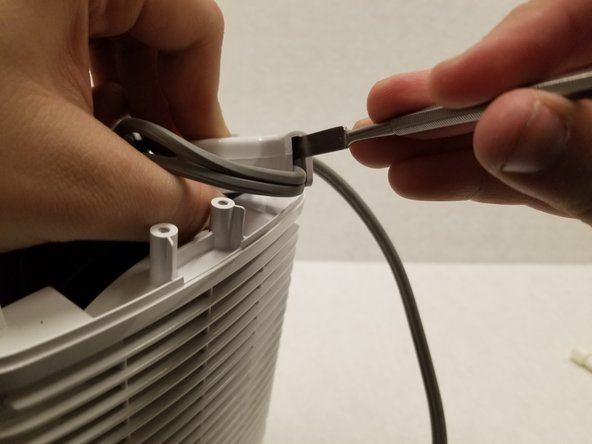
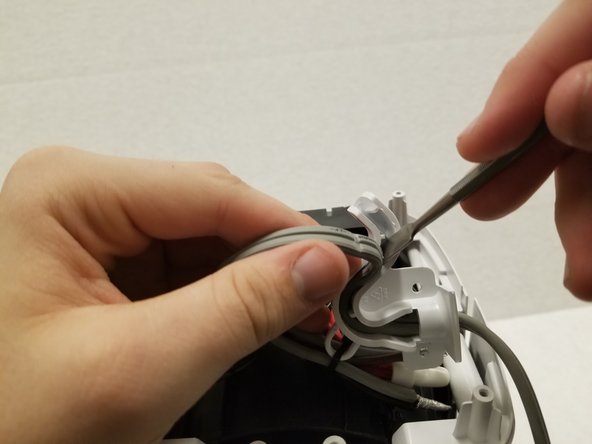
- Metal Spudger
Not sure how to solder? Follow this soldering guide before starting.
What you need
-
-
Turn over the device and place it on its head. Remove the four 14mm screws holding the bottom using a TR15 screwdriver.
-
-


To reassemble your device, follow these instructions in reverse order.
To reassemble your device, follow these instructions in reverse order.

Team

York University, Team S1-G1, Woodhouse Winter 2020 Member of York University, Team S1-G1, Woodhouse Winter 2020
YORK-WOODHOUSE-W20S1G1
3 Members
9 Guides authored