Introduction
Found this in the bottom of a closet and through some troubleshooting decided the charging port was broken.
Couldn't find any instructions here so I'm uploading some.
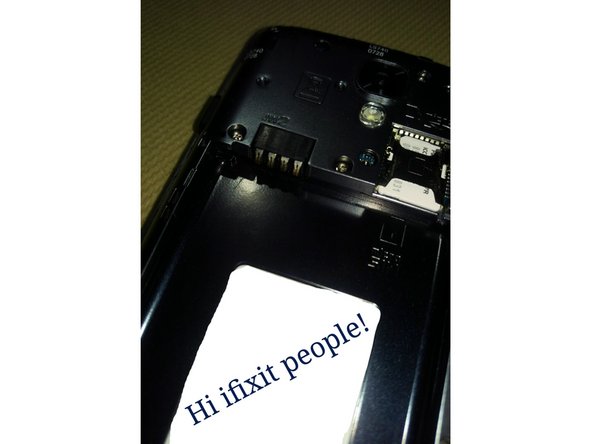
*Please Ignore the goofy white borders, forgot to consider aspect ratio when taking the pictures*
What you need
-
-
Always power off and unplug your devices before servicing them.
-
-
-
There is a pry tab you can use your fingernail or a pry tool to remove the rear cover.
-
-
-
-
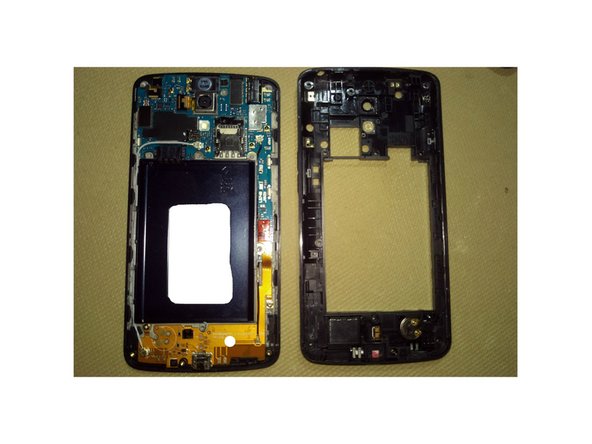
Note the location of the screws to remove the inner rear panel.
-
-
-
Remove the 11 screws on the inside rear cover using your Phillips screw driver.
-
See photo from "Remove Battery" step for location of screws.
-
Use your pry tool and carefully work your way around the inside rear cover to undo the snaps and remove it.
-
-
-
Disconnect the 3 cables and two screws before attempting to remove the charging port circuitry.
-
Beware the adhesive on the back!
-


To reassemble your device, follow these instructions in reverse order.
To reassemble your device, follow these instructions in reverse order.
Cancel: I did not complete this guide.
2 other people completed this guide.