Introduction
Knowing how to reach the number pad will take some patience and knowledge of how to properly disassemble the device.
What you need
-
-
Power off the device by holding down the red button labeled PWR.
-
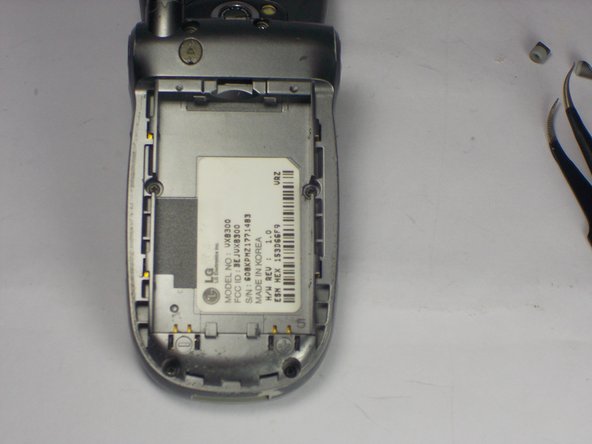
Remove the battery pack cover by pushing down on the solid lines at the top end of the cover. Slide the cover down while applying the pushing force at the top to remove the cover completely.
-
-
-
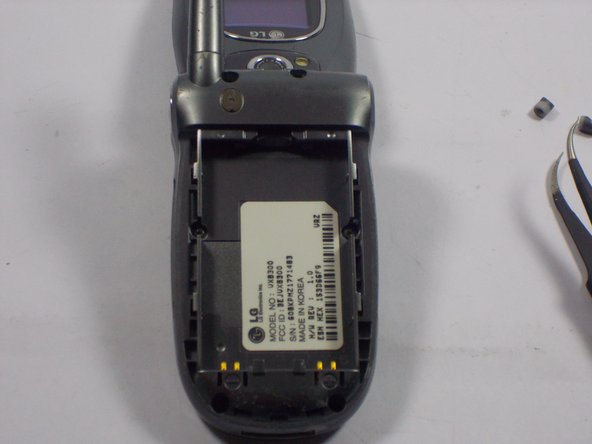
Place your finger into the semicircle gap on top of the battery.
-
Apply force downward and out, so the battery pops out of the phone.
-
-
-
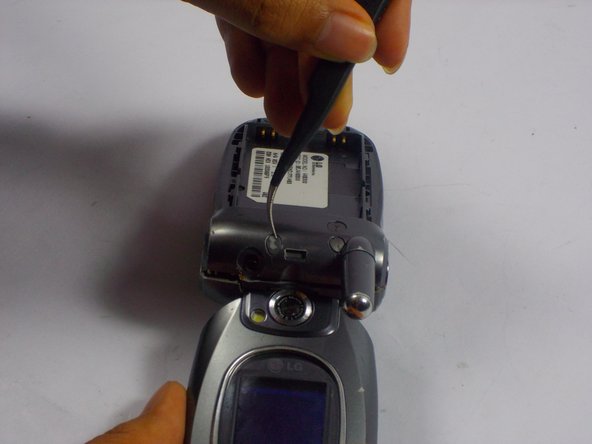
Locate the two rubber pads covering the screws at the top of the phone near the hinge.
-
Use tweezers to lift and remove the rubber pads.
-
-
-
-
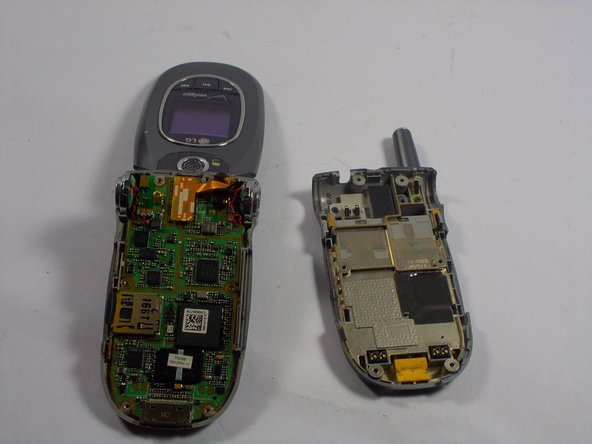
Use your fingers to gently separate the front plate from the phone. You may need to slide a plastic opening tool along the crevice between the faces to separate it more easily.
-
Remove the casing after it has been detached. The logic board is now fully accessible.
-
-
-
Hold the body firmly in one hand. Lift up on the charging aparatus to begin separating the logic board from the front body case.
-
Use a separating tool to gently lift the board out of the case. The board is secured by six holes around its perimeter and will become free when pried from the supports.
-
-
-
Remove the speakers one at a time while taking care not to put tension in the wiring.
-
Undo the ribbon cable by lifting it up with your finger.
-
Remove the logic board completely from the case and set it aside.
-
-
-
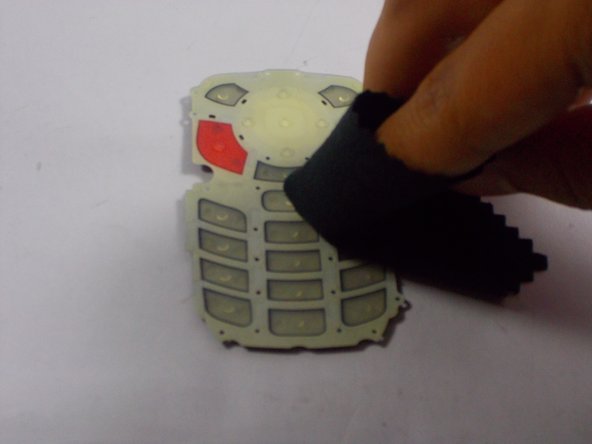
With access to the number pad, you can clean or replace the buttons easily as the pad is now freely manipulative.
-
To clean, use a brush to remove debris between individual buttons. Use a clothe to clean the underside of the pad.
-
To replace, simply remove the old pad and insert the new pad into the case.
-


Team

UMass Dartmouth, Team 3-7, Duarte Spring 2015 Member of UMass Dartmouth, Team 3-7, Duarte Spring 2015
UMASSD-DUARTE-S15S3G7
3 Members
10 Guides authored