Introduction
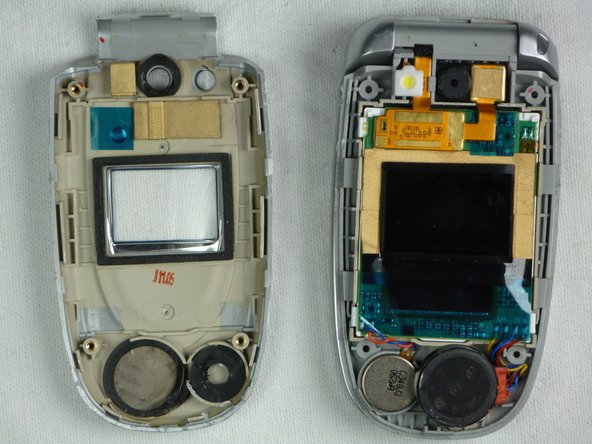
This section covers how to disassemble the upper casing of the LG VX5200 to access the phone's screen.
What you need


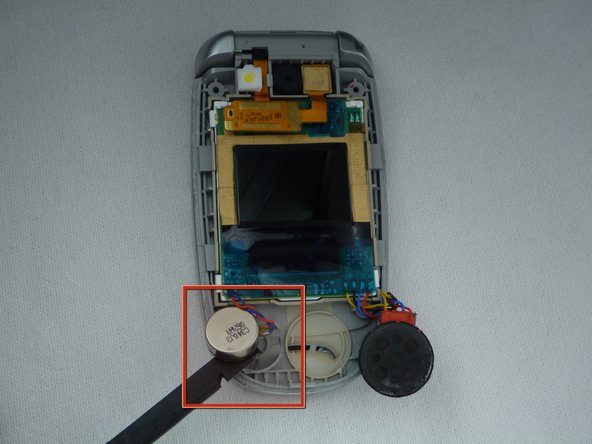


Almost done!
To reassemble your device, follow these instructions in reverse order.
Conclusion
To reassemble your device, follow these instructions in reverse order.

Team

Cal Poly, Team 9-18, Regan Fall 2009 Member of Cal Poly, Team 9-18, Regan Fall 2009
CPSU-REGAN-F09S9G18
5 Members
2 Guides authored
One Comment
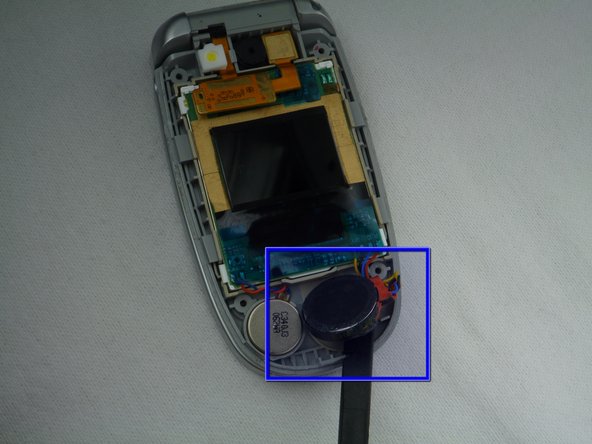
The “battery” beside the speaker isn’t the battery, it’s the phone vibrator. Still a good guide, however