Free Shipping on Domestic Orders $75+

LG Optimus L9 P769 Rear Facing Camera Replacement

Views: 1.4K

View statistics:

Past 24 Hours:
3
Past 7 Days:
14
Past 30 Days:
91
All Time:
1,376
Comments: 0

No one has left comments on this guide. Will you be first?

Go to guide comments
Completed: 1

1 person has marked this guide "completed." Will you be next?

Favorites: 2

2 people have favorited (and subscribed to) this guide. Will you be next?

Time Required: No estimate
Difficulty: Moderate
Incorrect Tools

Help make this guide better by using the correct tools in images and/or text.

Missing Prerequisites

This guide is missing information on how to start the process. Make a prerequisite guide!

LG Optimus L9 P769 Rear Facing Camera Replacement

Introduction

Go to step 1 ↓

For this guide make sure that you have correctly removed the back and the speaker before you begin the guide.

What you need

Tools

    1. LG Optimus L9 P769 Rear Facing Camera Replacement, Removing the Back Panel: step 1, image 1 of 2 LG Optimus L9 P769 Rear Facing Camera Replacement, Removing the Back Panel: step 1, image 2 of 2
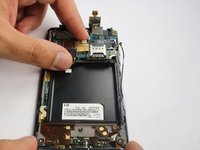
      • Pry the back panel from the frame of the phone to reveal the motherboard.

      Ask FixBot

      Add Comment

    2. LG Optimus L9 P769 Rear Facing Camera Replacement, Unpluging the Motherboard: step 2, image 1 of 3 LG Optimus L9 P769 Rear Facing Camera Replacement, Unpluging the Motherboard: step 2, image 2 of 3 LG Optimus L9 P769 Rear Facing Camera Replacement, Unpluging the Motherboard: step 2, image 3 of 3
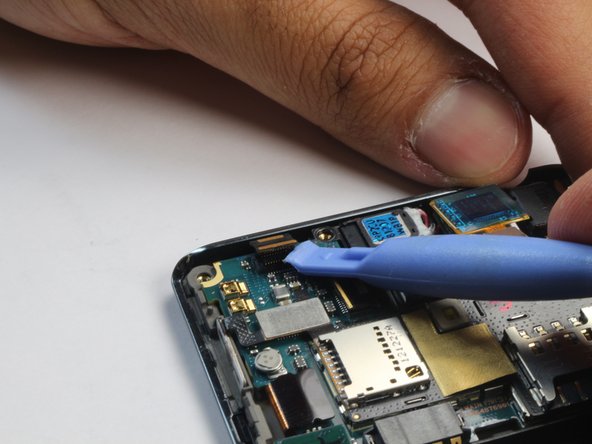
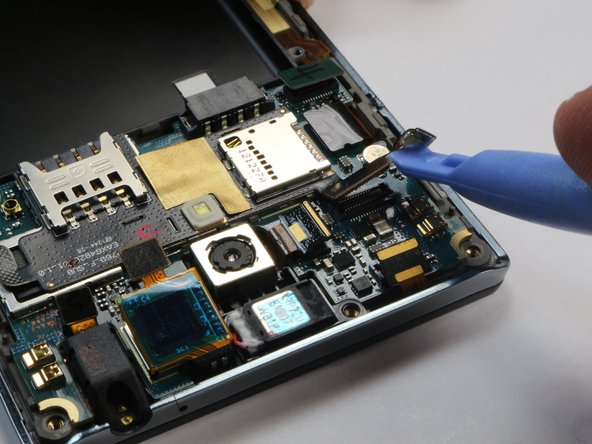
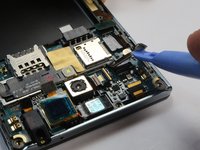
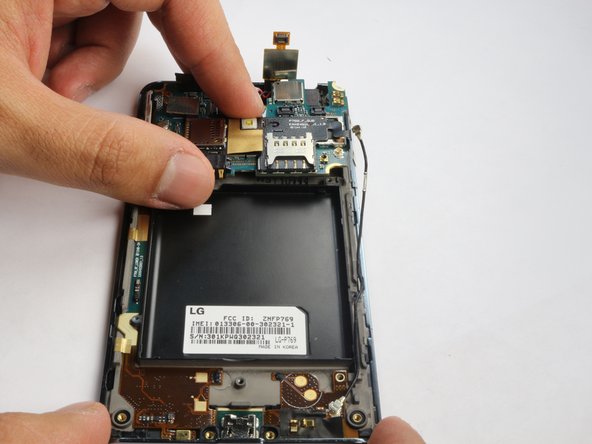
      • Detach the connectors on the motherboard.

      Ask FixBot

      Add Comment

    3. LG Optimus L9 P769 Rear Facing Camera Replacement, Unpluging the Motherboard Cont.: step 3, image 1 of 3 LG Optimus L9 P769 Rear Facing Camera Replacement, Unpluging the Motherboard Cont.: step 3, image 2 of 3 LG Optimus L9 P769 Rear Facing Camera Replacement, Unpluging the Motherboard Cont.: step 3, image 3 of 3
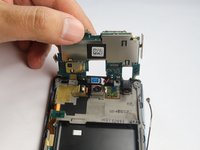
      • Continue to lift the connectors off the motherboard.

      Ask FixBot

      Add Comment

    4. LG Optimus L9 P769 Rear Facing Camera Replacement, Lifting Motherboard from the Phone: step 4, image 1 of 3 LG Optimus L9 P769 Rear Facing Camera Replacement, Lifting Motherboard from the Phone: step 4, image 2 of 3 LG Optimus L9 P769 Rear Facing Camera Replacement, Lifting Motherboard from the Phone: step 4, image 3 of 3
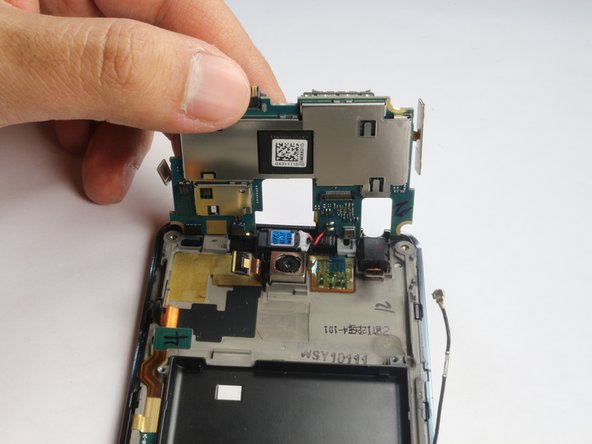
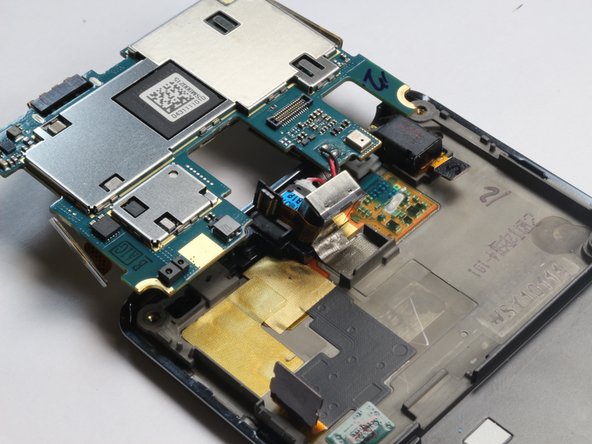
      • Lift the speaker cable off the motherboard.

      • Lift the motherboard up. It will Still be connected to the frame.

      Ask FixBot

      Add Comment

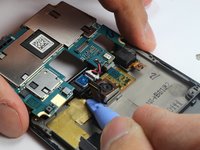
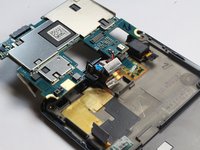
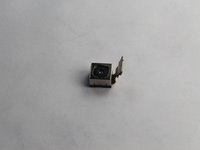
    5. LG Optimus L9 P769 Rear Facing Camera Replacement, Pry and remove the camera: step 5, image 1 of 3 LG Optimus L9 P769 Rear Facing Camera Replacement, Pry and remove the camera: step 5, image 2 of 3 LG Optimus L9 P769 Rear Facing Camera Replacement, Pry and remove the camera: step 5, image 3 of 3
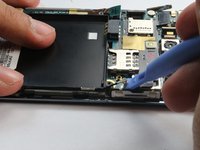
      • Pry under the camera to lift it off the frame.

      • There is some adhesive that will keep it attached to the frame, pulling the camera off will not damage the phone.

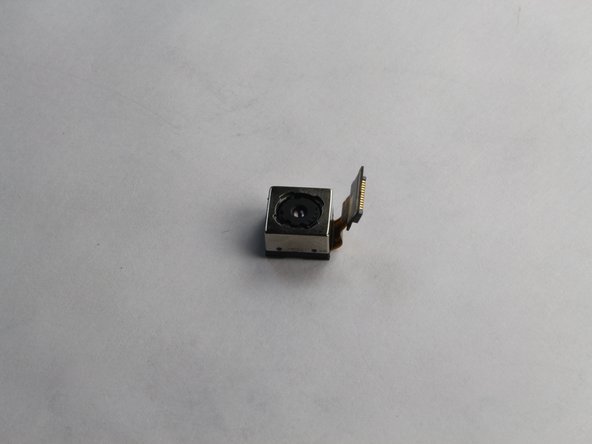
      • The camera should now be entirely separated from the phone.

      Ask FixBot

      Add Comment

Conclusion

To reassemble your device, follow these instructions in reverse order.

Cancel: I did not complete this guide.

One other person completed this guide.

Paul

Member since: 10/07/14

145 Reputation

4 Guides authored

Team

USF Tampa, Team 8-1, Leahy Fall 2014 Member of USF Tampa, Team 8-1, Leahy Fall 2014

USFT-LEAHY-F14S8G1

4 Members

60 Guides authored

0 Guide Comments

Add Comment

View Statistics:

Past 24 Hours: 3

Past 7 Days: 14

Past 30 Days: 91

All Time: 1,376