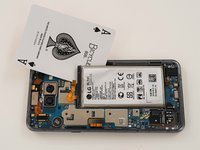
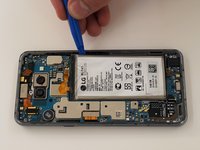
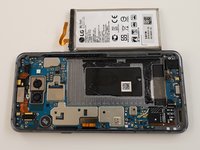
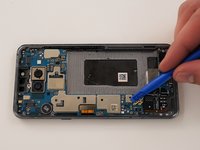
LG G8 ThinQ Vibration Motor Replacement

What you need

  1. LG G8 ThinQ Vibration Motor Replacement, SIM Card Tray: step 1, image 1 of 3 LG G8 ThinQ Vibration Motor Replacement, SIM Card Tray: step 1, image 2 of 3 LG G8 ThinQ Vibration Motor Replacement, SIM Card Tray: step 1, image 3 of 3
    • Unplug and power off your phone before you begin.

    • Insert the SIM card eject tool into the pinhole in the lower right side of the phone.

    • Remove the SIM card and tray.

  2. LG G8 ThinQ Vibration Motor Replacement, Back Panel: step 2, image 1 of 3 LG G8 ThinQ Vibration Motor Replacement, Back Panel: step 2, image 2 of 3 LG G8 ThinQ Vibration Motor Replacement, Back Panel: step 2, image 3 of 3
    • Place the phone so that the screen is facing down.

    • Insert opening cards between the back panel and frame of the phone to loosen the clips and adhesive.

    • Using equal pressure, carefully pry the back panel away from the phone.

    • Once enough space has been created, use an opening tool to completely separate the back panel from the phone.

  3. LG G8 ThinQ Vibration Motor Replacement, Midframe: step 3, image 1 of 3 LG G8 ThinQ Vibration Motor Replacement, Midframe: step 3, image 2 of 3 LG G8 ThinQ Vibration Motor Replacement, Midframe: step 3, image 3 of 3
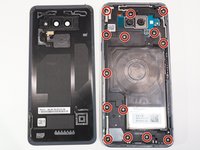
    • Remove all 14 screws from the midframe using a Phillips #000 screwdriver.

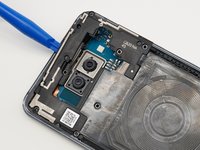
    • Work an opening tool around the perimeter of the midframe to pry and remove it from the phone.

  4. LG G8 ThinQ Vibration Motor Replacement, Speaker System: step 4, image 1 of 3 LG G8 ThinQ Vibration Motor Replacement, Speaker System: step 4, image 2 of 3 LG G8 ThinQ Vibration Motor Replacement, Speaker System: step 4, image 3 of 3
    • Using an opening tool, carefully pry out remove the speaker system from the phone.

  5. LG G8 ThinQ Vibration Motor Replacement, Headphone Jack: step 5, image 1 of 3 LG G8 ThinQ Vibration Motor Replacement, Headphone Jack: step 5, image 2 of 3 LG G8 ThinQ Vibration Motor Replacement, Headphone Jack: step 5, image 3 of 3
    • Using an opening tool, carefully disconnect the ribbon cable connecting the 3.5mm audio jack to the motherboard.

    • Remove the screw holding the 3.5 mm audio jack in place using a Phillips #000 screwdriver.

    • Remove the audio jack from the phone.

  6. LG G8 ThinQ Vibration Motor Replacement, Battery: step 6, image 1 of 1
    • Flip phone so that screen is facing up.

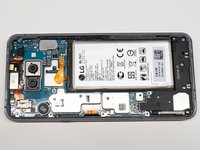
    • Using a heating pad, hairdryer, or heat gun, apply heat to loosen the adhesive beneath the battery.

    • Be careful to not overheat the phone; the screen and battery are susceptible to damage.

    • The adhesive can be difficult to soften; it may take many attempts.

  7. LG G8 ThinQ Vibration Motor Replacement: step 7, image 1 of 2 LG G8 ThinQ Vibration Motor Replacement: step 7, image 2 of 2
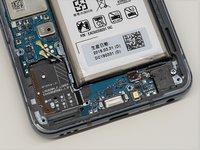
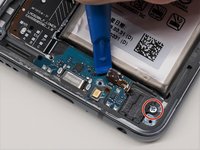
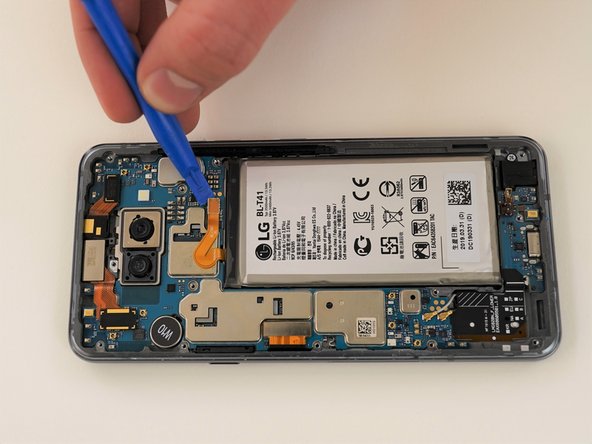
    • Using an opening tool, carefully pry up the ribbon cable to disconnect the battery.

  8. LG G8 ThinQ Vibration Motor Replacement: step 8, image 1 of 3 LG G8 ThinQ Vibration Motor Replacement: step 8, image 2 of 3 LG G8 ThinQ Vibration Motor Replacement: step 8, image 3 of 3
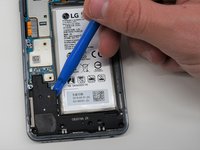
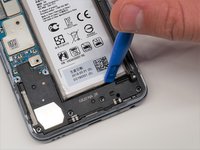
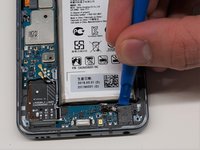
    • Using opening cards or an opening tool, carefully pry around the edges of the battery.

    • If you have trouble prying up the battery, the adhesive may not be loose enough. Re-apply heat, or use some isopropyl alcohol under the battery, allowing it to penetrate for several minutes to weaken the adhesive.

    • Remove the battery from the phone.

  9. LG G8 ThinQ Vibration Motor Replacement, Motherboard: step 9, image 1 of 2 LG G8 ThinQ Vibration Motor Replacement, Motherboard: step 9, image 2 of 2
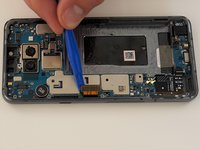
    • Use an opening tool to disconnect the two coaxial cables from the motherboard.

  10. LG G8 ThinQ Vibration Motor Replacement: step 10, image 1 of 3 LG G8 ThinQ Vibration Motor Replacement: step 10, image 2 of 3 LG G8 ThinQ Vibration Motor Replacement: step 10, image 3 of 3
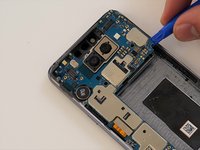
    • Using an opening tool, carefully disconnect the screen ribbon cable from the motherboard.

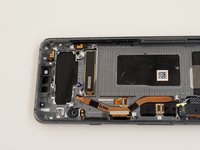
    • Using an opening tool, carefully pry up the motherboard from the frame and remove it from the phone.

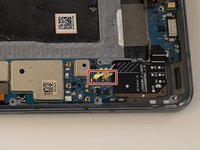
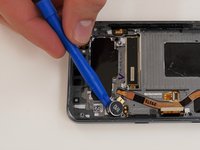
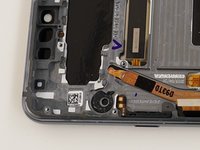
  11. LG G8 ThinQ Vibration Motor Replacement, Vibration Motor: step 11, image 1 of 2 LG G8 ThinQ Vibration Motor Replacement, Vibration Motor: step 11, image 2 of 2
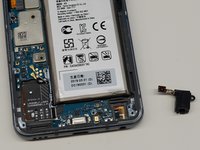
    • Remove the vibration motor from the phone casing using an opening tool.

    • Heat the vibration motor from the other side of the phone to loosen adhesive if needed.

Conclusion

To reassemble your device, follow these instructions in reverse order.

Kristen Gismondi

Member since: 11/12/14

81,782 Reputation

200 Guides authored

Team

iFixit Member of iFixit

Staff

135 Members

16,817 Guides authored

0 Comments

Add Comment

View Statistics:

Past 24 Hours: 0

Past 7 Days: 3

Past 30 Days: 16

All Time: 361