Introduction
This guide will cover how to replace a cracked screen on the LG G Pad 7.0
What you need
-
-
The screen assembly is secured to the plastic backing with clips.Insert the plastic opening tool between the screen and plastic.
-
Carefully work your way around the device making sure not to go too deep damaging any eternal components, freeing it from the connecting clips.
-
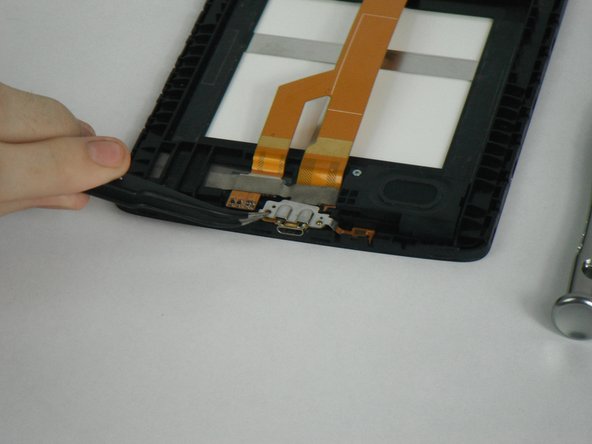
Lift the tablet from the plastic frame. You may need to loosen some more clips if it is difficult to remove.
-
-
-
Remove the red marked connectors by gently prying up. Be sure not to rip the ribbon cables as they are very fragile.
-
Remove the three connectors marked in orange by gently prying them upwards. The cables are very fragile so be careful not to rip them.
-
-
-
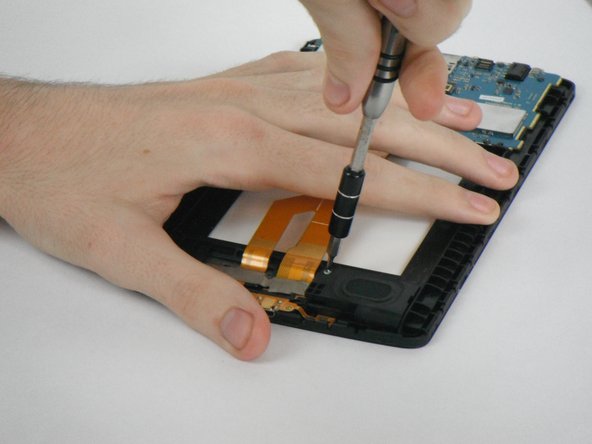
Remove the 7 screws marked in red that are securing the logic board to the case.
-
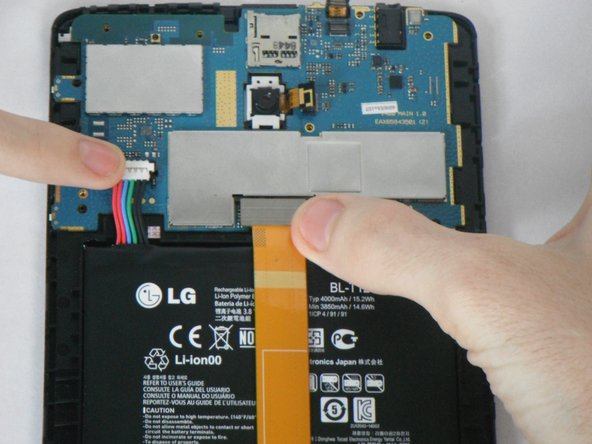
Be sure that all the connectors marked in orange are removed before pulling out the mother board.
-
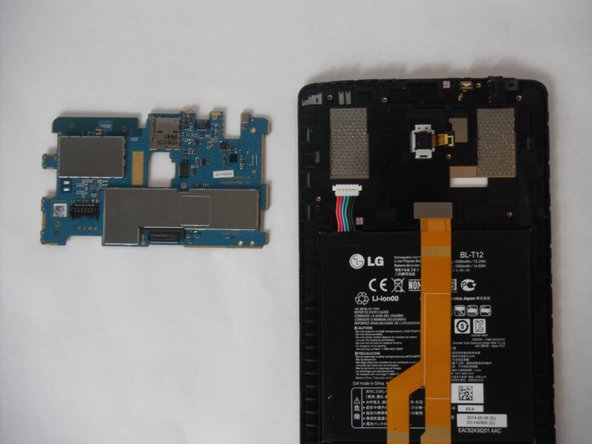
Very carefully remove the logic board after the screws have been removed
-
-
-
-
Remove the two screw marked in red.
-
Using the tweezers , gently pull out the metal bracket that holds the charging port in place.
-
Carefully pull out the ribbon connector in orange.
-
Remove the one screw that holds the speaker in place.
-
Slowly pull out the speaker.
-
-
-
Insert your new mother board with the 7 screws
-
Reconnect all the connectors marked in red back to the mother board.
-
-
-
Use a heat gun to loosen the adhesive holding the display to the plastic midframe.
-
Slowly remove the display from the midframe with a razor blade.
-


Team
