
Koss Porta Pro Speaker Holder Replacement

What you need

  1. Koss Porta Pro Speaker Holder Replacement, Remove cushion: step 1, image 1 of 3 Koss Porta Pro Speaker Holder Replacement, Remove cushion: step 1, image 2 of 3 Koss Porta Pro Speaker Holder Replacement, Remove cushion: step 1, image 3 of 3
    • Remove cushion using knife.

  2. Koss Porta Pro Speaker Holder Replacement, Remove comfortZone label: step 2, image 1 of 2 Koss Porta Pro Speaker Holder Replacement, Remove comfortZone label: step 2, image 2 of 2
    • Remove label using flat screwdriver.

  3. Koss Porta Pro Speaker Holder Replacement, Remove clip: step 3, image 1 of 3 Koss Porta Pro Speaker Holder Replacement, Remove clip: step 3, image 2 of 3 Koss Porta Pro Speaker Holder Replacement, Remove clip: step 3, image 3 of 3
    • Use screwdriver to start bending edges of clip.

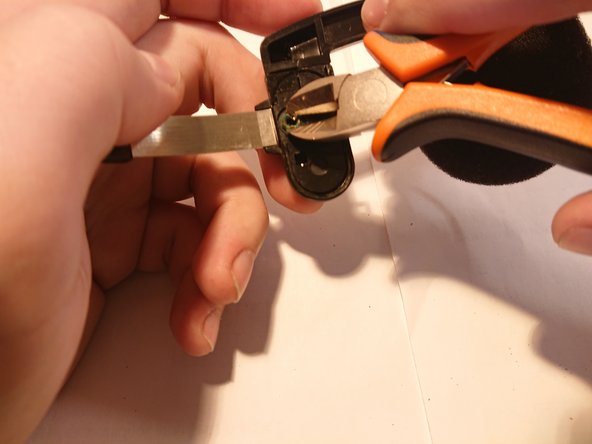
    • Continue bending with pliers or cutters.

    • Push clip with screwdriver and pull with cutters from another side.

    • This step can take up to 15 minutes, so keep calm and continue bending.

  4. Koss Porta Pro Speaker Holder Replacement, Remove hoop holder: step 4, image 1 of 3 Koss Porta Pro Speaker Holder Replacement, Remove hoop holder: step 4, image 2 of 3 Koss Porta Pro Speaker Holder Replacement, Remove hoop holder: step 4, image 3 of 3
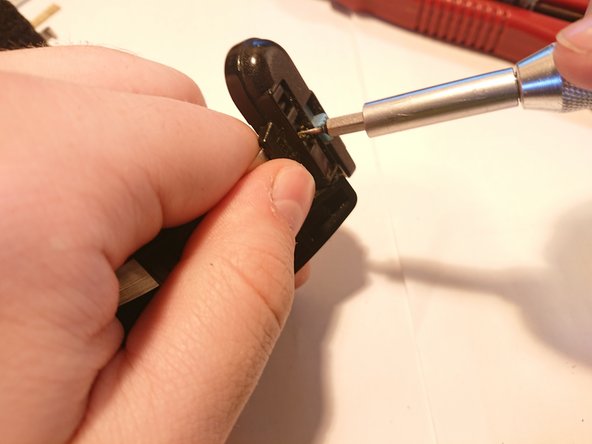
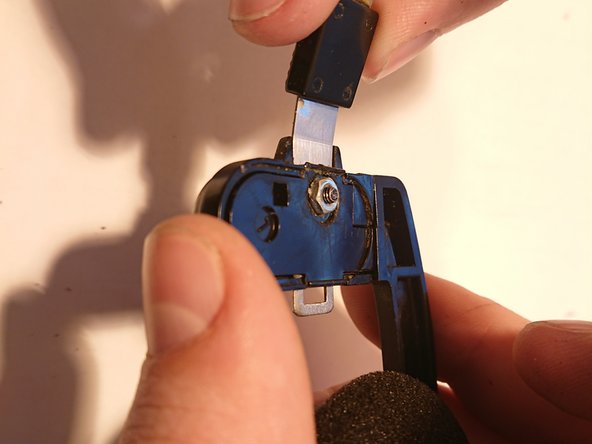
    • Press tenon using screwdriver to remove shield.

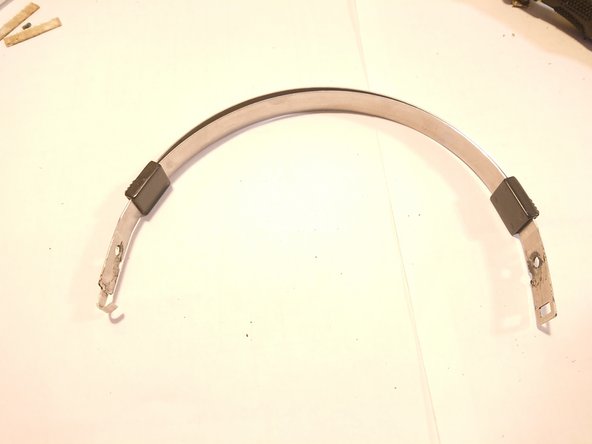
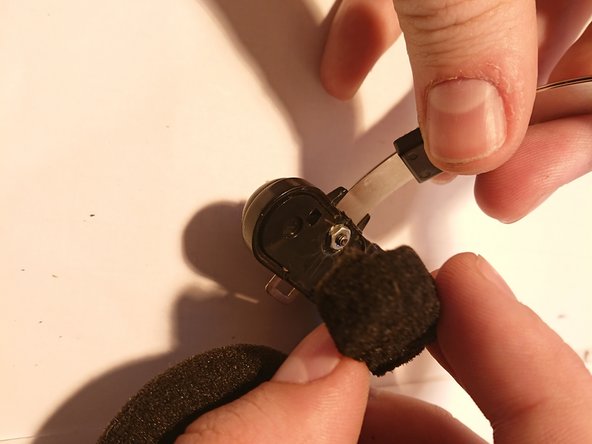
    • Remove hoop from hoop holder.

  5. Koss Porta Pro Speaker Holder Replacement, Assemble hoop holder: step 5, image 1 of 3 Koss Porta Pro Speaker Holder Replacement, Assemble hoop holder: step 5, image 2 of 3 Koss Porta Pro Speaker Holder Replacement, Assemble hoop holder: step 5, image 3 of 3
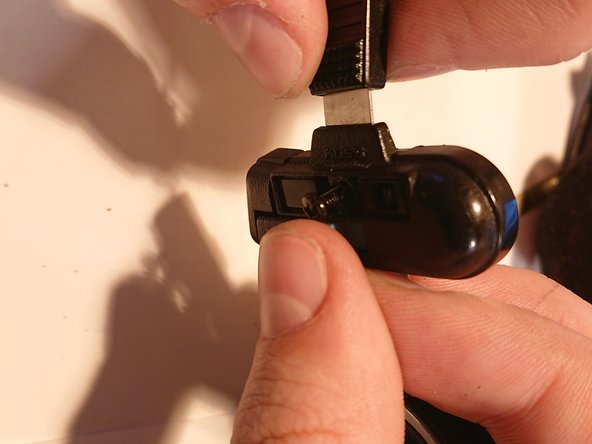
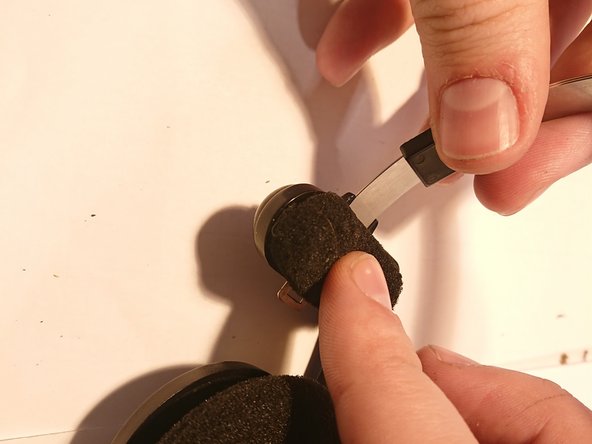
    • Place hoop in hoop holer.

    • Close hoop holder with shield.

    • Insert M2.5x8 screw into hole and tighten the nut.

  6. Koss Porta Pro Speaker Holder Replacement, Stick cushion and label: step 6, image 1 of 3 Koss Porta Pro Speaker Holder Replacement, Stick cushion and label: step 6, image 2 of 3 Koss Porta Pro Speaker Holder Replacement, Stick cushion and label: step 6, image 3 of 3
    • Stick comfortZone label over the screw. Use double-sided foam tape if head of screw is too high.

    • Stick cushion. Use additional double-sided tape if cushion has bad holding.

Conclusion

Left and right sides are the same so you can use this guide for both.

2 other people completed this guide.

0 Comments

Add Comment

View Statistics:

Past 24 Hours: 6

Past 7 Days: 15

Past 30 Days: 49

All Time: 1,875