Kitchen Sink Basket Strainer Replacement

What you need

  1. Kitchen Sink Basket Strainer Replacement, Basket Strainer: step 1, image 1 of 1
    • Shut off the hot and cold water supply valves under the sink.

    • Turn the handles clockwise and make sure the water is off before moving on.

  2. Kitchen Sink Basket Strainer Replacement: step 2, image 1 of 2 Kitchen Sink Basket Strainer Replacement: step 2, image 2 of 2
    • Remove the stopper from the basket strainer by lifting it out.

  3. Kitchen Sink Basket Strainer Replacement: step 3, image 1 of 2 Kitchen Sink Basket Strainer Replacement: step 3, image 2 of 2
    • Loosen the trap adapter nut under the sink.

    • Use the pliers and turn counterclockwise to loosen the nut.

  4. Kitchen Sink Basket Strainer Replacement: step 4, image 1 of 2 Kitchen Sink Basket Strainer Replacement: step 4, image 2 of 2
    • Loosen the tailpiece nut under the basket strainer.

    • Use the pliers and turn counterclockwise to loosen the nut.

  5. Kitchen Sink Basket Strainer Replacement: step 5, image 1 of 2 Kitchen Sink Basket Strainer Replacement: step 5, image 2 of 2
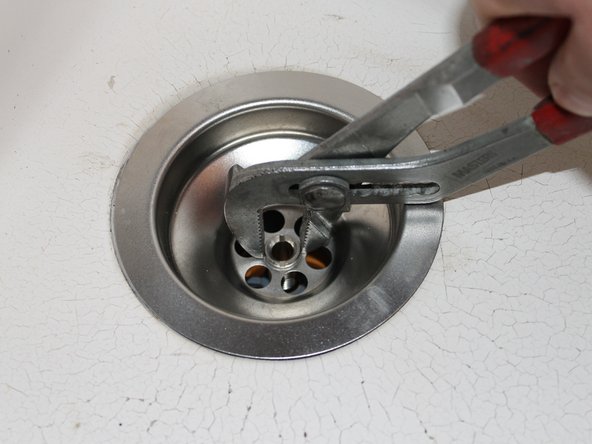
    • Loosen the nut of the basket strainer.

    • Use the pliers and turn counterclockwise to loosen the nut.

  6. Kitchen Sink Basket Strainer Replacement: step 6, image 1 of 1
    • Remove the basket strainer from the sink by lifting it out.

  7. Kitchen Sink Basket Strainer Replacement: step 7, image 1 of 1
    • Remove the tailpiece from the trap adaptor by lifting it out.

    • Keep the trap adapter nut and the nylon slip washer aside.

    • The trap adapter nut and nylon slip washer are shown in the image. The nylon slip is within the trap adaptor.

  8. Kitchen Sink Basket Strainer Replacement: step 8, image 1 of 2 Kitchen Sink Basket Strainer Replacement: step 8, image 2 of 2
    • Clean the sink opening and install a new basket strainer and the tailpiece.

    • Image 2 shows all the pieces that should be included in your new kit.

  9. Kitchen Sink Basket Strainer Replacement: step 9, image 1 of 1
    • Slide the old trap adaptor nut and nylon slip washer over the tailpiece.

  10. Kitchen Sink Basket Strainer Replacement: step 10, image 1 of 1
    • Install the tailpiece into the trap adaptor with the tailpiece washer inserted on top.

  11. Kitchen Sink Basket Strainer Replacement: step 11, image 1 of 1
    • Place the basket strainer on top of the tailpiece.

  12. Kitchen Sink Basket Strainer Replacement: step 12, image 1 of 2 Kitchen Sink Basket Strainer Replacement: step 12, image 2 of 2
    • Align the upper strainer to the basket under the sink and tighten it with the nut supplied.

    • Use the pliers and turn clockwise to tighten the nut.

  13. Kitchen Sink Basket Strainer Replacement: step 13, image 1 of 1
    • Tighten the tailpiece nut to the basket.

    • Use the pliers and turn clockwise to tighten the nut.

  14. Kitchen Sink Basket Strainer Replacement: step 14, image 1 of 1
    • Tighten the trap adaptor nut.

    • Use the pliers and turn clockwise to tighten the nut.

  15. Kitchen Sink Basket Strainer Replacement: step 15, image 1 of 1
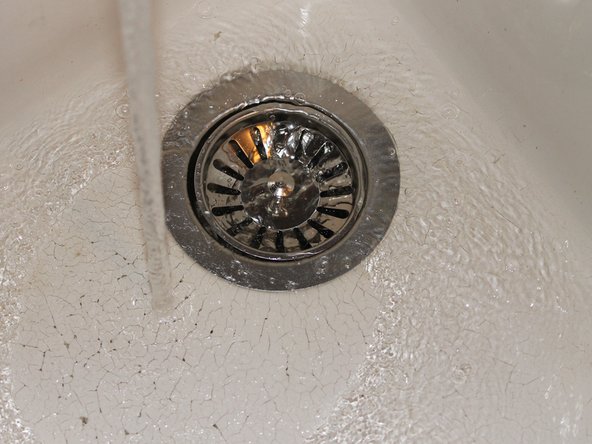
    • Insert the strainer and turn the water back on to test for any leaks.

Finish Line

Daniel Mella

Member since: 09/15/21

241 Reputation

1 Guide authored

Team

0 Comments

Add Comment

View Statistics:

Past 24 Hours: 0

Past 7 Days: 15

Past 30 Days: 49

All Time: 2,184