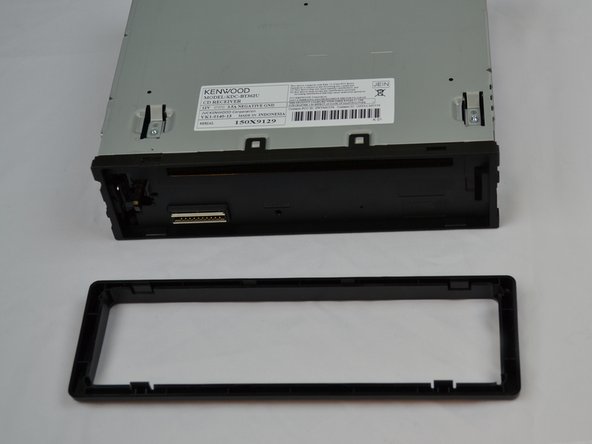
Kenwood KDC-BT362U Front Panel Replacement

Prerequisite Only
This guide is only intended to be used as a prerequisite for other guides. It's incomplete by itself.

What you need

  1. Kenwood KDC-BT362U Front Panel Replacement, Front Panel: step 1, image 1 of 1
    • Locate the face-plate eject button.

  2. Kenwood KDC-BT362U Front Panel Replacement: step 2, image 1 of 2 Kenwood KDC-BT362U Front Panel Replacement: step 2, image 2 of 2
    • Press the eject button with your forefinger.

    • Remove the face-plate.

  3. Kenwood KDC-BT362U Front Panel Replacement: step 3, image 1 of 2 Kenwood KDC-BT362U Front Panel Replacement: step 3, image 2 of 2
    • Starting on the top side, pop the front panel frame out.

    • Remove the face-plate frame.

  4. Kenwood KDC-BT362U Front Panel Replacement: step 4, image 1 of 2 Kenwood KDC-BT362U Front Panel Replacement: step 4, image 2 of 2
    • Use the plastic opening tool to pry open the tabs.

    • Repeat on the opposite side.

  5. Kenwood KDC-BT362U Front Panel Replacement: step 5, image 1 of 1
    • Remove the front panel.

Conclusion

To reassemble your device, follow these instructions in reverse order.

Pablo Cabrera

Member since: 10/04/16

201 Reputation

2 Guides authored

Team

USF Tampa, Team 2-5, Cagle Fall 2016 Member of USF Tampa, Team 2-5, Cagle Fall 2016

USFT-CAGLE-F16S2G5

4 Members

5 Guides authored

0 Comments

Add Comment

View Statistics:

Past 24 Hours: 0

Past 7 Days: 0

Past 30 Days: 0

All Time: 74