Introduction
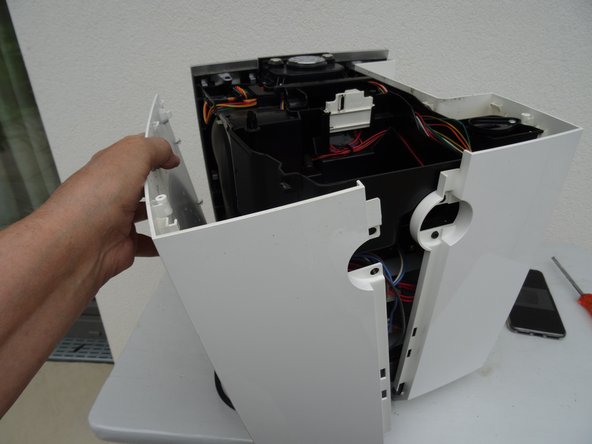
These instructions tell you how to extract the brewing unit.
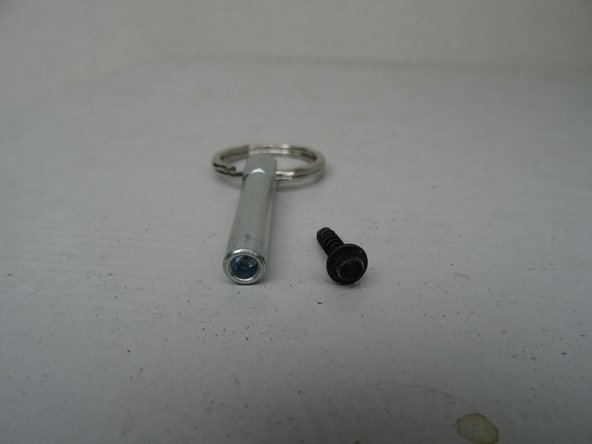
What you need
-
-
Remove the water tank and the drip tray. Remove all coffee beans from the storage container.
-
-


Work your way through the instructions in reverse to re-assemble the device.
Work your way through the instructions in reverse to re-assemble the device.
Cancel: I did not complete this guide.
One other person completed this guide.
Special thanks to these translators:
100%

These translators are helping us fix the world! Want to contribute?
Start translating ›
Team

Repair is War on Entropy Member of Repair is War on Entropy
Community
24 Members
1,097 Guides authored