Introduction
This guide will show you how to replace your display from your laptop. You would need to replace it if you break your display.
What you need
-
-
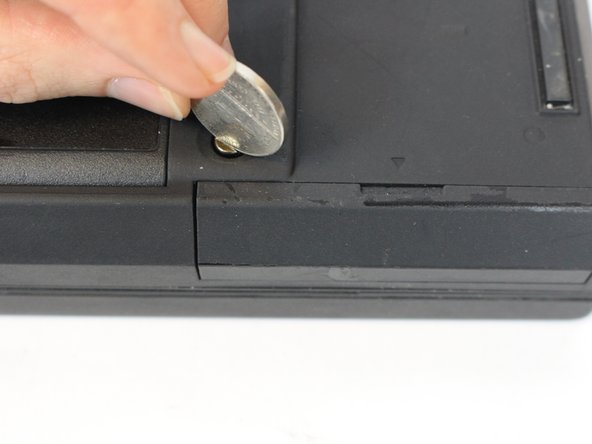
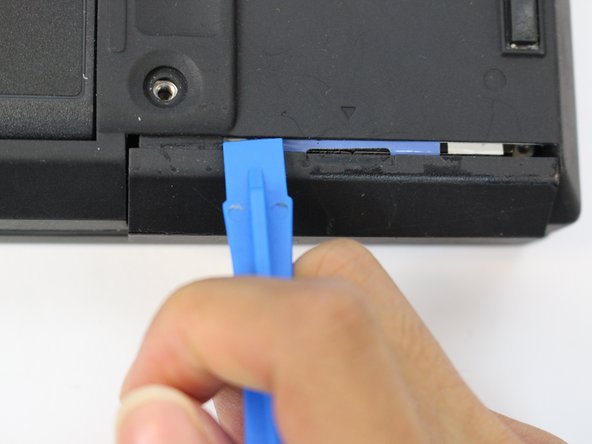
Unscrew the coin screw for the hard drive using a coin. Pry off the HDD cover.
-
-
-
-
Four 18mm long M2.5 screws
-
Two 16mm long M2.5 screws
-
One 4.5mm long M2.5 screws
-
Four 3mm long M2.5 screws
-
-
-
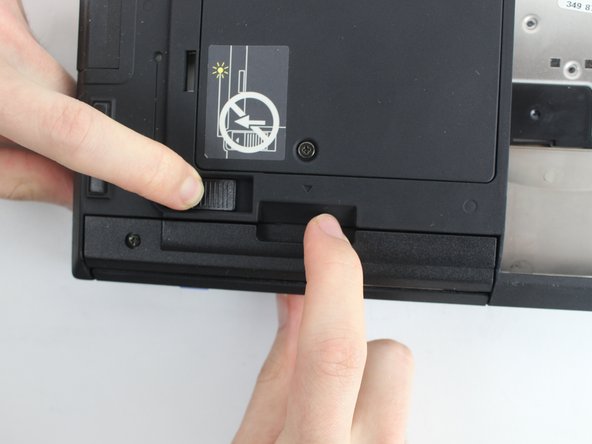
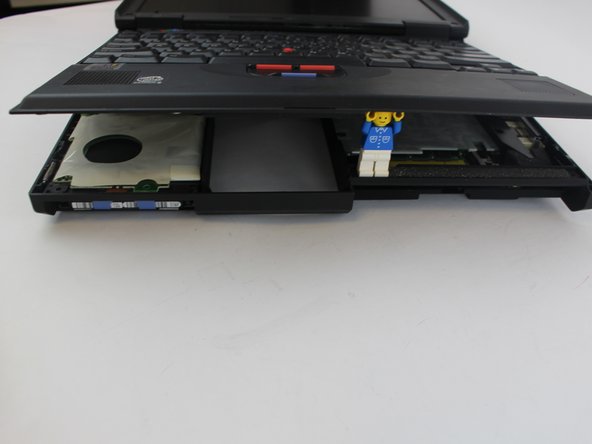
Open the laptop all the way until it is flat.
-
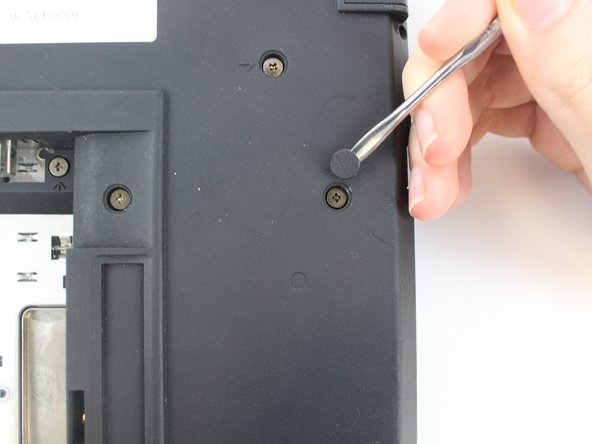
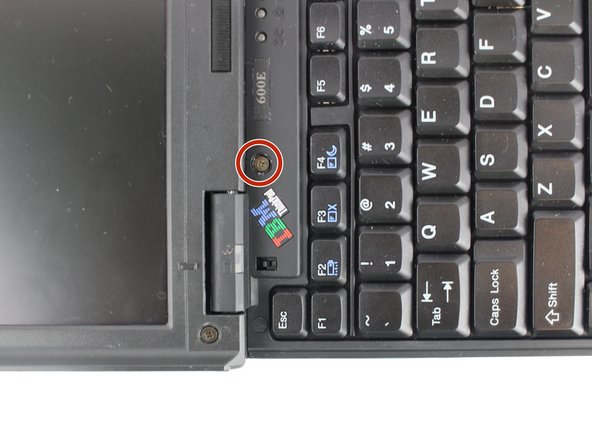
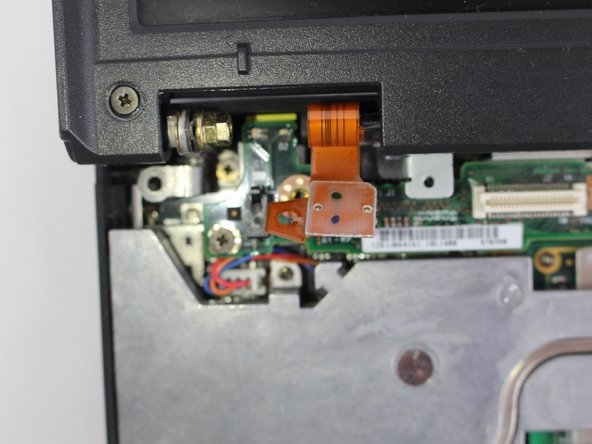
Take the black circle off and remove the screw.
-
One 4.5mm long M2.5 screw
-
-
-
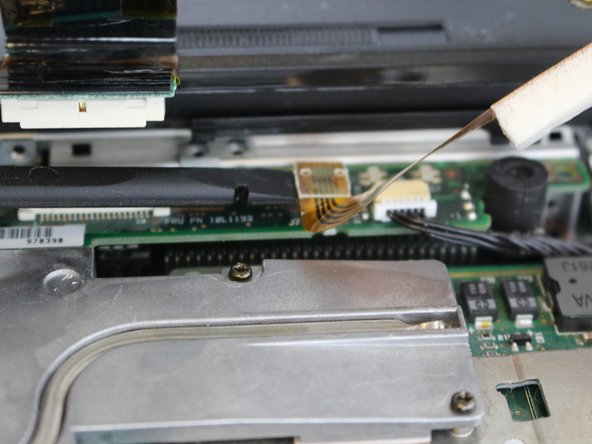
Pry the connectors of the ribbon cables off slowly, lifting straight up. Wiggle gently side to side if necessary.
-
-
-
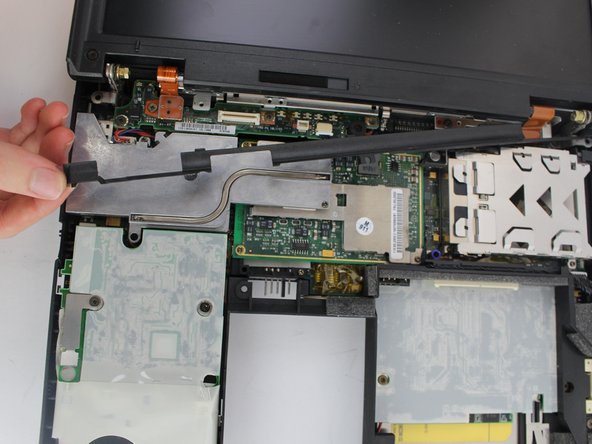
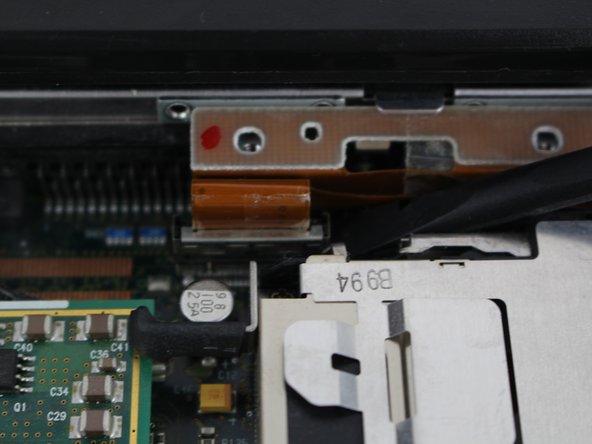
Remove the plastic part attached to the bottom of the screen.
-
Gently pull it from one side and then from another.
-
-
-
Pry the connectors of the ribbon cables off slowly, lifting straight up. Wiggle gently side to side if necessary.
-
-
-
Close the laptop and turn it around. There you will see 4 more screws.
-
Unscrew highlighted screws.
-
Four 4.8mm long M2.5 screws
-


Team

USF Tampa, Team 1-4, Nance Fall 2016 Member of USF Tampa, Team 1-4, Nance Fall 2016
USFT-NANCE-F16S1G4
4 Members
12 Guides authored