This guide has more recent changes. Switch to the latest unverified version.
Introduction
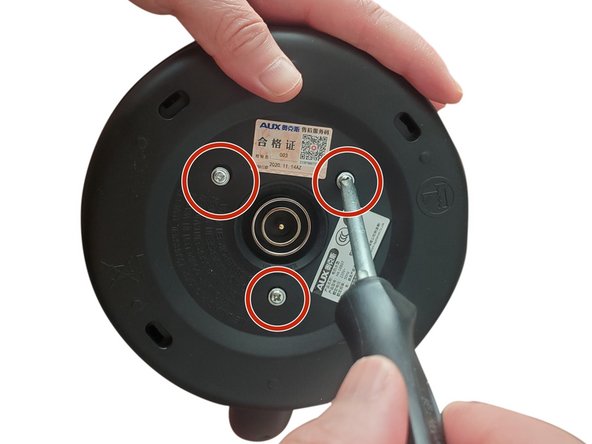
Looking to replace your damaged temperature controller? and don't know how? In this installation guide, we will teach you how to replace a new temperature controller. You can easily do it in just a few steps. This installation is based on the AUX-208P1 electric kettle, but the same concept is also applicable to the replacement of other electric kettle temperature controllers.
What you need


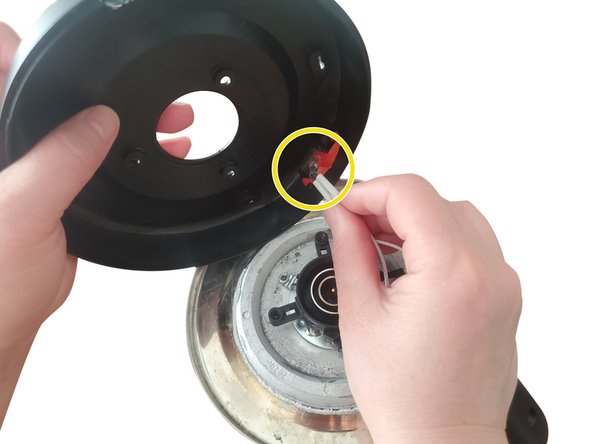

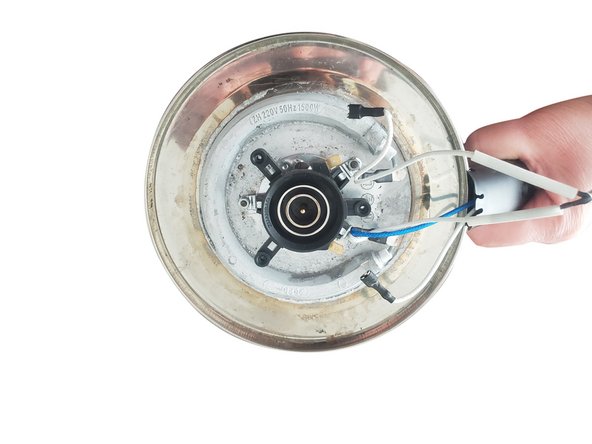


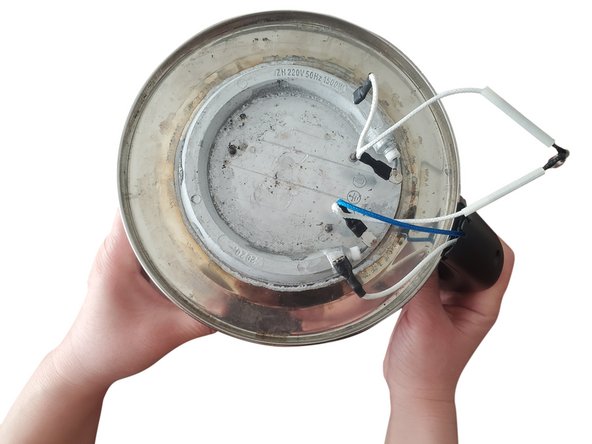


When reassembling your device, please follow the reverse order of disassembly.
When reassembling your device, please follow the reverse order of disassembly.
Team

York University, Team S1-G30, O'Regan Winter 2021 Member of York University, Team S1-G30, O'Regan Winter 2021
YORK-O'REGAN-W21S1G30
1 Member
2 Guides authored