
How To Mount Raptor Hotend PCB On The DDX

What you need

  1. How To Mount Raptor Hotend PCB On The DDX, Remove motor screws: step 1, image 1 of 1
    • Remove the 2 Phillips screws

  2. How To Mount Raptor Hotend PCB On The DDX, Attaching the Printed PCB Mount: step 2, image 1 of 1
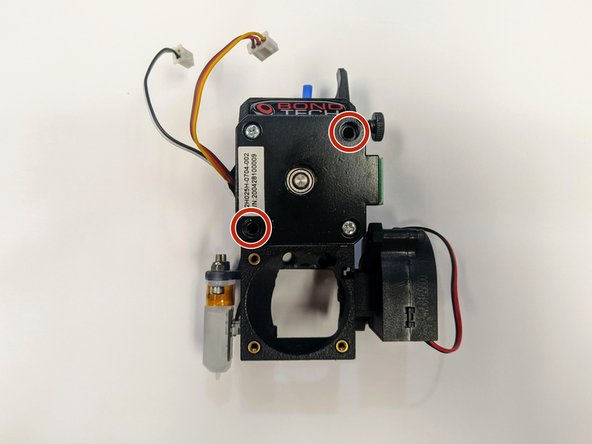
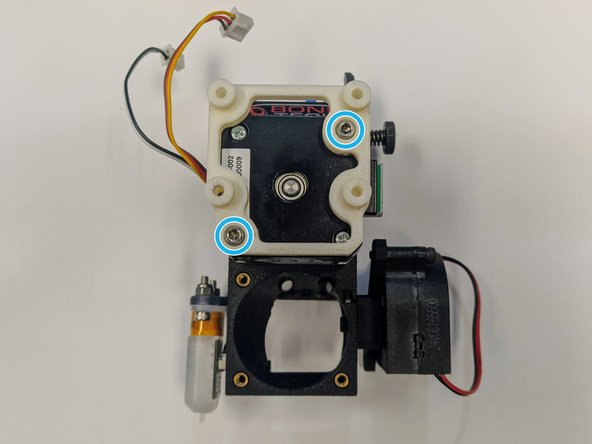
    • Mount the printed PCB Mount with the 2 included M3x25 socket head screws

  3. How To Mount Raptor Hotend PCB On The DDX, Mount PCB: step 3, image 1 of 1
    • Attach the PCB with the 4x#4 self-tapping screws

  4. How To Mount Raptor Hotend PCB On The DDX, PCB Wiring: step 4, image 1 of 2 How To Mount Raptor Hotend PCB On The DDX, PCB Wiring: step 4, image 2 of 2
    • Picture 1 is for a Raptor 2. Picture 2 is for a Raptor 1

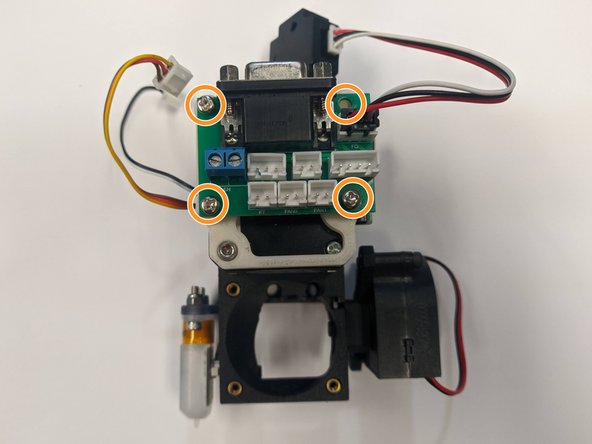
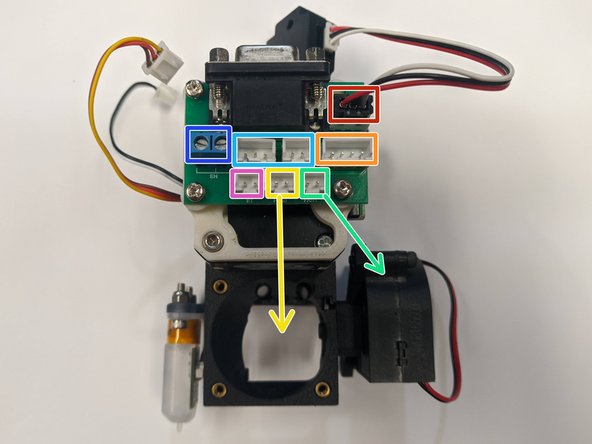
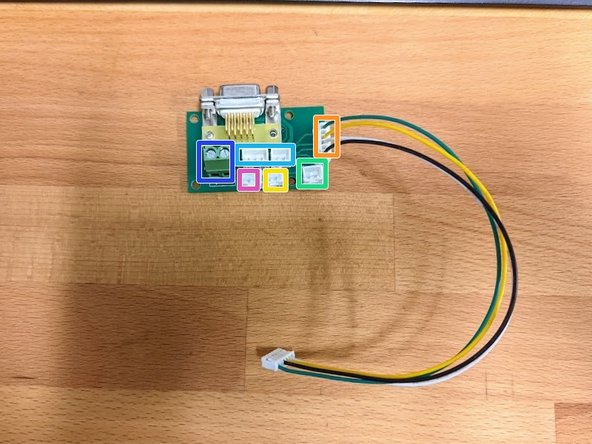
    • Filament sensor Note Raptor 1 Does not have a Filament sensor

    • Extruder motor

    • BL Touch 3 and 2 Pin connections

    • Hotend Heater Cartridge

    • Thermistor

    • 4010 Hotend Heatsink Fan

    • Cooling Part Fan

Conclusion

Now you can mount your hotend and then mount the whole assembly to the X-carriage plate.

AJ Pereira

Member since: 05/29/20

2,652 Reputation

16 Guides authored

Team

Tiny Machines 3D Member of Tiny Machines 3D

Community

5 Members

40 Guides authored

0 Comments

Add Comment

View Statistics:

Past 24 Hours: 0

Past 7 Days: 0

Past 30 Days: 1

All Time: 198