Introduction
Water damage is one of the most difficult disasters to deal with. A leaking sink can flood your cabinets, create mold and cause thousands of dollars of damage. I have prepared a relatively simple and inexpensive fix to repair a leaking garbage disposal without the hassle of calling a plumber and spending a larger amount of money. This fix requires a screw driver, a hammer or chisel and Plumber's Putty.
What you need
-
-
Unplug the garbage disposal from the power source.
-
-
-
Loosen and disconnect the dishwasher drain hose from the garbage disposal unit.
-
Do so by loosening the clamp and unscrewing the screws with a flathead screwdriver.
-
Remove the screws and pull the gray tube from the disposal.
-
-
-
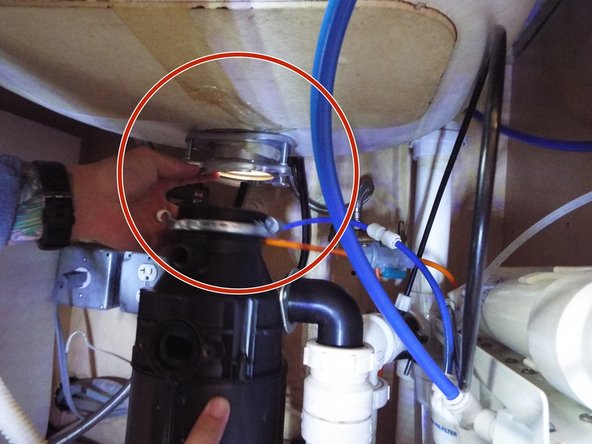
Remove the three screws from the flange at the top of the garbage disposal unit. These screws are at the top right above the black disposal box.
-
Disconnect lock-nut at flange.
-
-
-
-
Use screwdriver to turn locking ring counter clock-wise disengaging drain hose and disposal.
-
Disposal will drop down. When disposal falls catch and place on bottom of sink.
-
Move from underneath the sink to the top of the sink.
-
-
-
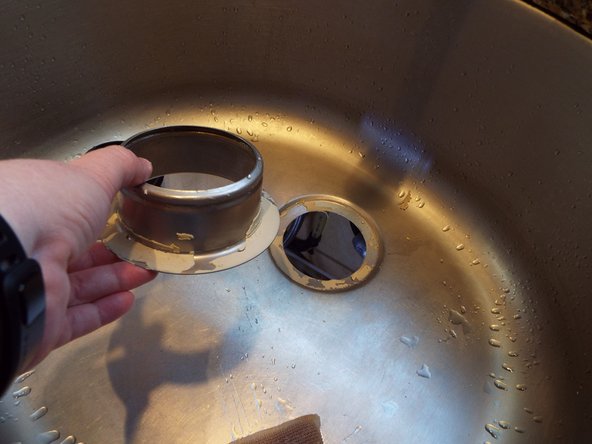
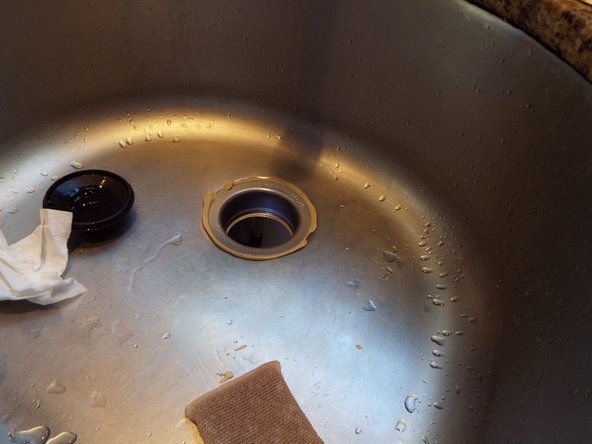
To remove flange you will push from underneath the sink with one hand and pull it out through the top of the sink with your other hand.
-
Scrape off ALL excess putty from flange and sink.
-
-
-
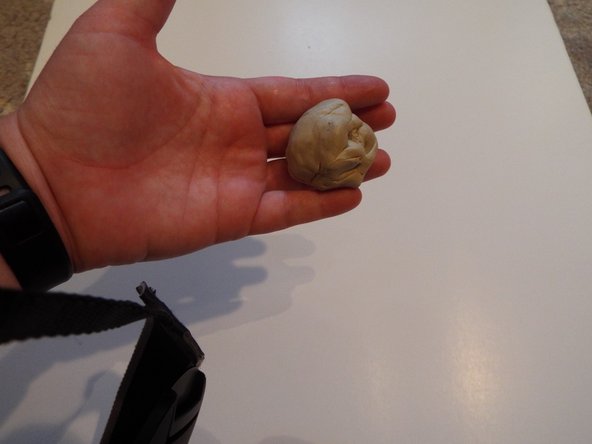
Remove small ball of putty and roll into golf ball shape.
-
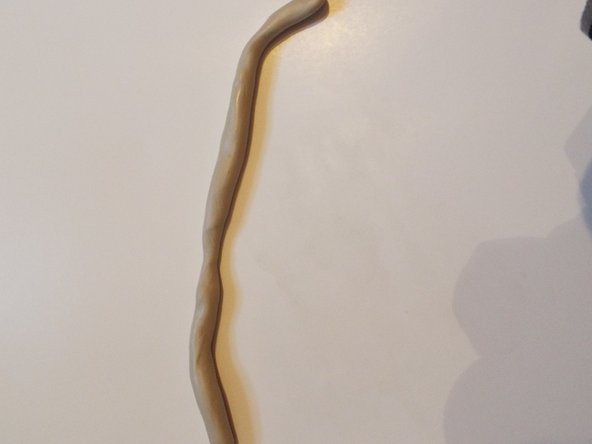
Roll flat until putty becomes snakelike shape approximately 3/4 inch diameter.
-
-
-
Roll into snake-like shape until long enough to fit fully around flange.
-
Wrap around flange and place flange back into sink.
-
Press down hard into sink and remove any excess Plumber's Putty.
-
-
-
Reassemble flange and garbage disposal reversing steps.
-
Put sink stopper in and fill up sink approximately halfway. Remove stopper and check underneath sink for leak.
-


Team

USF Sarasota-Manatee, Team S19-G2, Stewart Spring 2018 Member of USF Sarasota-Manatee, Team S19-G2, Stewart Spring 2018
USFSM-STEWART-S18S19G2
1 Member
1 Guide authored