Introduction
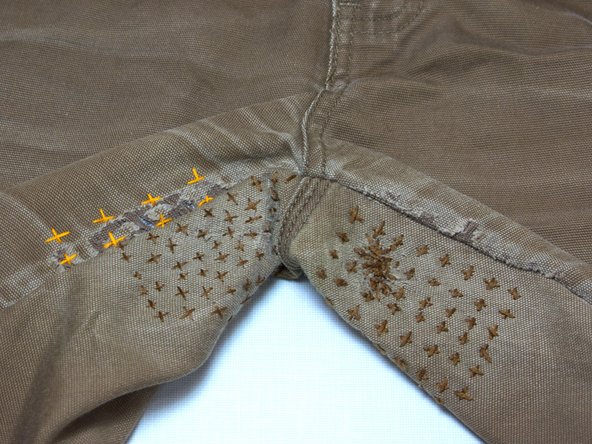
Sashiko Stitching is a Japanese embroidery technique, which is commonly used to make different types of geometric patterns and to reinforce clothing. It once originated a long time ago in rural areas of Japan, for mending and repurposing clothes instead of throwing them away. Today, people still use Sashiko Stitching to repair damaged clothing.
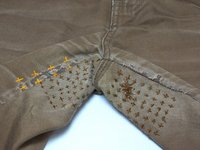
It can also be used for decorative purposes, with various different combinations of colours and patterns. Today, we are using an X or cross styled pattern.
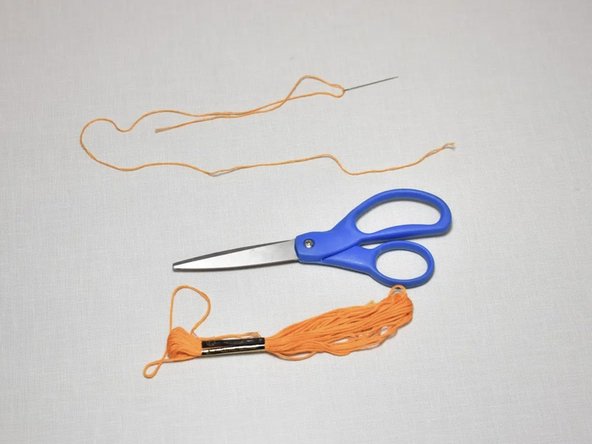
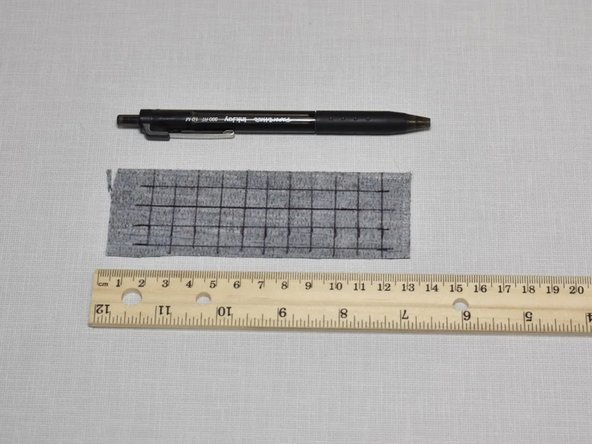
What you need
-
-
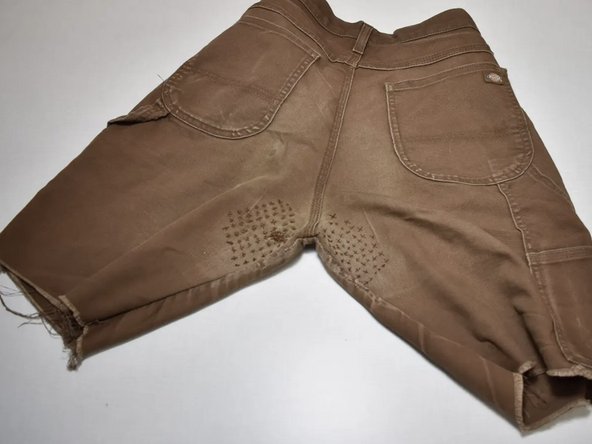
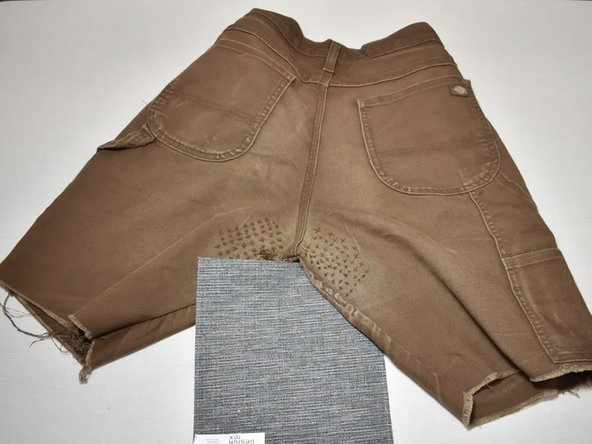
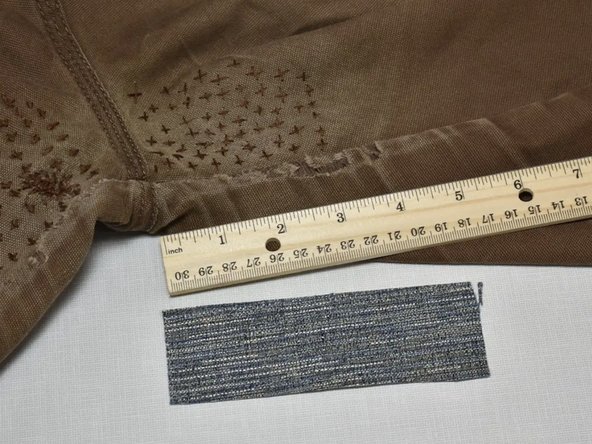
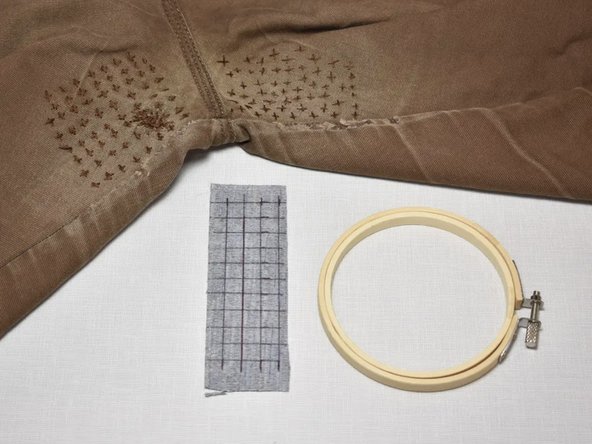
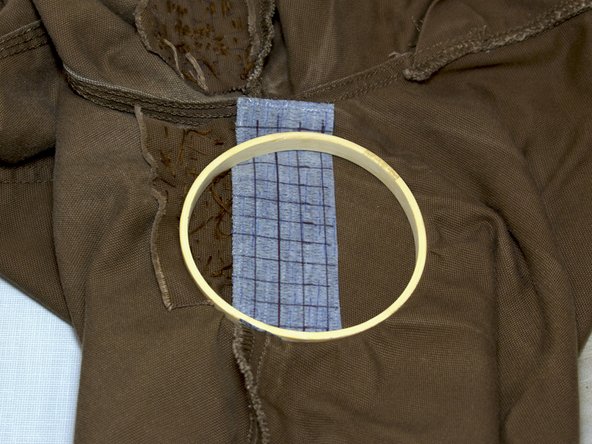
Find the area of the pants that needs to be reinforced or mended.
-
-


Cancel: I did not complete this guide.
One other person completed this guide.

Team

UC Davis, Team 1-2, Vidal-Chiesa Fall 2024 Member of UC Davis, Team 1-2, Vidal-Chiesa Fall 2024
UCD-VIDAL-CHIESA-F24S1G2
3 Members
4 Guides authored