Introduction
Before attempting to repair this toy you need to consider that the manufacturer has glued a cover over a screw. To remove this will leave a broken part (which you can glue on later) and that tool marks may remain visible (can mostly be smoothed back down with a warmed metal spatula/rod)
What you need
-
-
Remove 1 screw securing battery cover. Remove batteries.
-
remove 2 screws from dog belly that were hidden by battery cover.
-
-
-
Using either a screwdriver, craft knife or similar, pry or cut the cover on top of screw beside back left leg. Remove single screw.
-
Use craft knife to ease between joints of rear leg cover and cut through glue. Remove cover.
-
remove 2 screws from beneath leg.
-
-
-
-
Remove 2 screws-1 each next to front legs.
-
Use a plastic spudger to pry between upper and lower body.
-
Remove lower casing, front legs may still be attached to case but will easily pull free. When reattaching the body it is easiest to place legs in lower case and then place upper case on top.
-
-
-
desolder battery contacts.
-
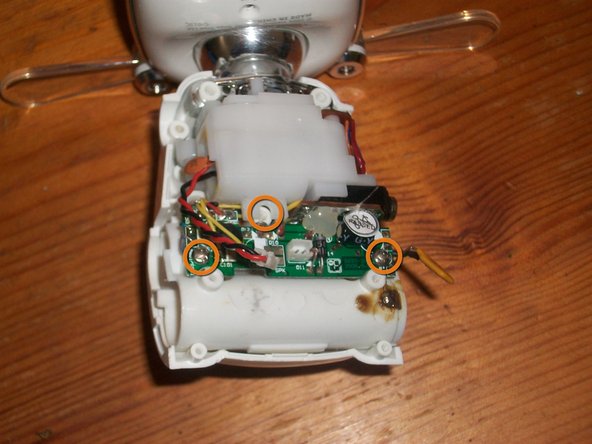
remove screws securing motherboard to battery housing.
-
lift motherboard up from housing, you may have to bend fuse (that was soldered to battery contact) slightly to allow movement. Be careful as it is still attached to jack and motor.
-
-
-
remove 2 screws accessed through battery housing. (Jack slides from motor housing and is easily resited it is not secured in place)
-
-
-
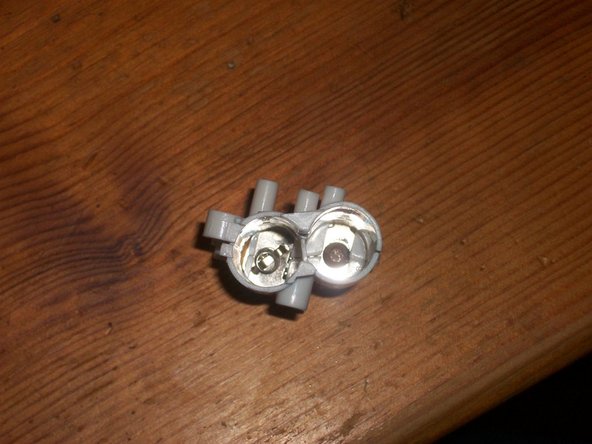
remove 2 screws holding motor to battery compartment that were hidden beneath jack and wiring near battery opening.
-
Lift motor housing up slightly to allow battery compartment to be removed. You may have to "wiggle" neck joint/silver attachment to allow this.
-
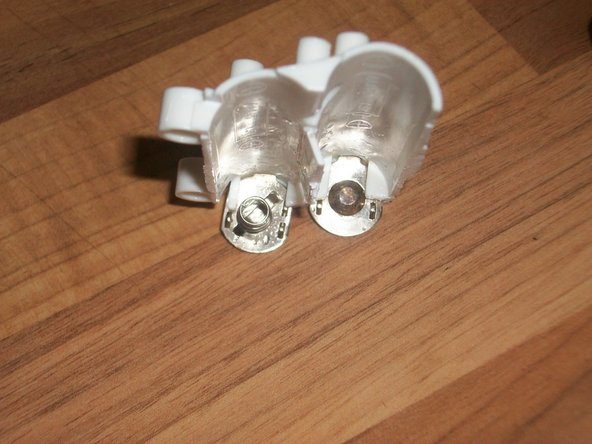
The removed battery compartment. You will need to use a sharp blade to cut along joins to fully access battery contacts for a thorough clean.
-


Team
