Introduction
NOTE: With the introduction of macOS Catalina, certain steps in this guide are out of date.
IMPORTANT: Cloning the hard drive is not recommended if you have a Mac that uses a recovery partition (MacOS 10.7 - present) or internet recovery (2011 - present). Instead, to move your data to a new drive, first create a backup of your existing drive. Then, either use internet recovery or create a bootable external drive so you’ll be ready to install macOS onto your new drive and migrate your data afterward.
If you are happy with your existing operating system installation and would simply like to upgrade your hard drive capacity, you can clone your existing hard drive to your new drive.
To clone a hard drive, you will need a way to connect the second hard drive to your Mac. Our silicone 2.5" enclosure or one of our Hard Drive Upgrade Kits works great for cloning your drive over.
To clone your hard drive, we recommend a program called SuperDuper!, by Shirt Pocket Software.
The following instructions assume that you’ll be using SuperDuper! and the 2.5" hard drive enclosure to clone onto a new 2.5" drive. If you are using a different setup, your installation process may be somewhat different.
What you need
-
-
You will need to put the new drive into the 2.5" enclosure in order to clone your existing hard drive onto it.
-
Before inserting the new hard drive, note the orientation of the SATA connectors embedded in the enclosure:
-
The wide power SATA port
-
The narrower data SATA port
-
-
-
Using the previous step, orient the new drive so that its SATA connectors will align with the enclosure's.
-
Slide the drive into the enclosure's opening.
-
Push the drive into the enclosure until it stops sliding and the SATA connectors are completely seated.
-
-
-
Stretch the remaining enclosure corners over the drive so that the silicone cover encapsulates the drive.
-
-
-
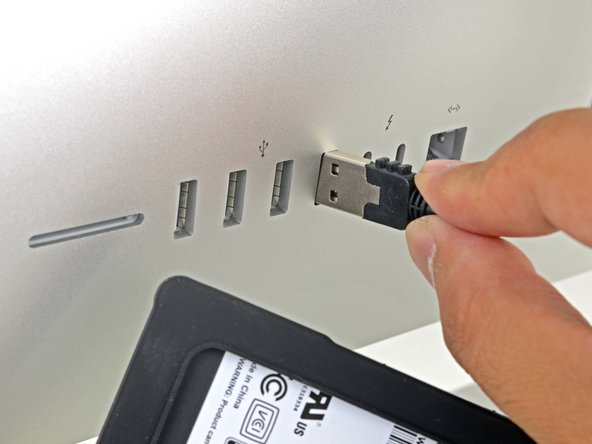
Power on your Mac and wait for it to fully load.
-
Plug the enclosure into your Mac's USB port.
-
-
-
-
Select your new hard drive from the left column in Disk Utility.
-
Select the Erase option near the top row of buttons.
-
Select a name for your new drive, and select "Mac OS Extended (Journaled)" for the format.
-
Press the erase button.
-
Quit Disk Utility once the erase is complete.
-
-
-
Download and install SuperDuper!
-
Under the Go pulldown menu, select Applications.
-
Open SuperDuper!
-
-
-
In the copy pulldown menu, select your current drive.
-
In the destination pulldown menu, select the new drive.
-
In the method pulldown menu, select "Backup—all files".
-
-
-
Press the "Copy Now" button.
-
If prompted, provide your password.
-
Click "Copy" when warned about erasing the drive.
-
-
-
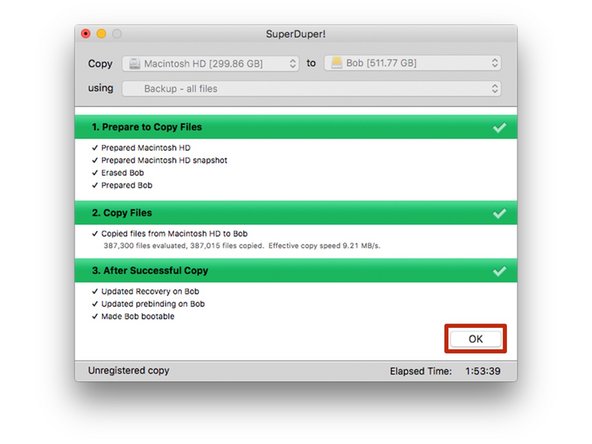
Wait for the drive to copy (this could take several hours if you have a lot on your hard drive).
-
When prompted for registration by SuperDuper!, either choose "Register" to purchase the software or "Later" to register later.
-
After the copy is complete, click "Ok" and quit SuperDuper!
-
-
-
At this point, your new hard drive should be a clone of your existing drive and ready to install.
-
Keep the enclosure connected to the computer and restart the computer. Hold down the "option" key as it reboots until a boot option menu shows up.
-
-
-
Select your new hard drive from the boot option menu.
-
Wait for the computer to boot up to verify if it works properly.
-
Your new hard drive is now ready to be installed in your computer.
-


Team

Mike's Super Duper Computer Repairs Member of Mike's Super Duper Computer Repairs
Business
1 Member
8 Guides authored