
Hoover Windtunnel Air Steerable Upright Motor Assembly Replacement

What you need

  1. Hoover Windtunnel Air Steerable Upright Motor Assembly  Replacement, HEPA Filter: step 1, image 1 of 2 Hoover Windtunnel Air Steerable Upright Motor Assembly  Replacement, HEPA Filter: step 1, image 2 of 2
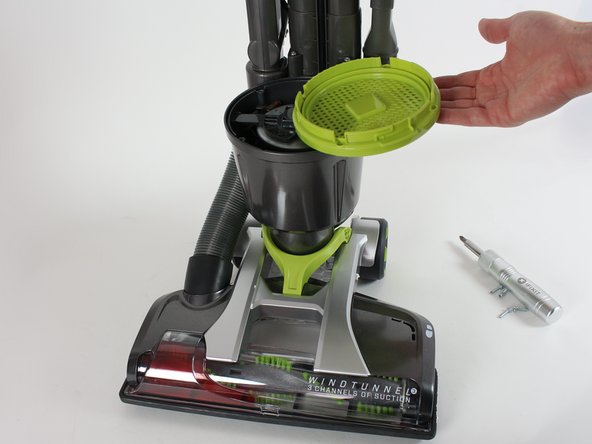
    • Put the cleaner into the upright position, turn the power off, and unplug the power cord.

  2. Hoover Windtunnel Air Steerable Upright Motor Assembly  Replacement: step 2, image 1 of 3 Hoover Windtunnel Air Steerable Upright Motor Assembly  Replacement: step 2, image 2 of 3 Hoover Windtunnel Air Steerable Upright Motor Assembly  Replacement: step 2, image 3 of 3
    • Remove the dirt cup from the cleaner.

    • The HEPA filter is located under the dirt cup and under where it says HEPA.

    • Twist the top counterclockwise to unlock the cap.

  3. Hoover Windtunnel Air Steerable Upright Motor Assembly  Replacement: step 3, image 1 of 2 Hoover Windtunnel Air Steerable Upright Motor Assembly  Replacement: step 3, image 2 of 2
    • Lift the HEPA filter out.

    • Tap the filter against the inside of a trashcan to knock out the dirt and debris or replace as necessary.

    • Do not wash the HEPA Filter.

  4. Hoover Windtunnel Air Steerable Upright Motor Assembly  Replacement, Motor Assembly: step 4, image 1 of 3 Hoover Windtunnel Air Steerable Upright Motor Assembly  Replacement, Motor Assembly: step 4, image 2 of 3 Hoover Windtunnel Air Steerable Upright Motor Assembly  Replacement, Motor Assembly: step 4, image 3 of 3
    • Remove the 4 retaining screws and remove the filter tray.

    • Screw lengths are approximately 3/4".

  5. Hoover Windtunnel Air Steerable Upright Motor Assembly  Replacement: step 5, image 1 of 1
    • Pull the motor housing vertically to dislodge the motor.

  6. Hoover Windtunnel Air Steerable Upright Motor Assembly  Replacement: step 6, image 1 of 3 Hoover Windtunnel Air Steerable Upright Motor Assembly  Replacement: step 6, image 2 of 3 Hoover Windtunnel Air Steerable Upright Motor Assembly  Replacement: step 6, image 3 of 3
    • Use a plastic spudger or opening tool to press on the small circle and wiggle clips free.

Conclusion

To reassemble your device, follow these instructions in reverse order.

2 other people completed this guide.

steven hoover

Member since: 09/26/17

257 Reputation

2 Guides authored

Team

Cal Poly, Team S7-G2, Banghart Fall 2017 Member of Cal Poly, Team S7-G2, Banghart Fall 2017

CPSU-BANGHART-F17S7G2

5 Members

14 Guides authored

0 Comments

Add Comment

View Statistics:

Past 24 Hours: 1

Past 7 Days: 8

Past 30 Days: 57

All Time: 3,828