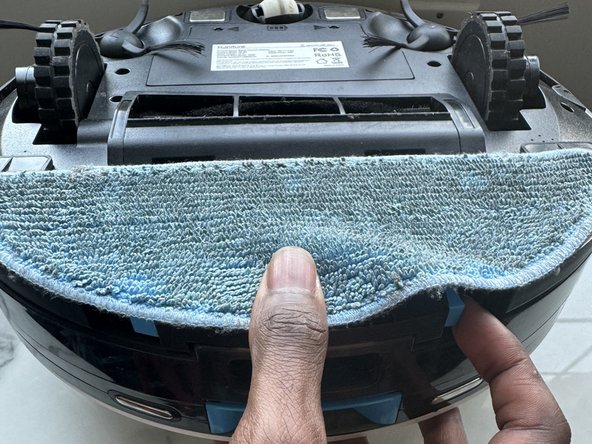
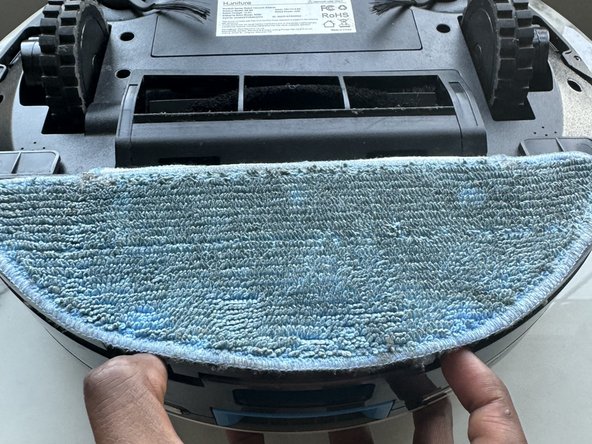
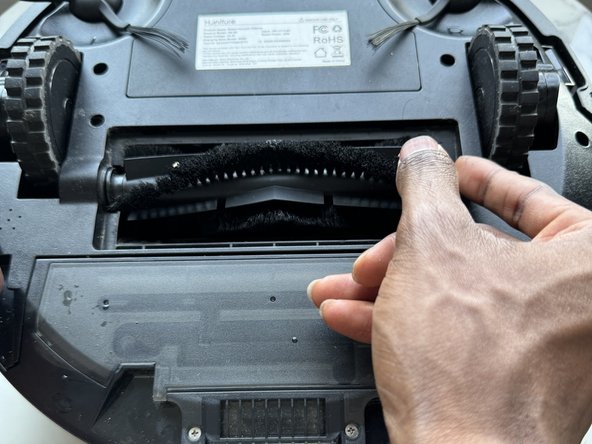
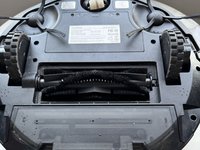
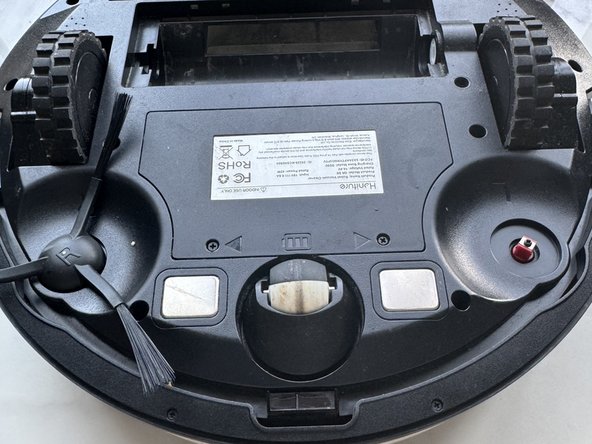
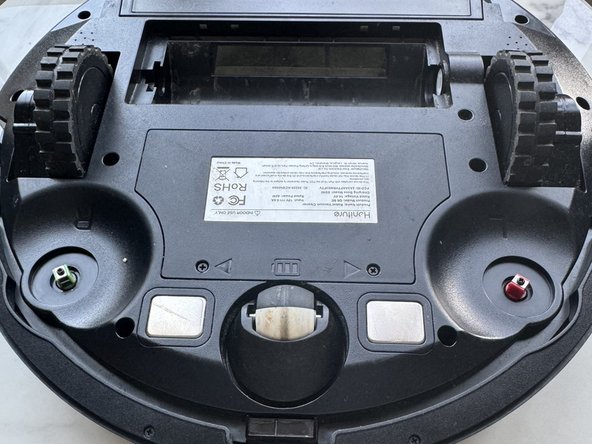
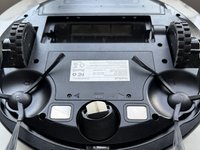
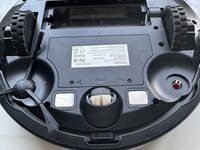
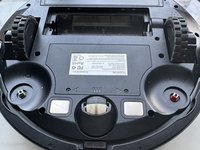
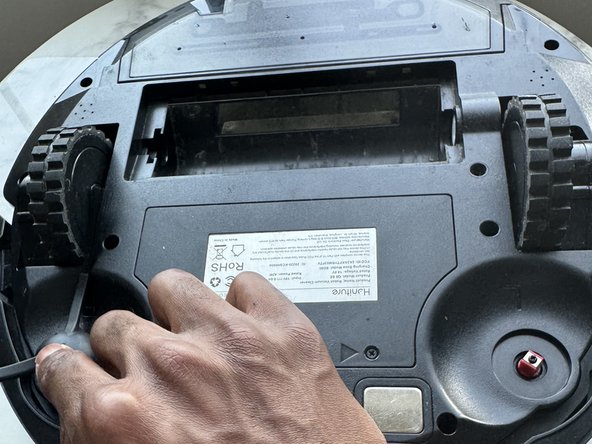
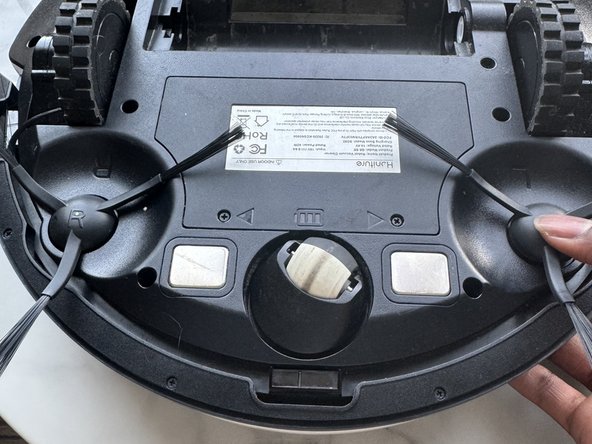
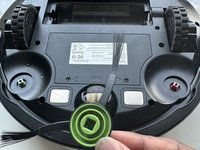
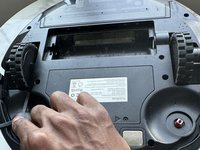
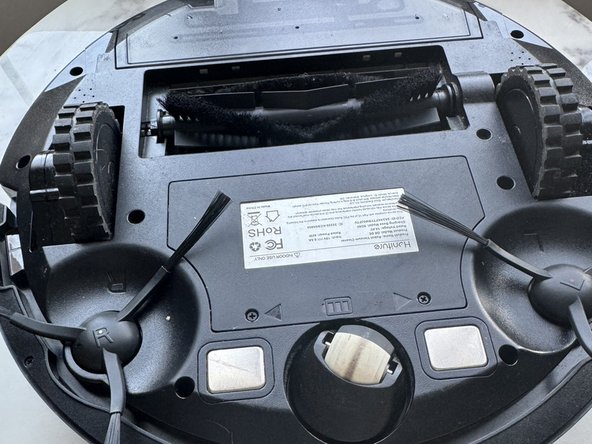
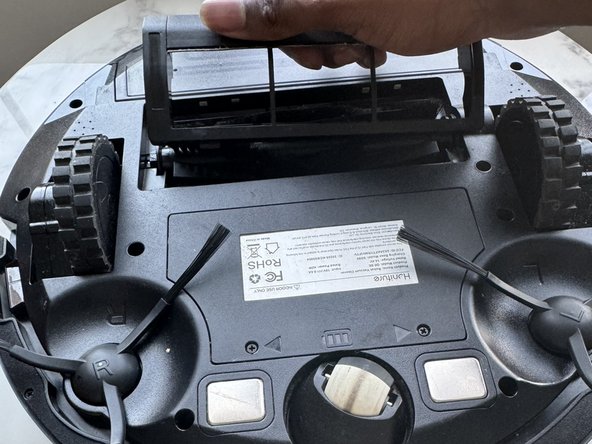
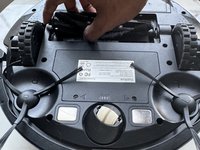
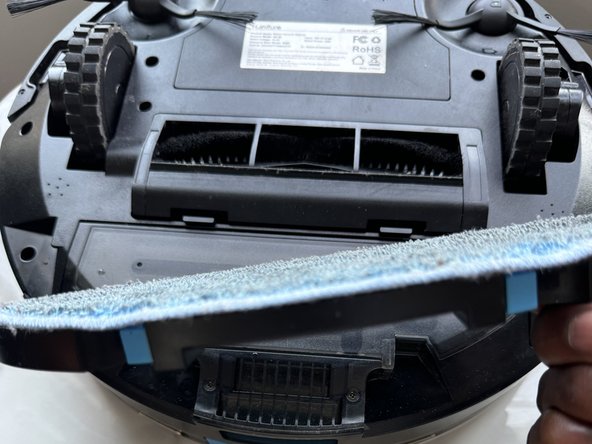
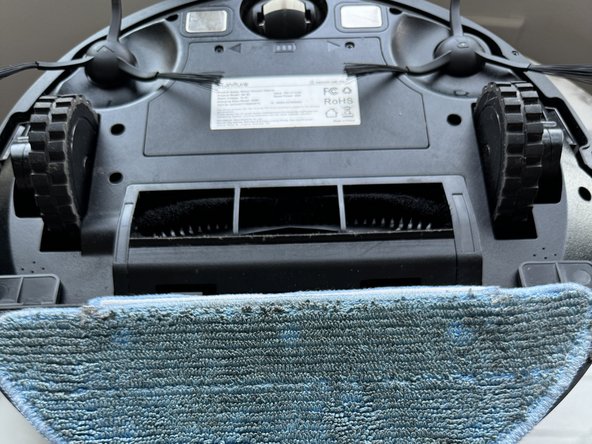
Honiture Q6 SE Robot Vacuum Brushes Replacement

  1. Honiture Q6 SE Robot Vacuum Brushes Replacement, Brushes: step 1, image 1 of 3 Honiture Q6 SE Robot Vacuum Brushes Replacement, Brushes: step 1, image 2 of 3 Honiture Q6 SE Robot Vacuum Brushes Replacement, Brushes: step 1, image 3 of 3
    • Ensure the vacuum is powered off and disconnected from any charging base.

    • Locate the brush compartment on the underside of the vacuum.

  2. Honiture Q6 SE Robot Vacuum Brushes Replacement: step 2, image 1 of 3 Honiture Q6 SE Robot Vacuum Brushes Replacement: step 2, image 2 of 3 Honiture Q6 SE Robot Vacuum Brushes Replacement: step 2, image 3 of 3
    • Press the blue buttons underneath the rag and pull out the rag to access the brush compartment.

  3. Honiture Q6 SE Robot Vacuum Brushes Replacement: step 3, image 1 of 2 Honiture Q6 SE Robot Vacuum Brushes Replacement: step 3, image 2 of 2
    • Pull out the clip to open the brush compartment.

  4. Honiture Q6 SE Robot Vacuum Brushes Replacement: step 4, image 1 of 2 Honiture Q6 SE Robot Vacuum Brushes Replacement: step 4, image 2 of 2
    • Carefully remove the old roller brush from its holder.

  5. Honiture Q6 SE Robot Vacuum Brushes Replacement: step 5, image 1 of 3 Honiture Q6 SE Robot Vacuum Brushes Replacement: step 5, image 2 of 3 Honiture Q6 SE Robot Vacuum Brushes Replacement: step 5, image 3 of 3
    • Carefully remove the old side brushes from their holders.

  6. Honiture Q6 SE Robot Vacuum Brushes Replacement: step 6, image 1 of 3 Honiture Q6 SE Robot Vacuum Brushes Replacement: step 6, image 2 of 3 Honiture Q6 SE Robot Vacuum Brushes Replacement: step 6, image 3 of 3
    • Insert the new right-side brush.

    • Insert the new left-side brush.

  7. Honiture Q6 SE Robot Vacuum Brushes Replacement: step 7, image 1 of 3 Honiture Q6 SE Robot Vacuum Brushes Replacement: step 7, image 2 of 3 Honiture Q6 SE Robot Vacuum Brushes Replacement: step 7, image 3 of 3
    • Insert the new roller-brush.

    • Close the roller-brush compartment.

  8. Honiture Q6 SE Robot Vacuum Brushes Replacement: step 8, image 1 of 3 Honiture Q6 SE Robot Vacuum Brushes Replacement: step 8, image 2 of 3 Honiture Q6 SE Robot Vacuum Brushes Replacement: step 8, image 3 of 3
    • Slide the rag back into its holder.

  9. Honiture Q6 SE Robot Vacuum Brushes Replacement: step 9, image 1 of 1
    • Flip the vacuum and return to the charging station.

    • Perform a test run.

Finish Line

Adebowale Sanni-Omotosho

Member since: 01/29/23

172 Reputation

1 Guide authored

0 Guide Comments

Add Comment

View Statistics:

Past 24 Hours: 0

Past 7 Days: 12

Past 30 Days: 39

All Time: 666