What you need
-
-
Remove the battery by locating the battery compartment beneath the drone. Slide the latch back and flip it open.
-
Disconnect the battery terminal as shown in Blue.
-
-
-
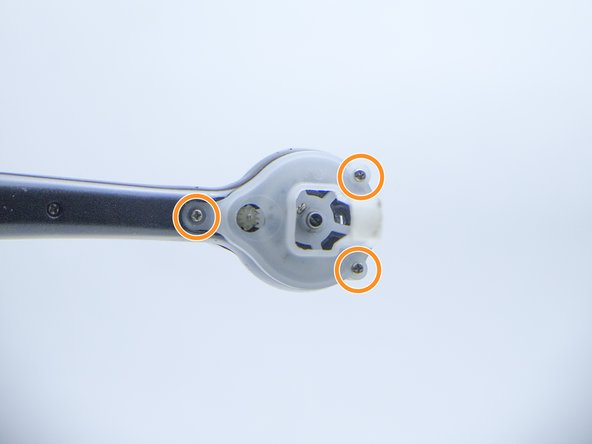
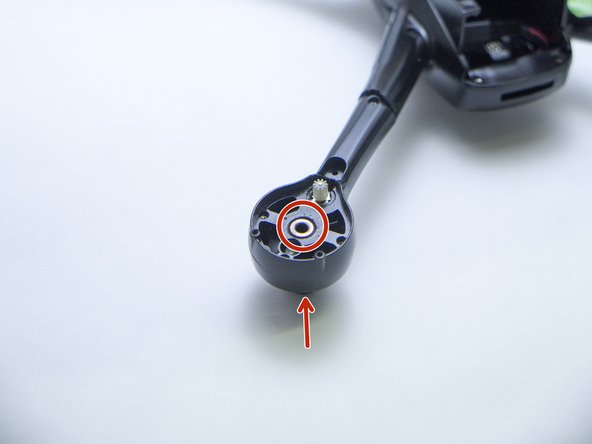
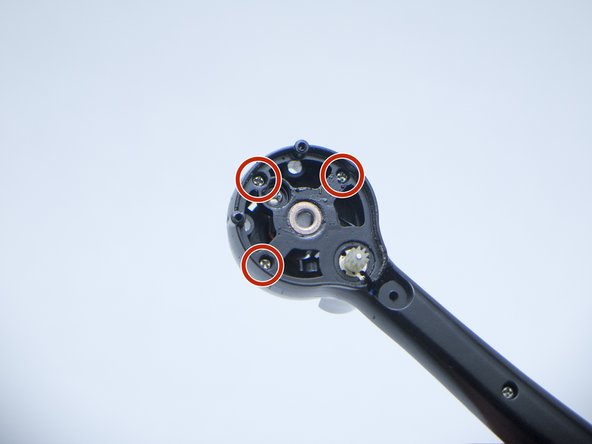
Unscrew all four blade screws by using a small Phillips screw driver and remove the blade.
-
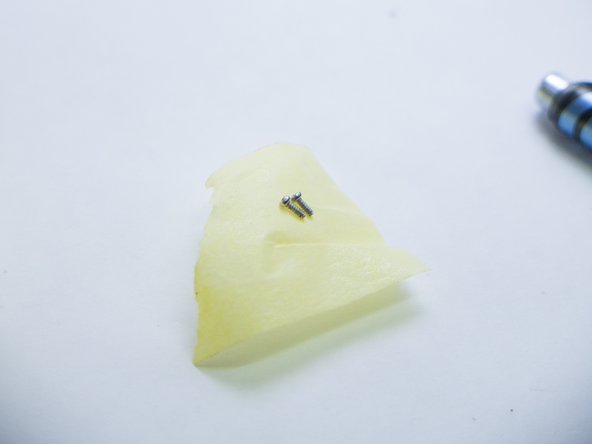
Remember to store all screws and components neatly. See second picture
-
-
-
Remove the legs by screwing the 3 screws out as indicated in the first picture.
-
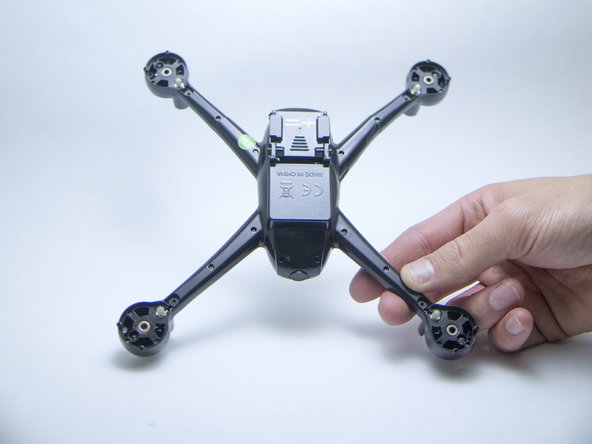
Remove the legs and screws and store it neatly.
-
-
-
-
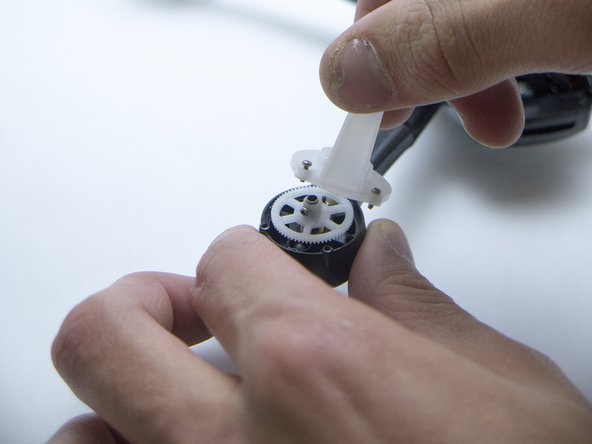
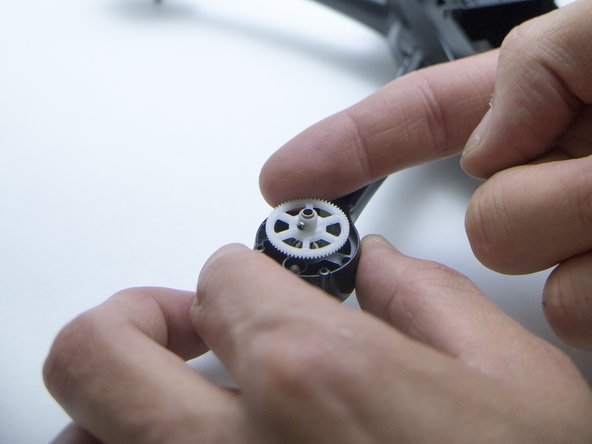
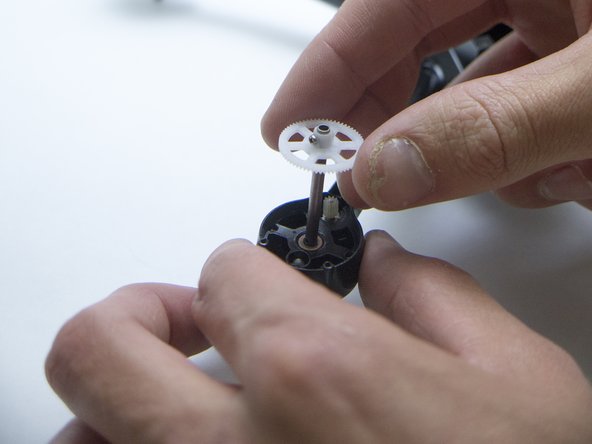
Simply lift the gear and its axle.
-
Note that when removing the small bearings (Red) can fall out. There are two bearings per axle, one on the top (Red arrow) and one on the bottom.
-
-
-
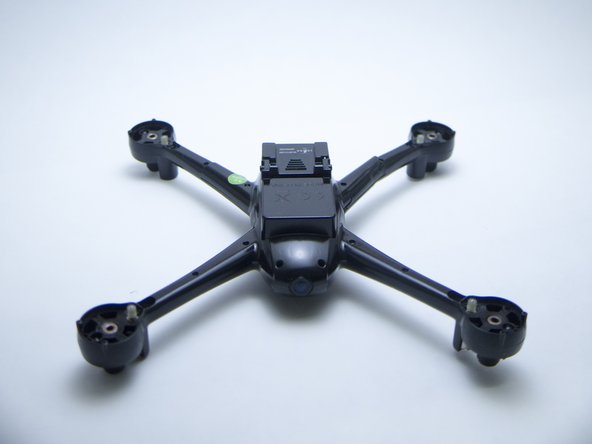
After removing the blades/props, legs and gears, the drone should look like this.
-
Tip: When storing the screws, you can tape them in masking tape and the label the tape with a pen to remember which screws comes where.
-
-
-
Remove both screws on all four arms by using a small Philips screwdriver.
-
Next. Remove the three screws on each arm's end by using a small Philips screwdriver.
-
Remember to organize your screws.
-
-
-
After separating the top and bottom half of the drone locate the antenna as shown the second picture.
-
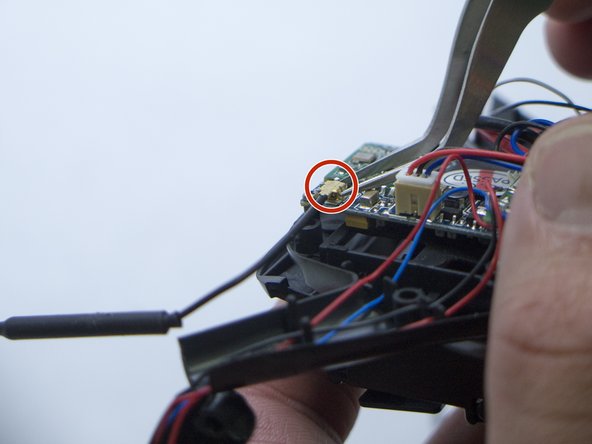
Carefully use your tweezers and lift the the antenna out by wedging the tweezers underneath. (See picture)
-
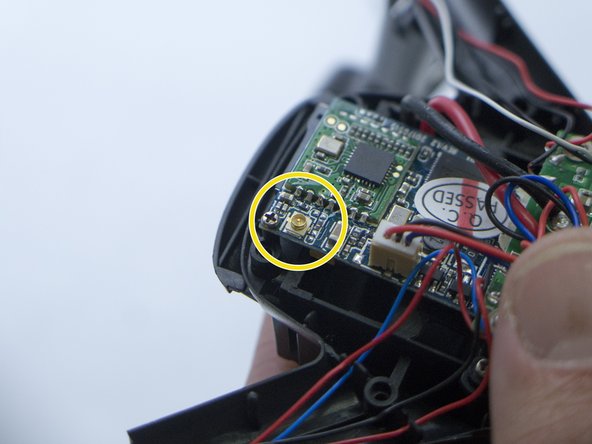
After the removing of the antenna it should look like this(The third picture)
-
At this stage you can access most of the drone and don't need further disassembly.
-
-
-
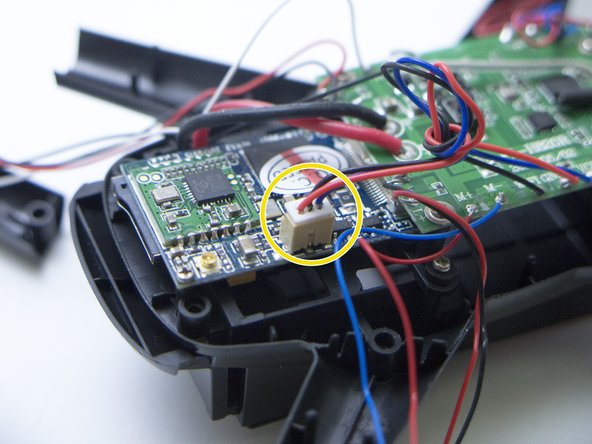
Disconnect the WIFI PCB(Blue) from the main PCB(Green) by disconnecting the ribbon cable.
-
Use the tweezers and grip the white plastic end of the cable. Slowly pull and wiggle the two ports from each other.
-
-
-
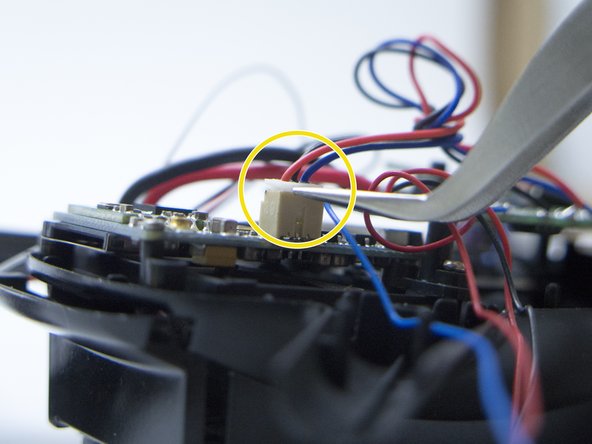
To access the camera unit the main PCB needs to be disconnected.
-
First, Pull the battery terminal out through the hole between the WIFI PCB and plastic side of the drone.
-
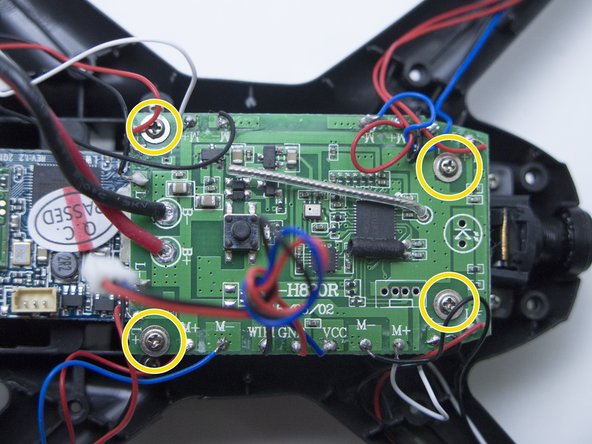
Next, Remove the four screws on the main PCB as in the second picture.
-
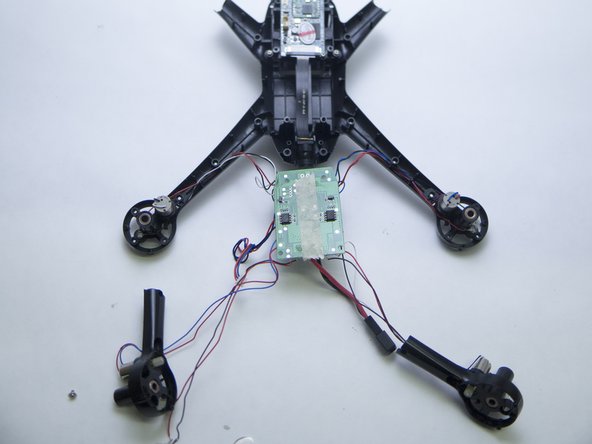
Now you can fully access the WIFI PCB and camera unit.
-
Two of my drone's arms were broken and therefore I could flip over the whole main PCB.
-
-
-
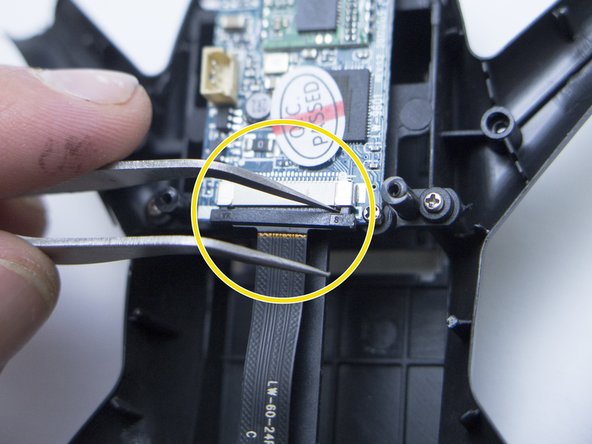
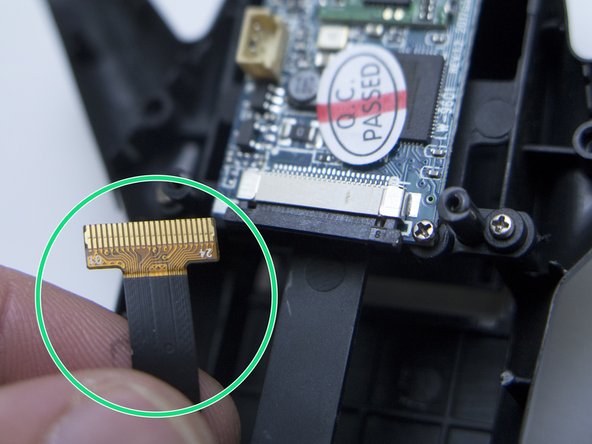
To disconnect the cable between the camera and WIFI PCB follow the next two steps.
-
Use the sharp point of the tweeter and gently move the black plastic wedge back to loosen the cable.
-
Pull the cable gently with your fingers and it should easily come out.
-
-
-
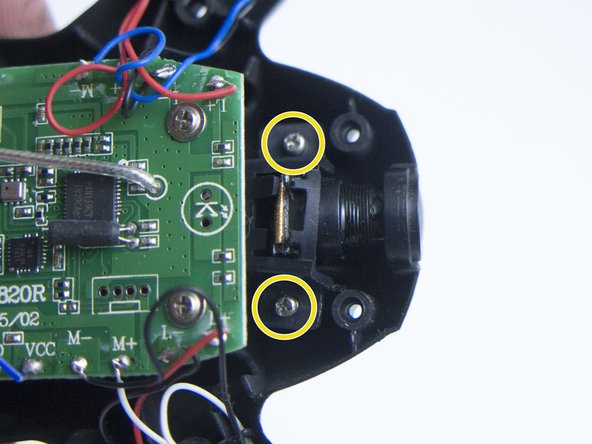
Unscrew the last two screws of the camera unit.
-
The camera should be loose now and can be taken out of the drone.
-
And there you go! Well done!
-
I hope that this Guide was helpful.
-


To reassemble your device, follow these instructions in reverse order.
To reassemble your device, follow these instructions in reverse order.
