HP eStation Zeen Motherboard Replacement

What you need

  1. HP eStation Zeen Motherboard Replacement, Motherboard: step 1, image 1 of 3 HP eStation Zeen Motherboard Replacement, Motherboard: step 1, image 2 of 3 HP eStation Zeen Motherboard Replacement, Motherboard: step 1, image 3 of 3
    • Remove the screw caps using the metal spudger.

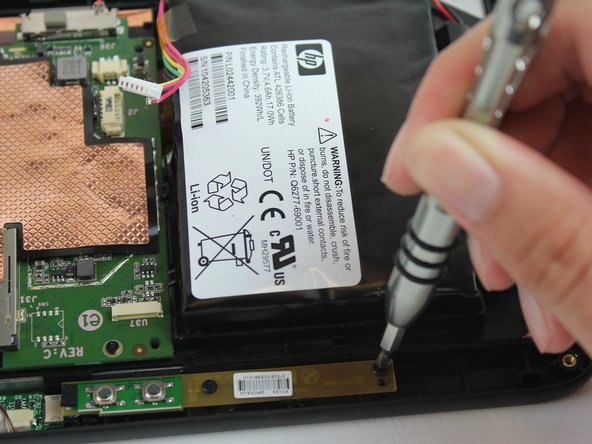
    • Remove the four 6mm Phillips screws using the Phillips #0 screwdriver.

  2. HP eStation Zeen Motherboard Replacement: step 2, image 1 of 3 HP eStation Zeen Motherboard Replacement: step 2, image 2 of 3 HP eStation Zeen Motherboard Replacement: step 2, image 3 of 3
    • Unclip each side of the back cover by inserting the plastic opening tool and sliding it along the edge.

    • Remove the back panel by lifting the panel away from the device.

  3. HP eStation Zeen Motherboard Replacement: step 3, image 1 of 1
    • Disconnect battery clip with plastic opening tool.

    • The clip is very fragile.

  4. HP eStation Zeen Motherboard Replacement: step 4, image 1 of 1
    • Disconnect the speaker terminal with the plastic opening tool.

    • The clip is very fragile.

  5. HP eStation Zeen Motherboard Replacement: step 5, image 1 of 1
    • Disconnect the the volume button clip with metal spudger tool.

    • The clip is fragile.

  6. HP eStation Zeen Motherboard Replacement: step 6, image 1 of 1
    • Disconnect the ground wire from the motherboard with tweezers.

  7. HP eStation Zeen Motherboard Replacement: step 7, image 1 of 2 HP eStation Zeen Motherboard Replacement: step 7, image 2 of 2
    • Remove the two 6mm Phillips screws with Phillips #0 screwdriver.

  8. HP eStation Zeen Motherboard Replacement: step 8, image 1 of 2 HP eStation Zeen Motherboard Replacement: step 8, image 2 of 2
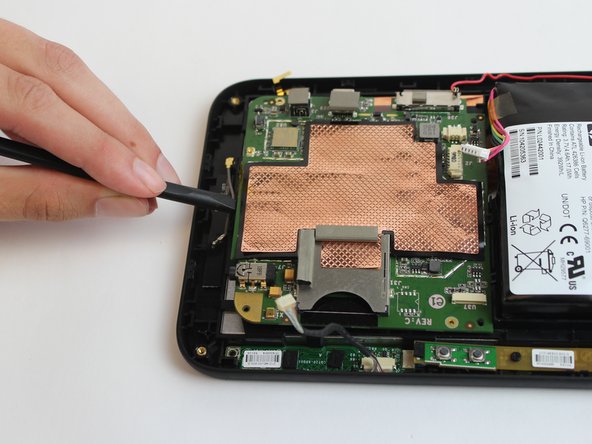
    • Pry off the clips that hold the motherboard down with the plastic spudger.

  9. HP eStation Zeen Motherboard Replacement: step 9, image 1 of 2 HP eStation Zeen Motherboard Replacement: step 9, image 2 of 2
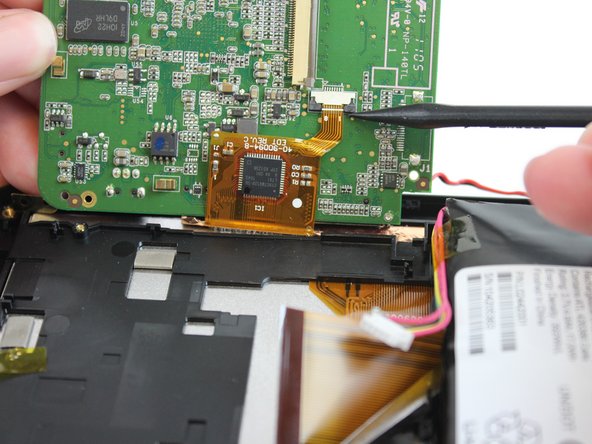
    • Lift motherboard up to expose the ribbons on the back.

    • Lift the grey tabs to disconnect the ribbons with plastic spudger.

dalton hale

Member since: 09/26/16

503 Reputation

4 Guides authored

Team

USF Tampa, Team 16-4, Eyestone Fall 2016 Member of USF Tampa, Team 16-4, Eyestone Fall 2016

USFT-EYESTONE-F16S16G4

4 Members

10 Guides authored

View Statistics:

Past 24 Hours: 0

Past 7 Days: 1

Past 30 Days: 1

All Time: 533