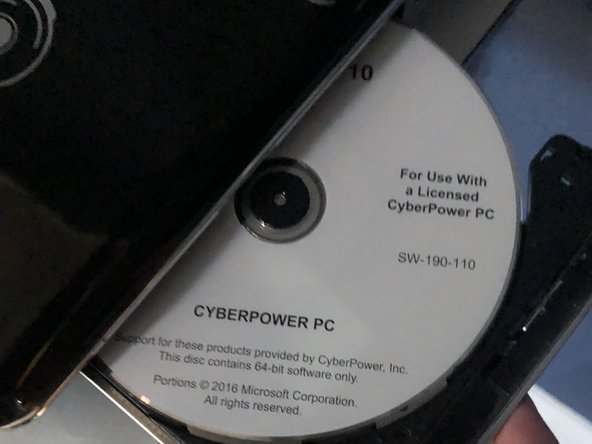
HP Pavilion dv6t-1200 Disk Tray Replacement

What you need

  1. HP Pavilion dv6t-1200 Disk Tray Replacement, Disk Tray: step 1, image 1 of 2 HP Pavilion dv6t-1200 Disk Tray Replacement, Disk Tray: step 1, image 2 of 2
    • Locate the small hole on the right side of the disk tray next to the button.

  2. HP Pavilion dv6t-1200 Disk Tray Replacement: step 2, image 1 of 2 HP Pavilion dv6t-1200 Disk Tray Replacement: step 2, image 2 of 2
    • Extend the paper clip into a straight line and insert it into the disk tray hole located next to the release button.

    • When the disk tray is removed, make sure to clean the general area with canned air.

  3. HP Pavilion dv6t-1200 Disk Tray Replacement: step 3, image 1 of 1
    • Flip the laptop to the other side and remove the four screws on the bottom of the disk tray using a Phillips #0 screwdriver.

  4. HP Pavilion dv6t-1200 Disk Tray Replacement: step 4, image 1 of 2 HP Pavilion dv6t-1200 Disk Tray Replacement: step 4, image 2 of 2
    • Remove the metal plate and locate the bottom right tool for the disk tray.

  5. HP Pavilion dv6t-1200 Disk Tray Replacement: step 5, image 1 of 2 HP Pavilion dv6t-1200 Disk Tray Replacement: step 5, image 2 of 2
    • Replace the motor piece that is being held and reclose the device.

  6. HP Pavilion dv6t-1200 Disk Tray Replacement: step 6, image 1 of 2 HP Pavilion dv6t-1200 Disk Tray Replacement: step 6, image 2 of 2
    • After replacing the motor and the placing the metal tray apply a good amount of WD40.

    • Once all completed the disk tray should be working smoothly.

Conclusion

To reassemble your device, follow these instructions in reverse order.

Daniel Pelayo

Member since: 10/05/21

186 Reputation

1 Guide authored

Team

0 Comments

Add Comment

View Statistics:

Past 24 Hours: 0

Past 7 Days: 3

Past 30 Days: 12

All Time: 137